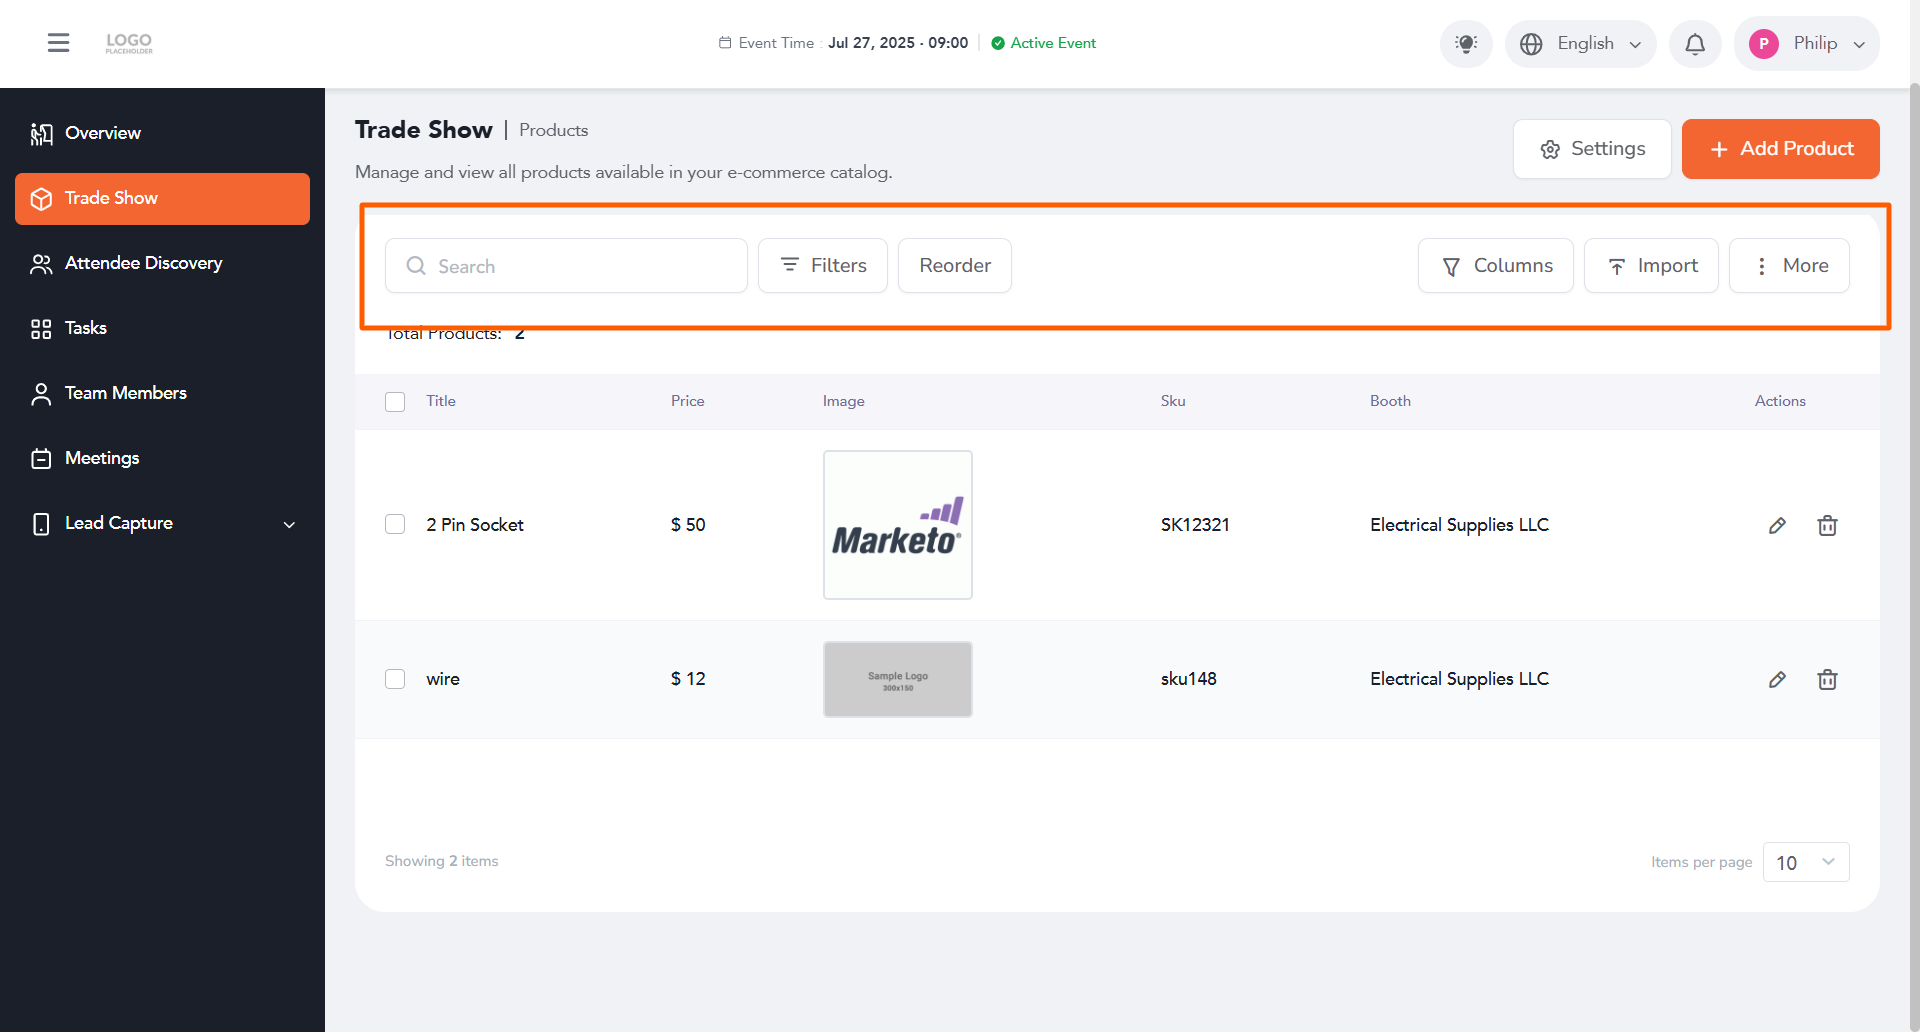
The Exhibitor Portal lets you add products to your e-commerce catalog and manage them anytime. This article walks you through the steps to add a new product and manage existing ones.
Step 1: Log In to Your Exhibitor PortalLog in to your Exhibitor Portal using your credentials.
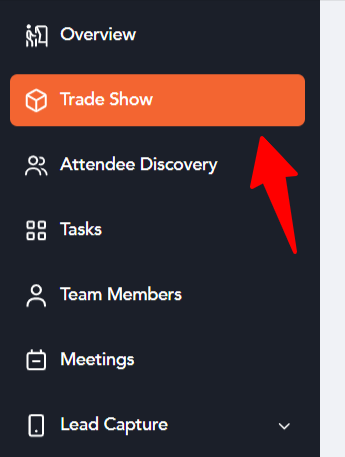
Step 2: Open Trade ShowOn the left navigation menu, click Trade Show. This takes you to the Products screen, where you can view and manage all products available in your e-commerce catalog.
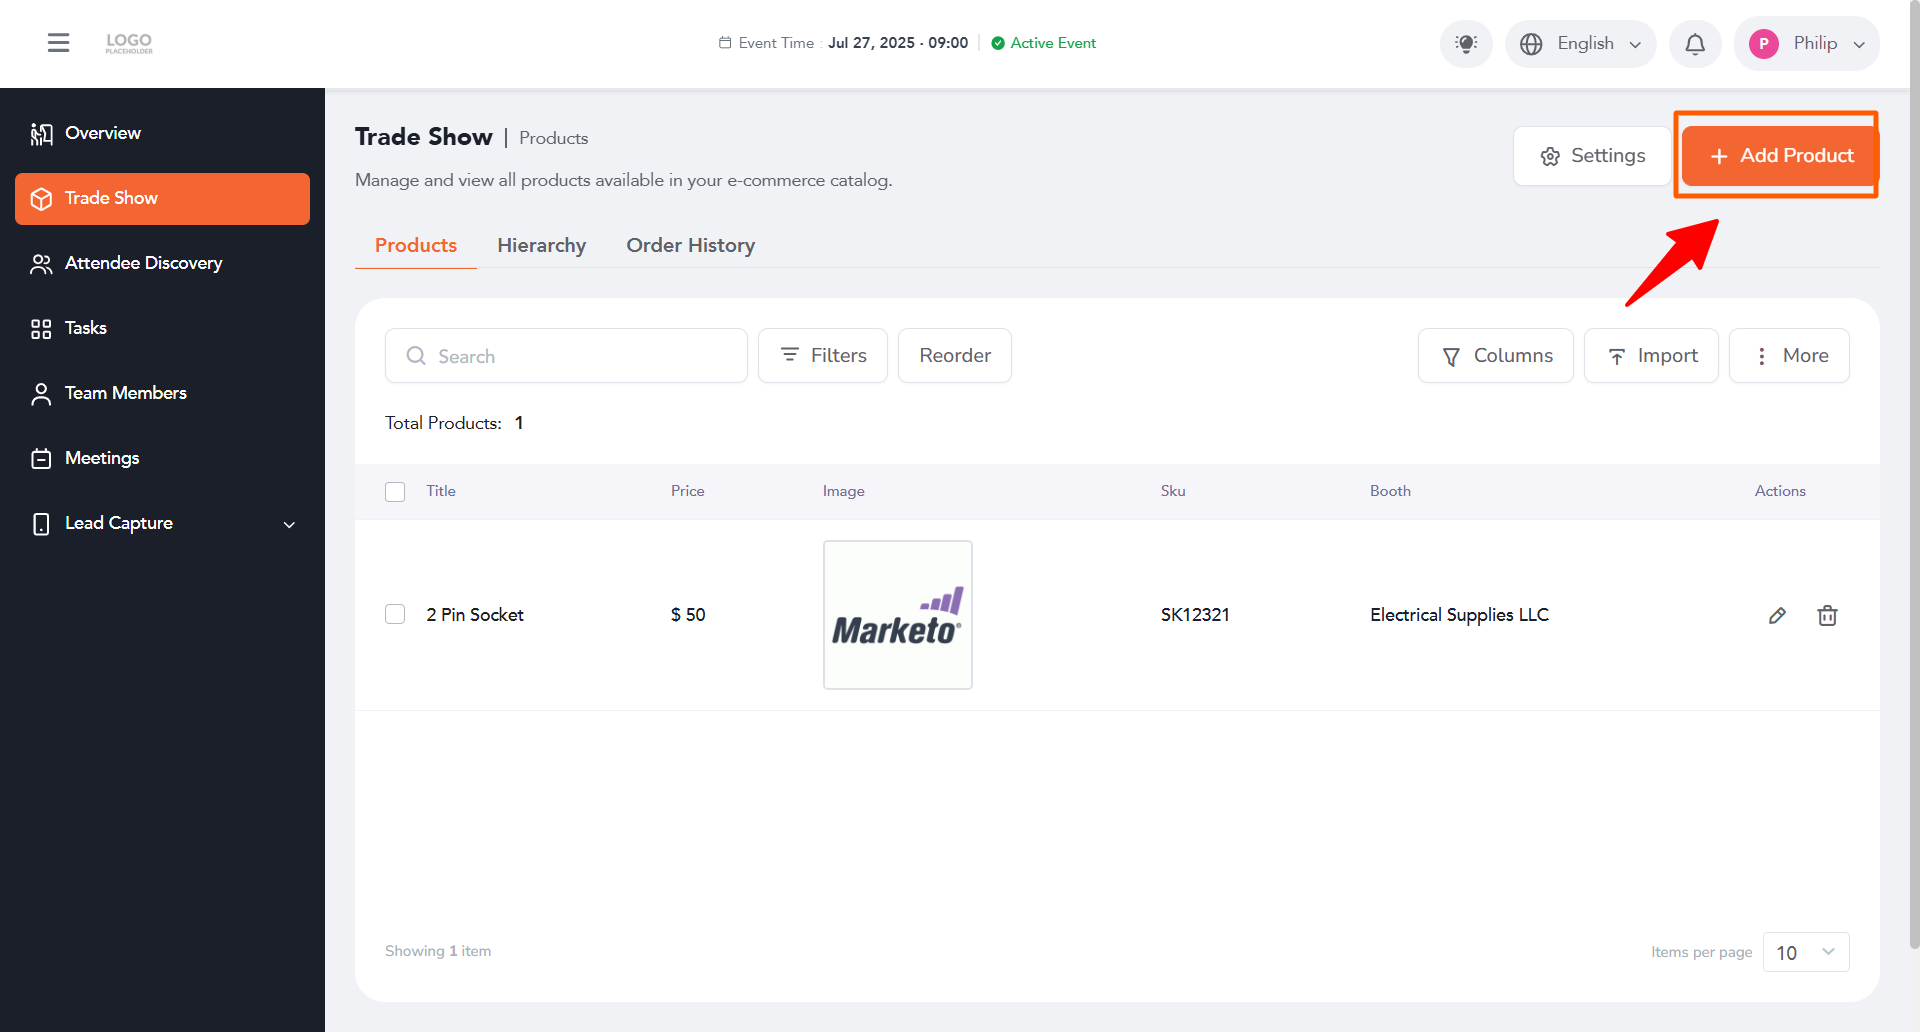
At the top right of the screen, click the + Add Product button.
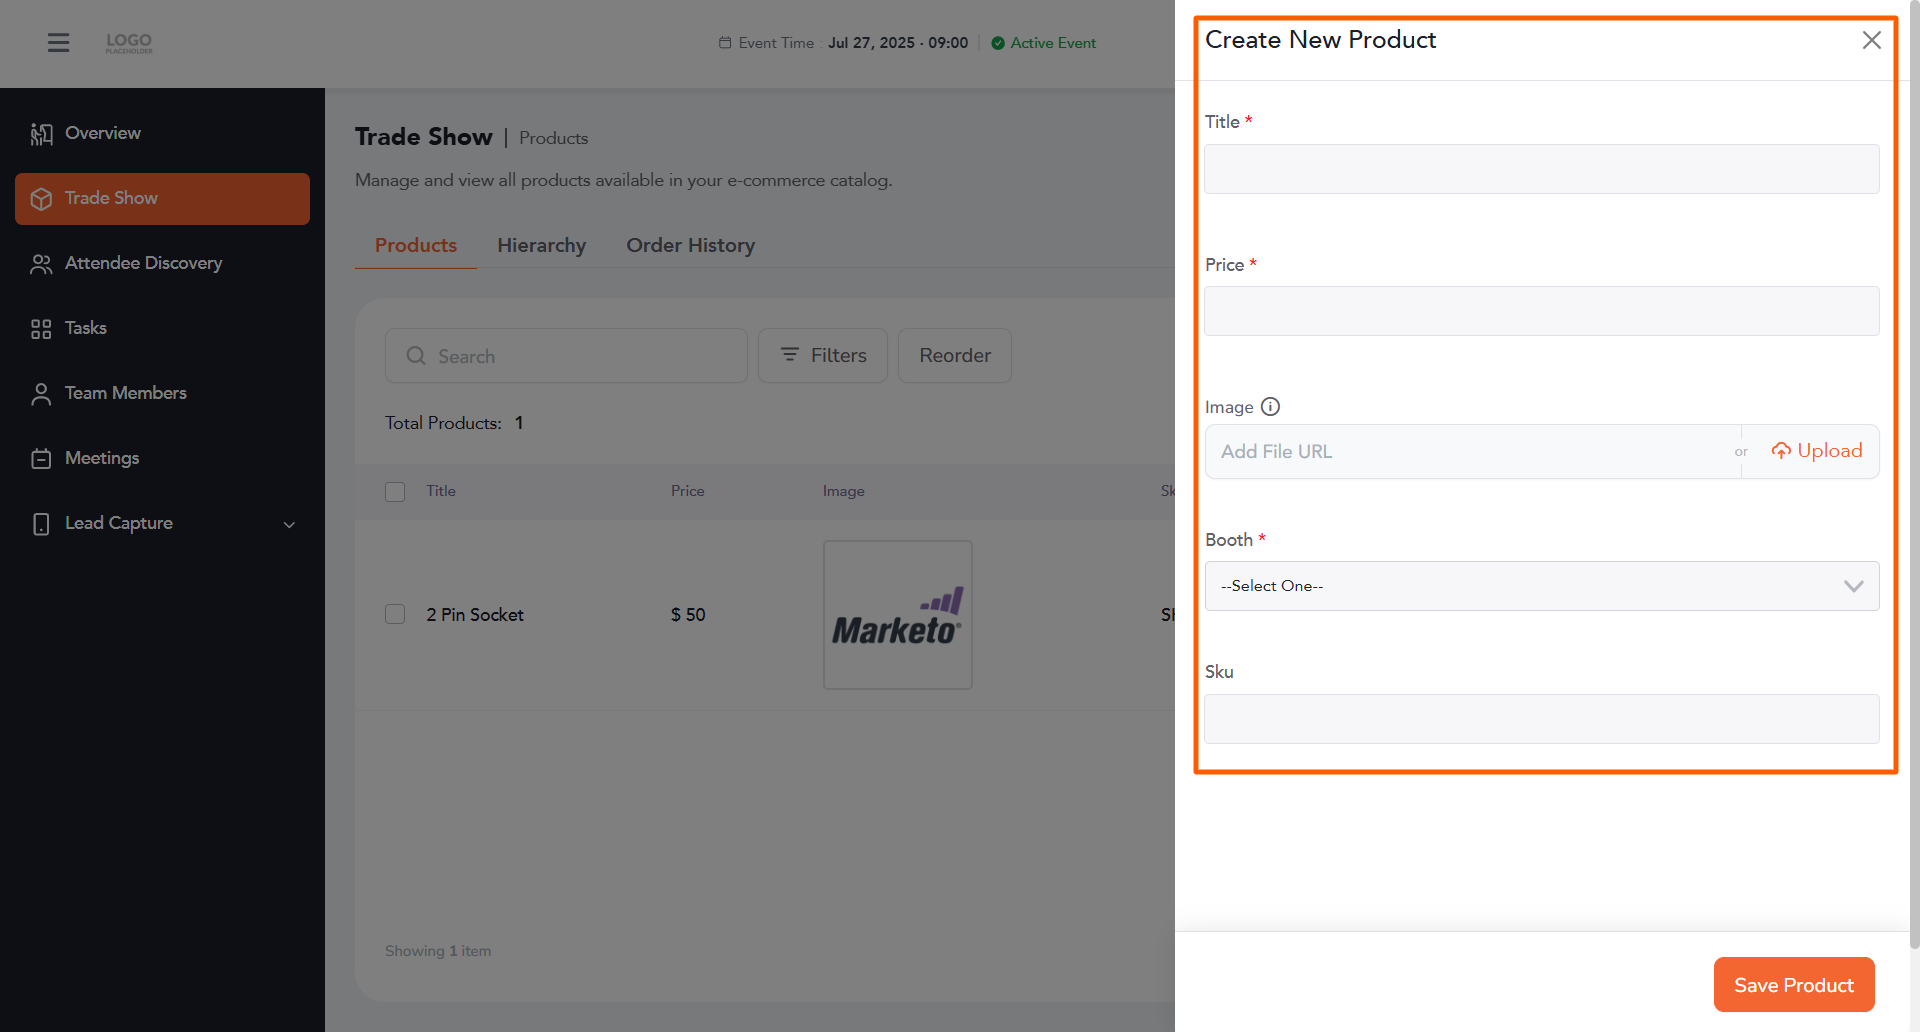
A Create New Product drawer will open on the right. Fill in the following fields:
- Title – The name of your product.
- Price – The price of your product.
- Image – Add a file URL or click Upload to add a product image.
- Booth – Select the booth this product belongs to from the dropdown.
- Sku – The SKU (stock keeping unit) for your product.
Click the Save Product button at the bottom right of the drawer. You'll get a confirmation pop-up, and the product will now appear on the Trade Show Products listing screen, along with its title, price, image, SKU, and booth.
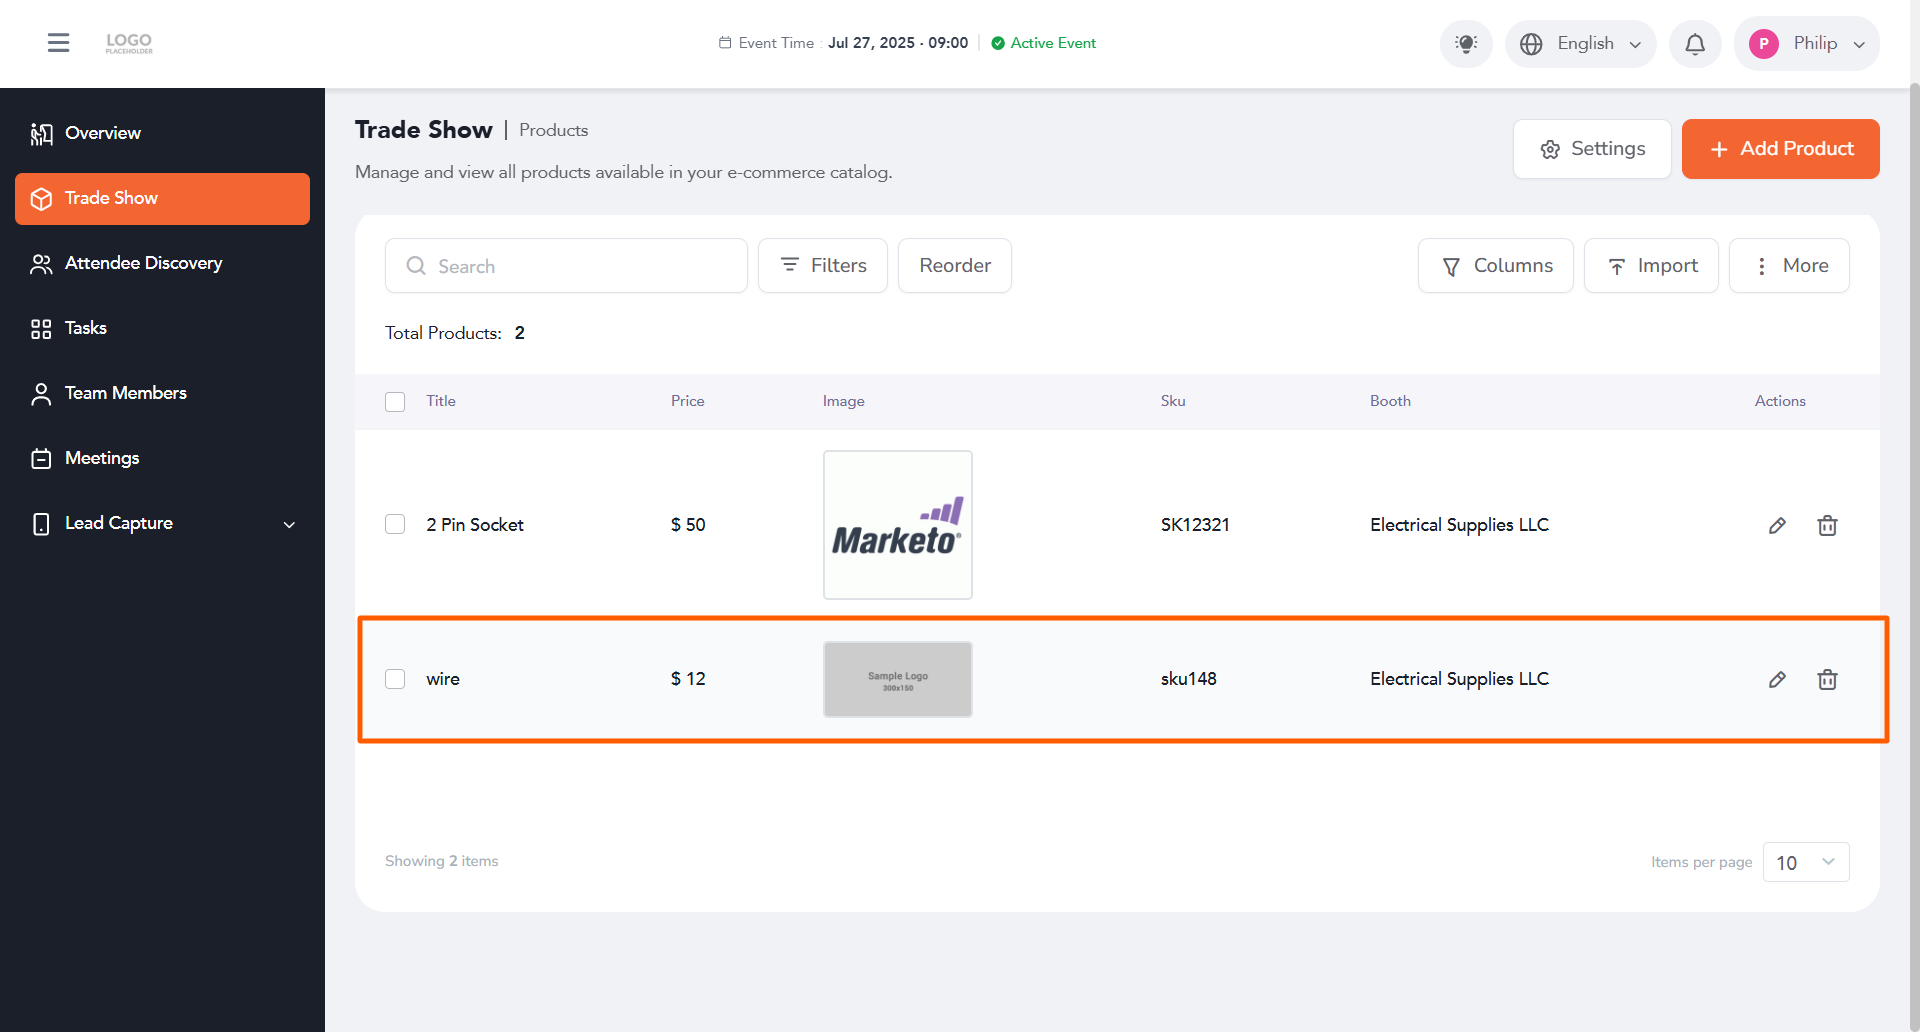
Under the Actions column for any product, you can:
- Click the pencil icon to edit the product's details.
- Click the trash icon to delete the product.
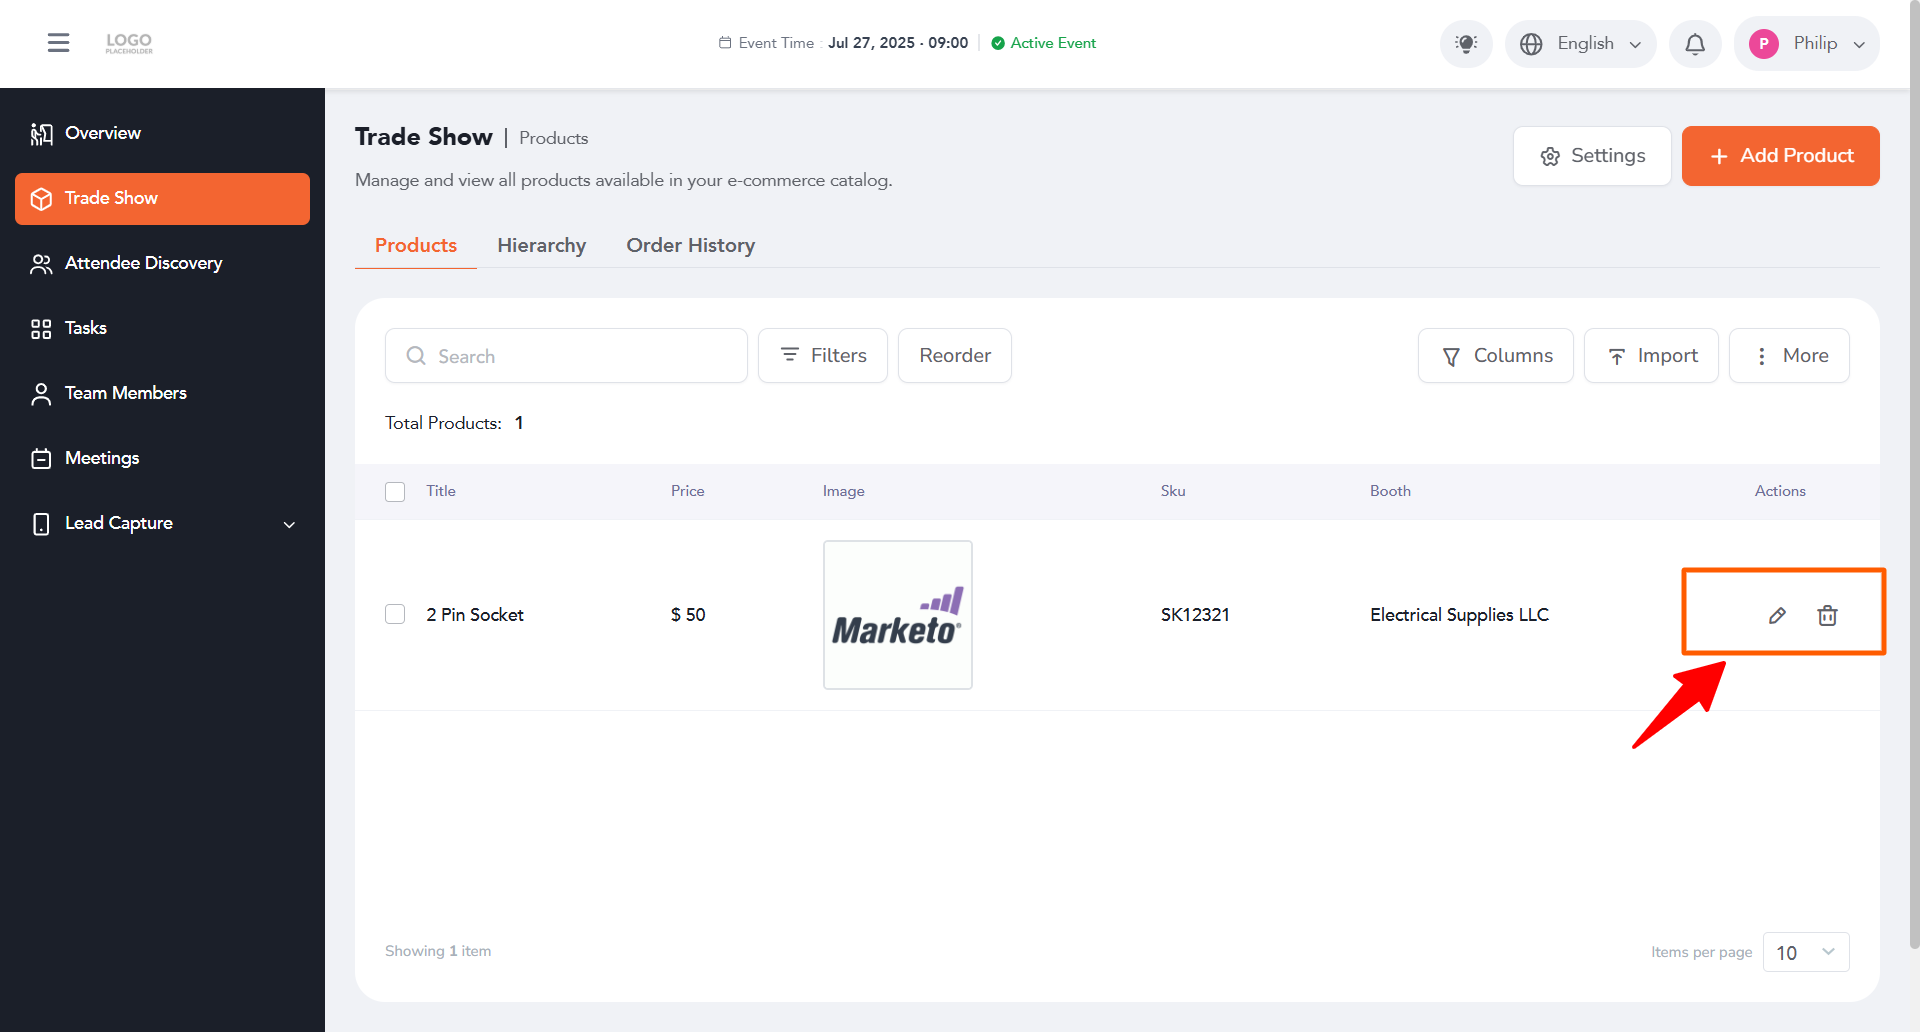
Step 7: Manage Your Product Listing
The Trade Show Products screen also gives you several tools to organize and manage your product catalog:
- Search – Use the search field to find products by typing in keywords.
- Filters – Filter your product list by selecting specific booths.
- Reorder – Click Reorder to change the order in which products appear in your list.
- Columns – Click Columns to choose which columns you want to see on your listing screen.
- Import – Click Import to import a list of products.
- Bulk delete – Select the checkboxes next to the products you want to remove, click More at the top right (next to Add Product), and select Delete Selected Products.
- Sync products – Click More, then select Sync Products to sync your product list.