Support Multiple Currencies allows your users to view prices in different currencies. This article walks you through how to turn on this feature and manage your supported currencies.
Step 1: Log In to Your Exhibitor PortalLog in to your Exhibitor Portal using your credentials.
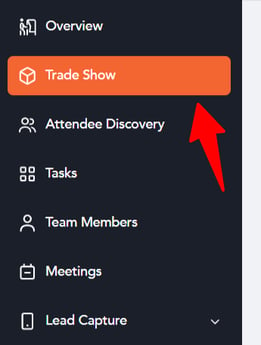
Step 2: Open Trade ShowOn the left navigation menu, click Trade Show.
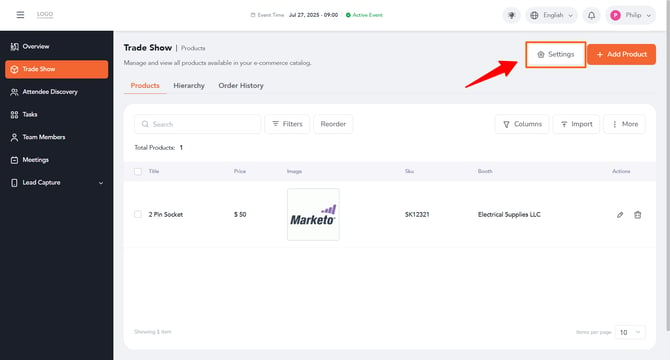
Click the Settings tab seen at top right of the screen.
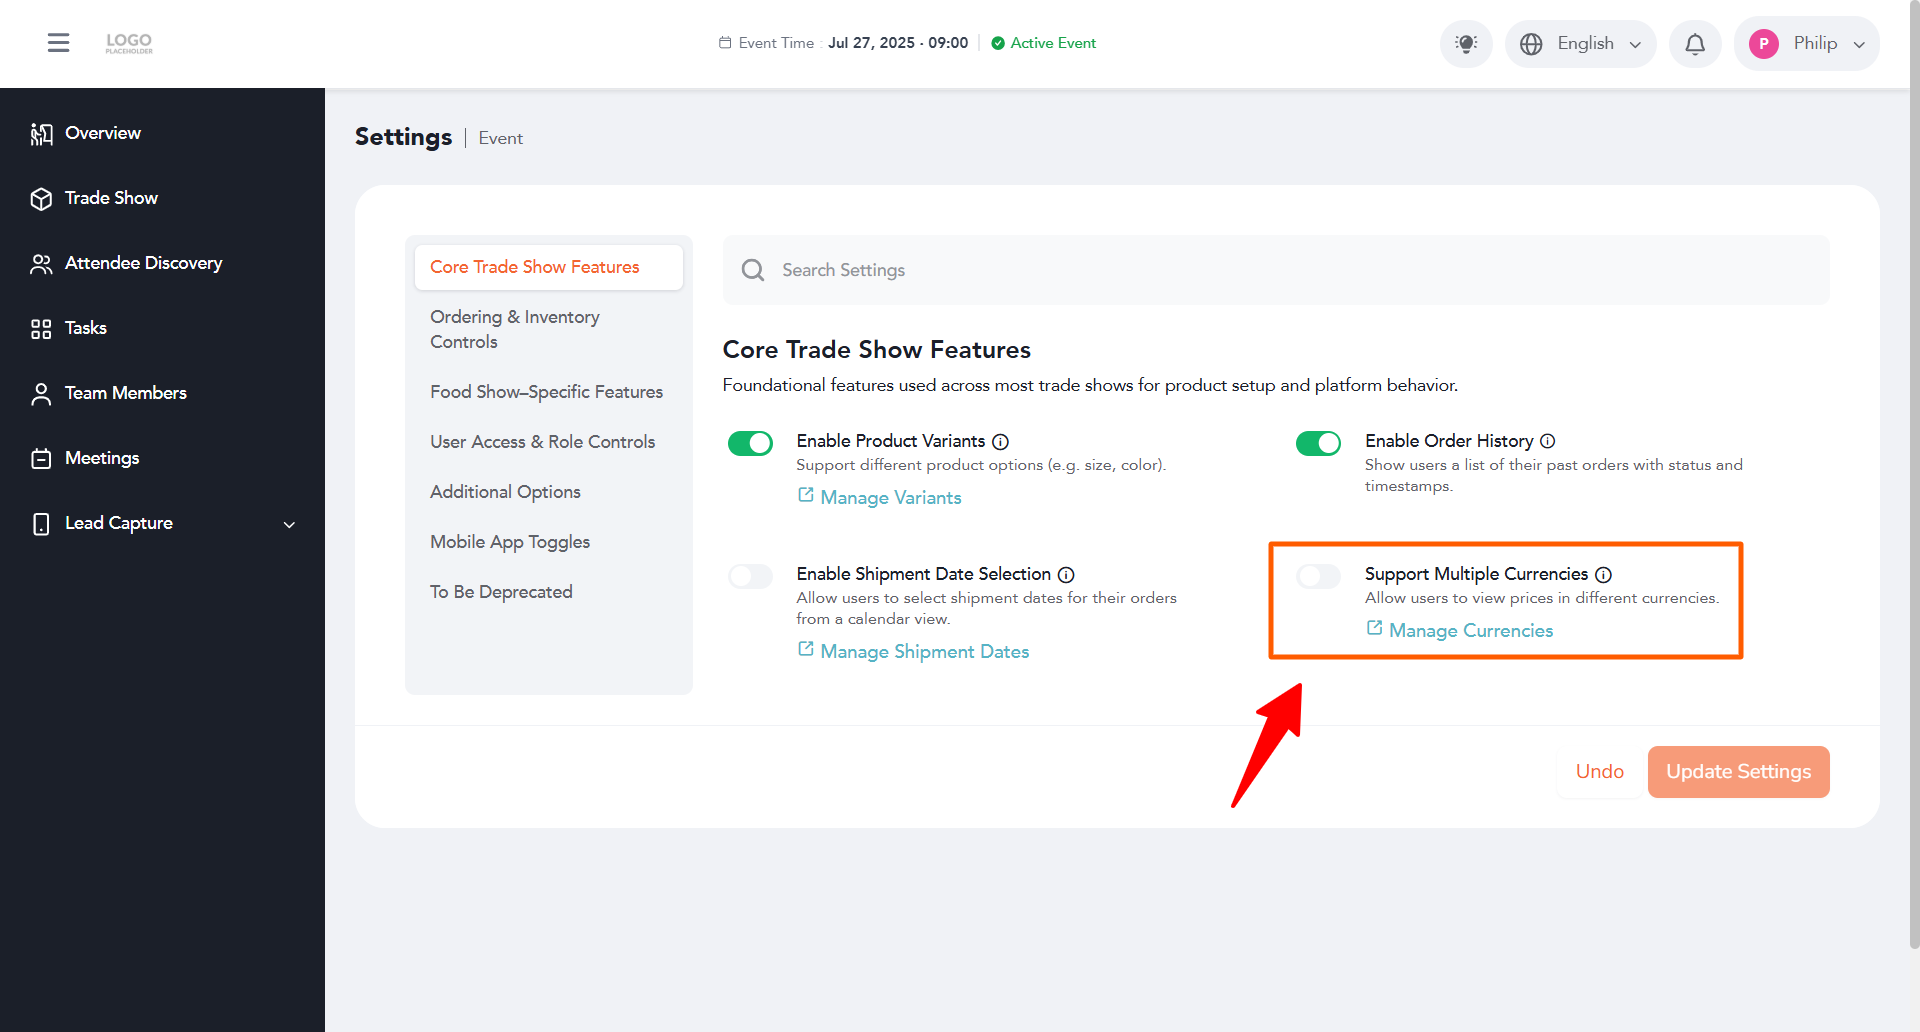
Find the Support Multiple Currencies option under Core Trade show features tab and turn on its toggle. This allows your users to view prices in different currencies.
Click the Update Settings button at the bottom right of the screen. A confirmation pop-up will appear letting you know your settings have been updated.
Click the Manage Currencies link present at the bottom of the toggle. This will take you to the Currency Support screen.
Step 7: Configure Supported CurrenciesOn the Currency Support screen, you can configure which currencies your event can support for transactions:
- Add currencies to the supported currencies list (for example, USD).
- View each currency's Name, Original Rate, and Value in the table.
- Set a currency as the Default using the Actions column, or remove one using the trash icon.
- Choose your Default Currency from the dropdown at the bottom.
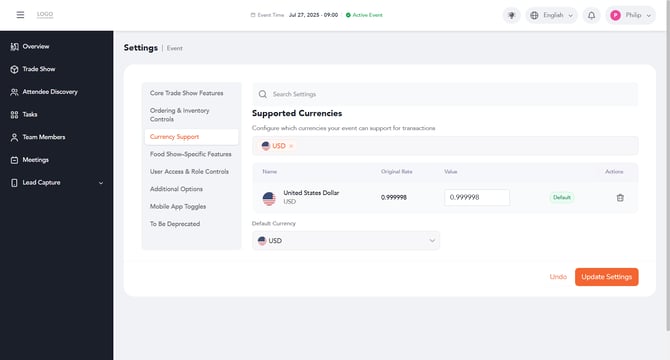
Click Update Settings to save any changes made on this screen.