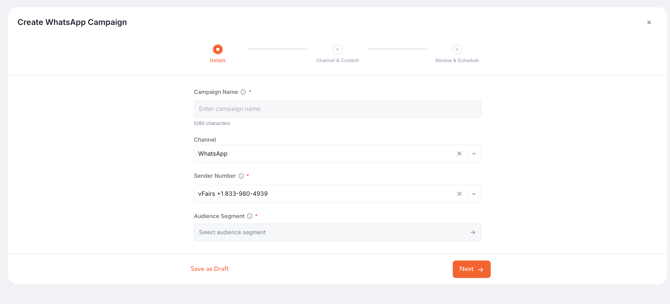
Step 1: Navigate to WhatsApp Campaigns
From the event backend, navigate to the WhatsApp Campaigns section.
Open the template management area and either:
- Create a new WhatsApp template, or
- Open an existing template that you want to edit.
Step 2: Configure the Template Content
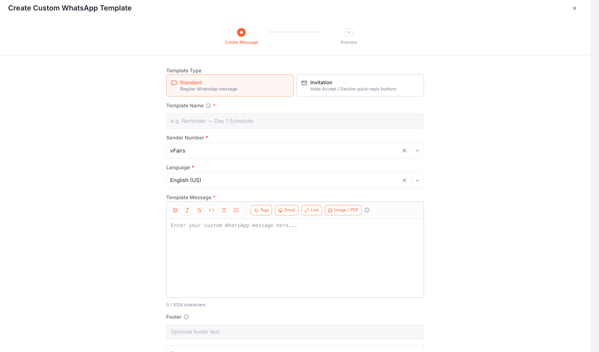
Enter the required template information and add your WhatsApp message content.
You can continue to use the existing supported dynamic tags within the template content where needed.
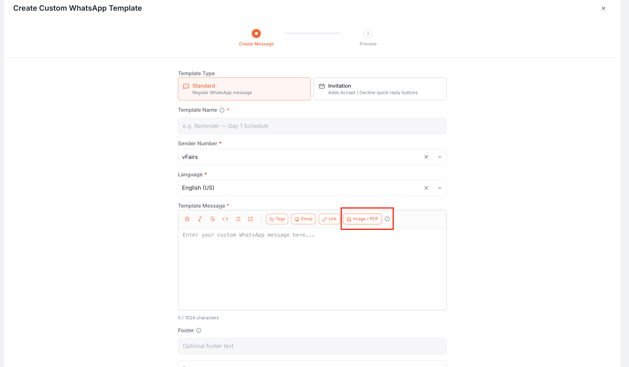
Step 3: Add Media to the Template
Within the template configuration, select the option to add media.
Choose the type of media you want to attach:
- Image
- PDF/Document
Media is optional, so you can continue creating text-only templates if no attachment is required.
Step 4: Upload an Image
If you select Image:
- Click the option to upload an image.
- Select the required image from your device.
- Wait for the file to upload and be validated.
- Once successfully uploaded, the image will be attached to the template.
- Review the uploaded image before continuing.
If the image does not meet the supported file requirements, a validation message will be displayed and you will need to select another file.
Step 5: Upload a PDF Document
If you select PDF/Document:
- Click the option to upload a document.
- Select the required PDF from your device.
- Wait for the document to upload and be validated.
- Once successfully uploaded, the PDF will be associated with the template.
- Review the selected document before continuing.
Unsupported file types or files that do not meet the applicable upload requirements will not be attached to the template.
Step 6: Review the Template Preview
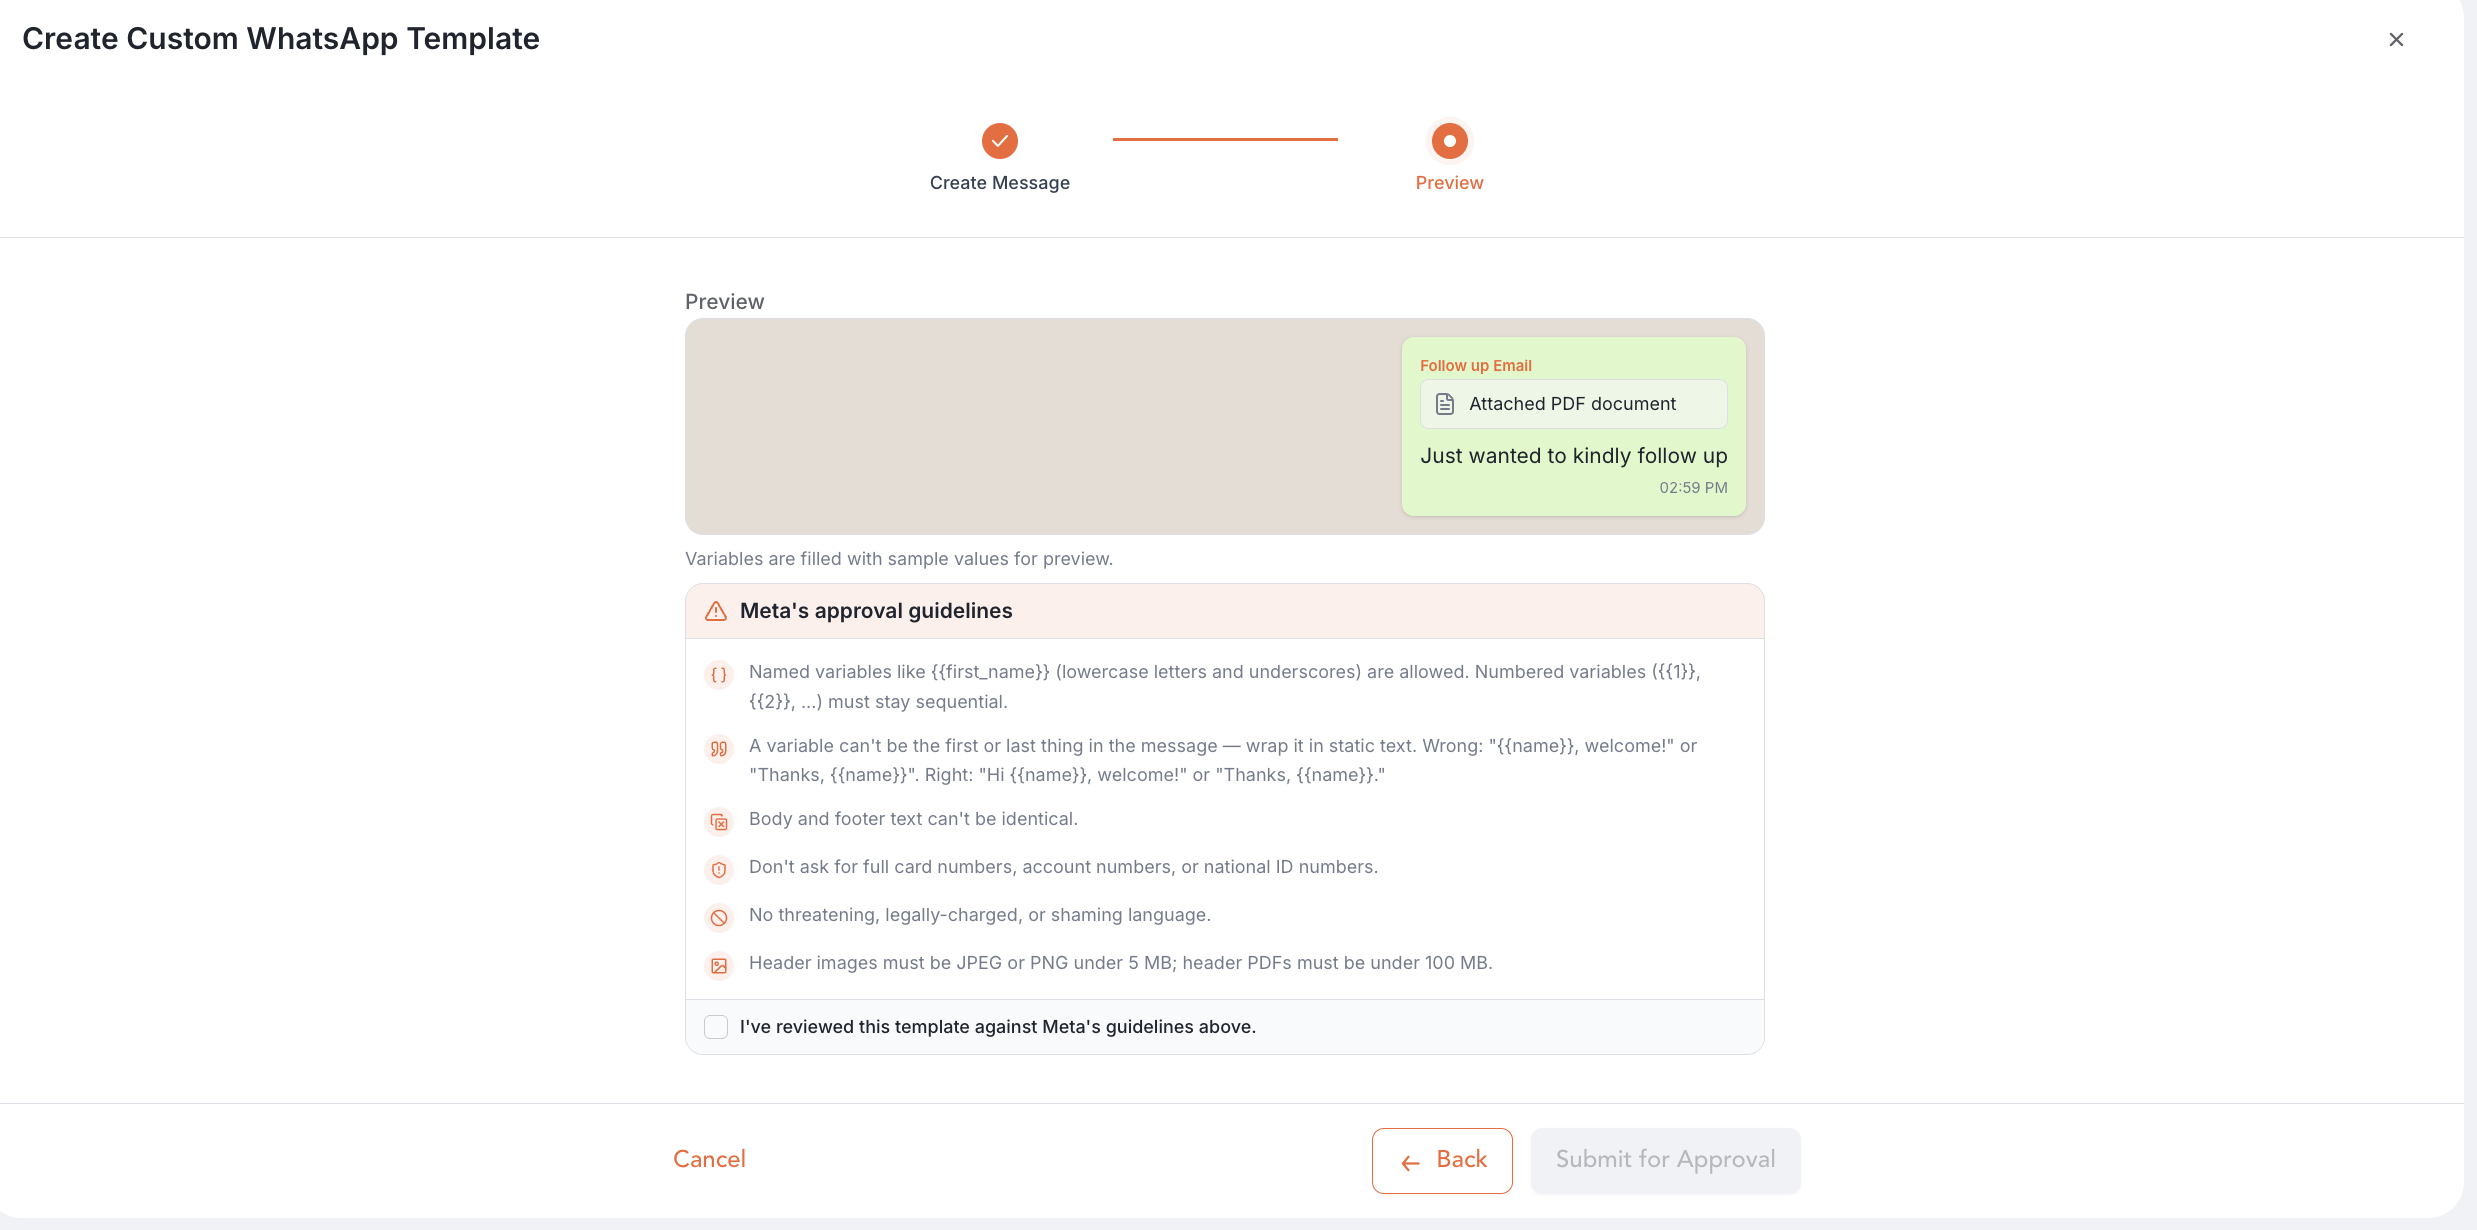
Where template preview is available, review the complete template before submission.
The preview will reflect the configured media type so you can confirm that:
- The correct image or PDF has been selected.
- The template text is correct.
- Any supported dynamic tags have been configured correctly.
Step 7: Replace an Uploaded File
If you want to change the attached media:
- Select Replace for the existing attachment.
- Choose a new supported image or PDF.
- Allow the new file to upload and complete validation.
- Review the updated attachment.
The new file will replace the previously configured media, and only the latest attachment will remain associated with the template.
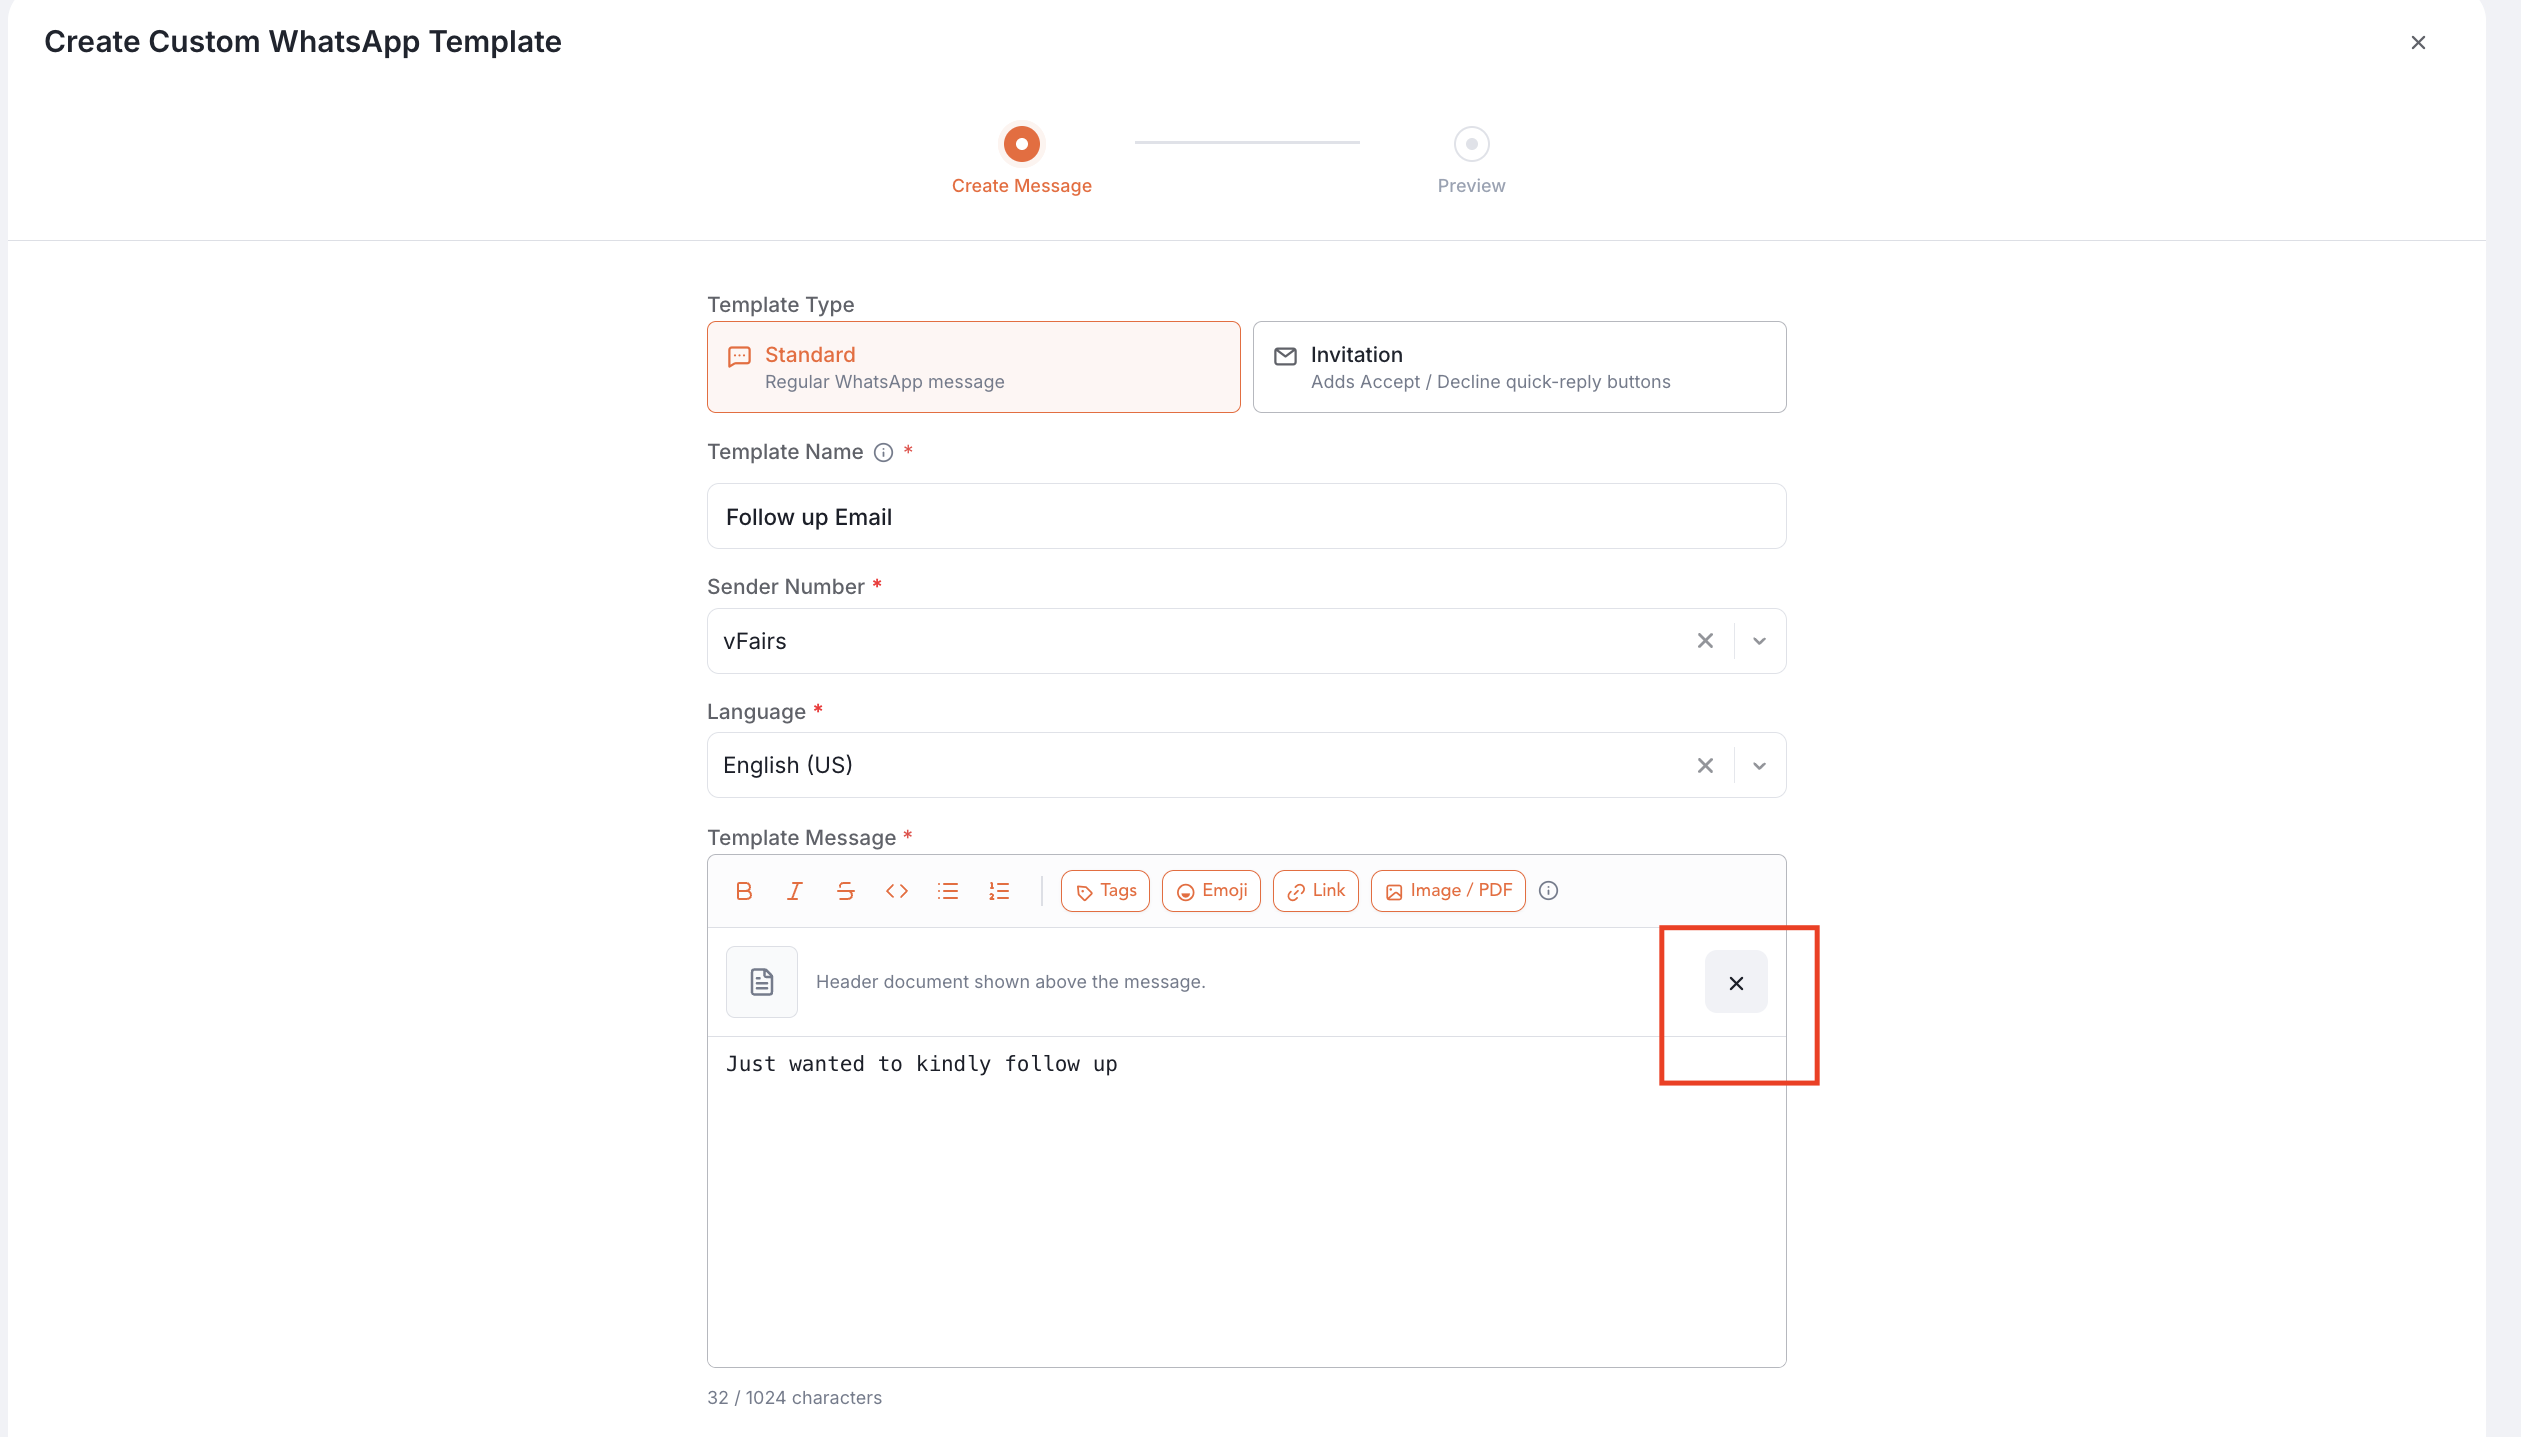
Step 8: Remove an Uploaded File
To remove media from the template:
- Select Remove Media.
- The existing image or PDF will be removed from the template.
- Continue configuring the template as a text-only template or upload another file if required.
Step 9: Submit the Template for Meta Approval
Once the template content and media have been reviewed, submit the template for approval.
The configured media will be included as part of the template submission to Meta according to its media type:
- Images will be submitted as Image media.
- PDFs will be submitted as Document media.
The template will then follow the existing Meta approval process.
Step 10: Track the Template Approval Status
After submission, return to the WhatsApp template management interface to monitor the template status.
The status will update based on Meta's response.
If the template is approved, it will become available according to the existing WhatsApp campaign and template workflow.
If the template is rejected, the existing rejection handling will apply. Where a rejection reason is provided by Meta, it will be displayed through the available template status or error information.