Step 1: Access Session Settings
Navigate to the backend of your event platform and open the Sessions Listing area. From there, go to the Advance Settings section.
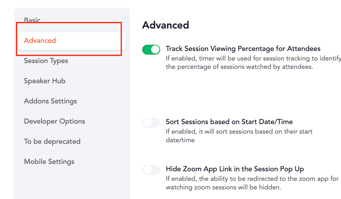
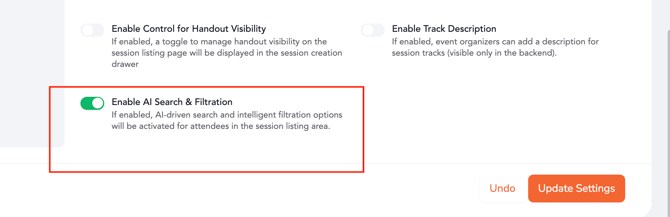
Step 2: Enable AI Search & Filtration
Click on the Advanced Settings tab and turn on the toggle labeled “Enable AI Search & Filtration.”
Step 3: View the Configured AI Search
Once enabled, head to the Agenda Listing area within the web event’s internal environment to see the AI-powered search in action.
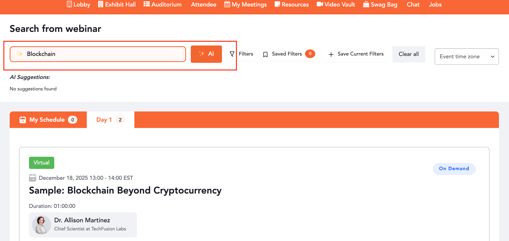
Step 4: Run a Search
Enter a keyword or phrase in the AI Search bar to initiate the filtration process.
Step 5: Review Search Results
The screen will display sessions that closely match your entered search text or applied filters.
Step 6: Explore Highlighted Themes
Based on popular searches, the listing will also showcase prominently searched themes that users can click to apply as quick filters.

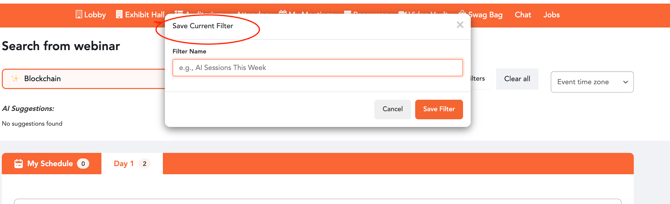
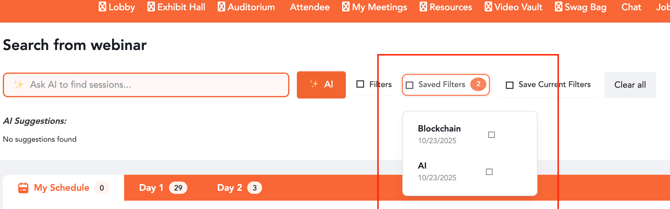
Step 7: Save and Reuse Filtered Views
Users can save their current AI-filtered view by clicking “Save Current Filters.”
Saved views can later be accessed from the “Saved Filters” dropdown to easily revisit specific search results without repeating the process.
Note: The AI Search and filters work using AND logic — meaning that when both AI search and default/custom filters are applied together, the results will include sessions meeting all selected criteria.
The AI-powered search feature is currently configurable only for events hosted on the US server.