Step 1: Access Speaker Role Management
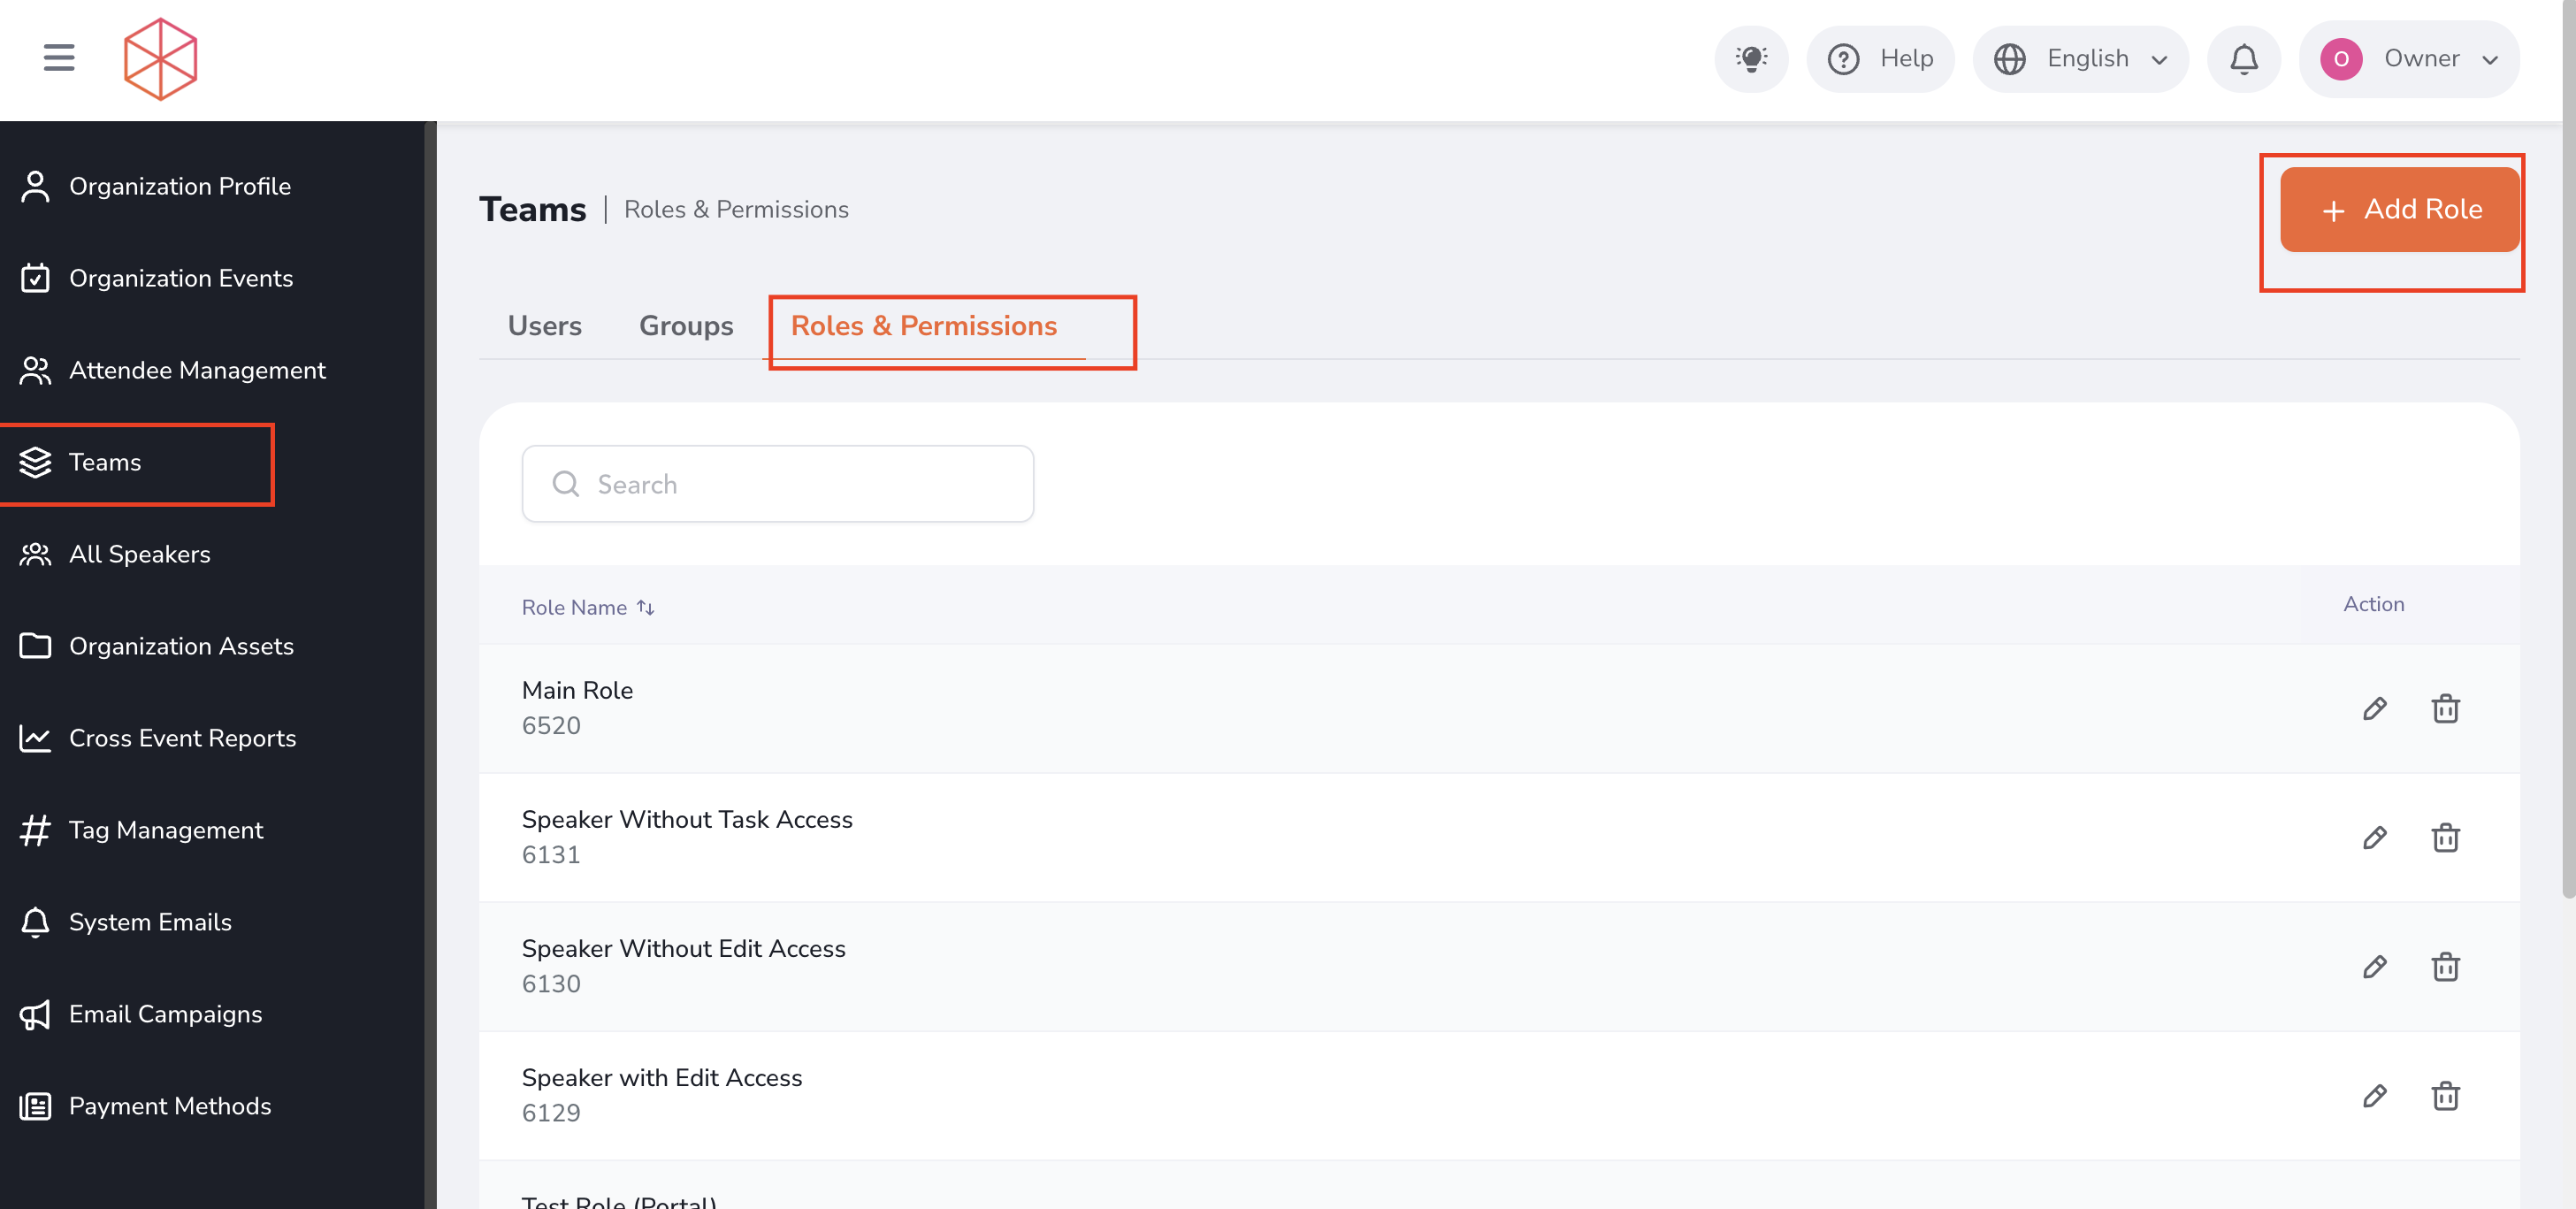
From the organization backend, navigate to the Teams sub-menu and navigate to the "Roles & Permissions" tab and then click on the "Add Role" button.
Here, Event Organizers can view and manage the roles available for speaker users.
The role management interface displays the existing speaker roles along with their configured permissions and assigned users, where applicable.
Step 2: Review the Available Speaker Roles
Review the roles currently configured for the Speaker Portal.
The system can include default roles, such as Standard Speaker, to support existing speaker access and workflows.
Custom roles can be created when different speakers require different levels of access.
For example, an organizer may create separate roles for:
- Keynote Speakers
- Content Contributors
- Session Speakers
- Guest Speakers
Step 3: Create a New Speaker Role
To create a custom role:
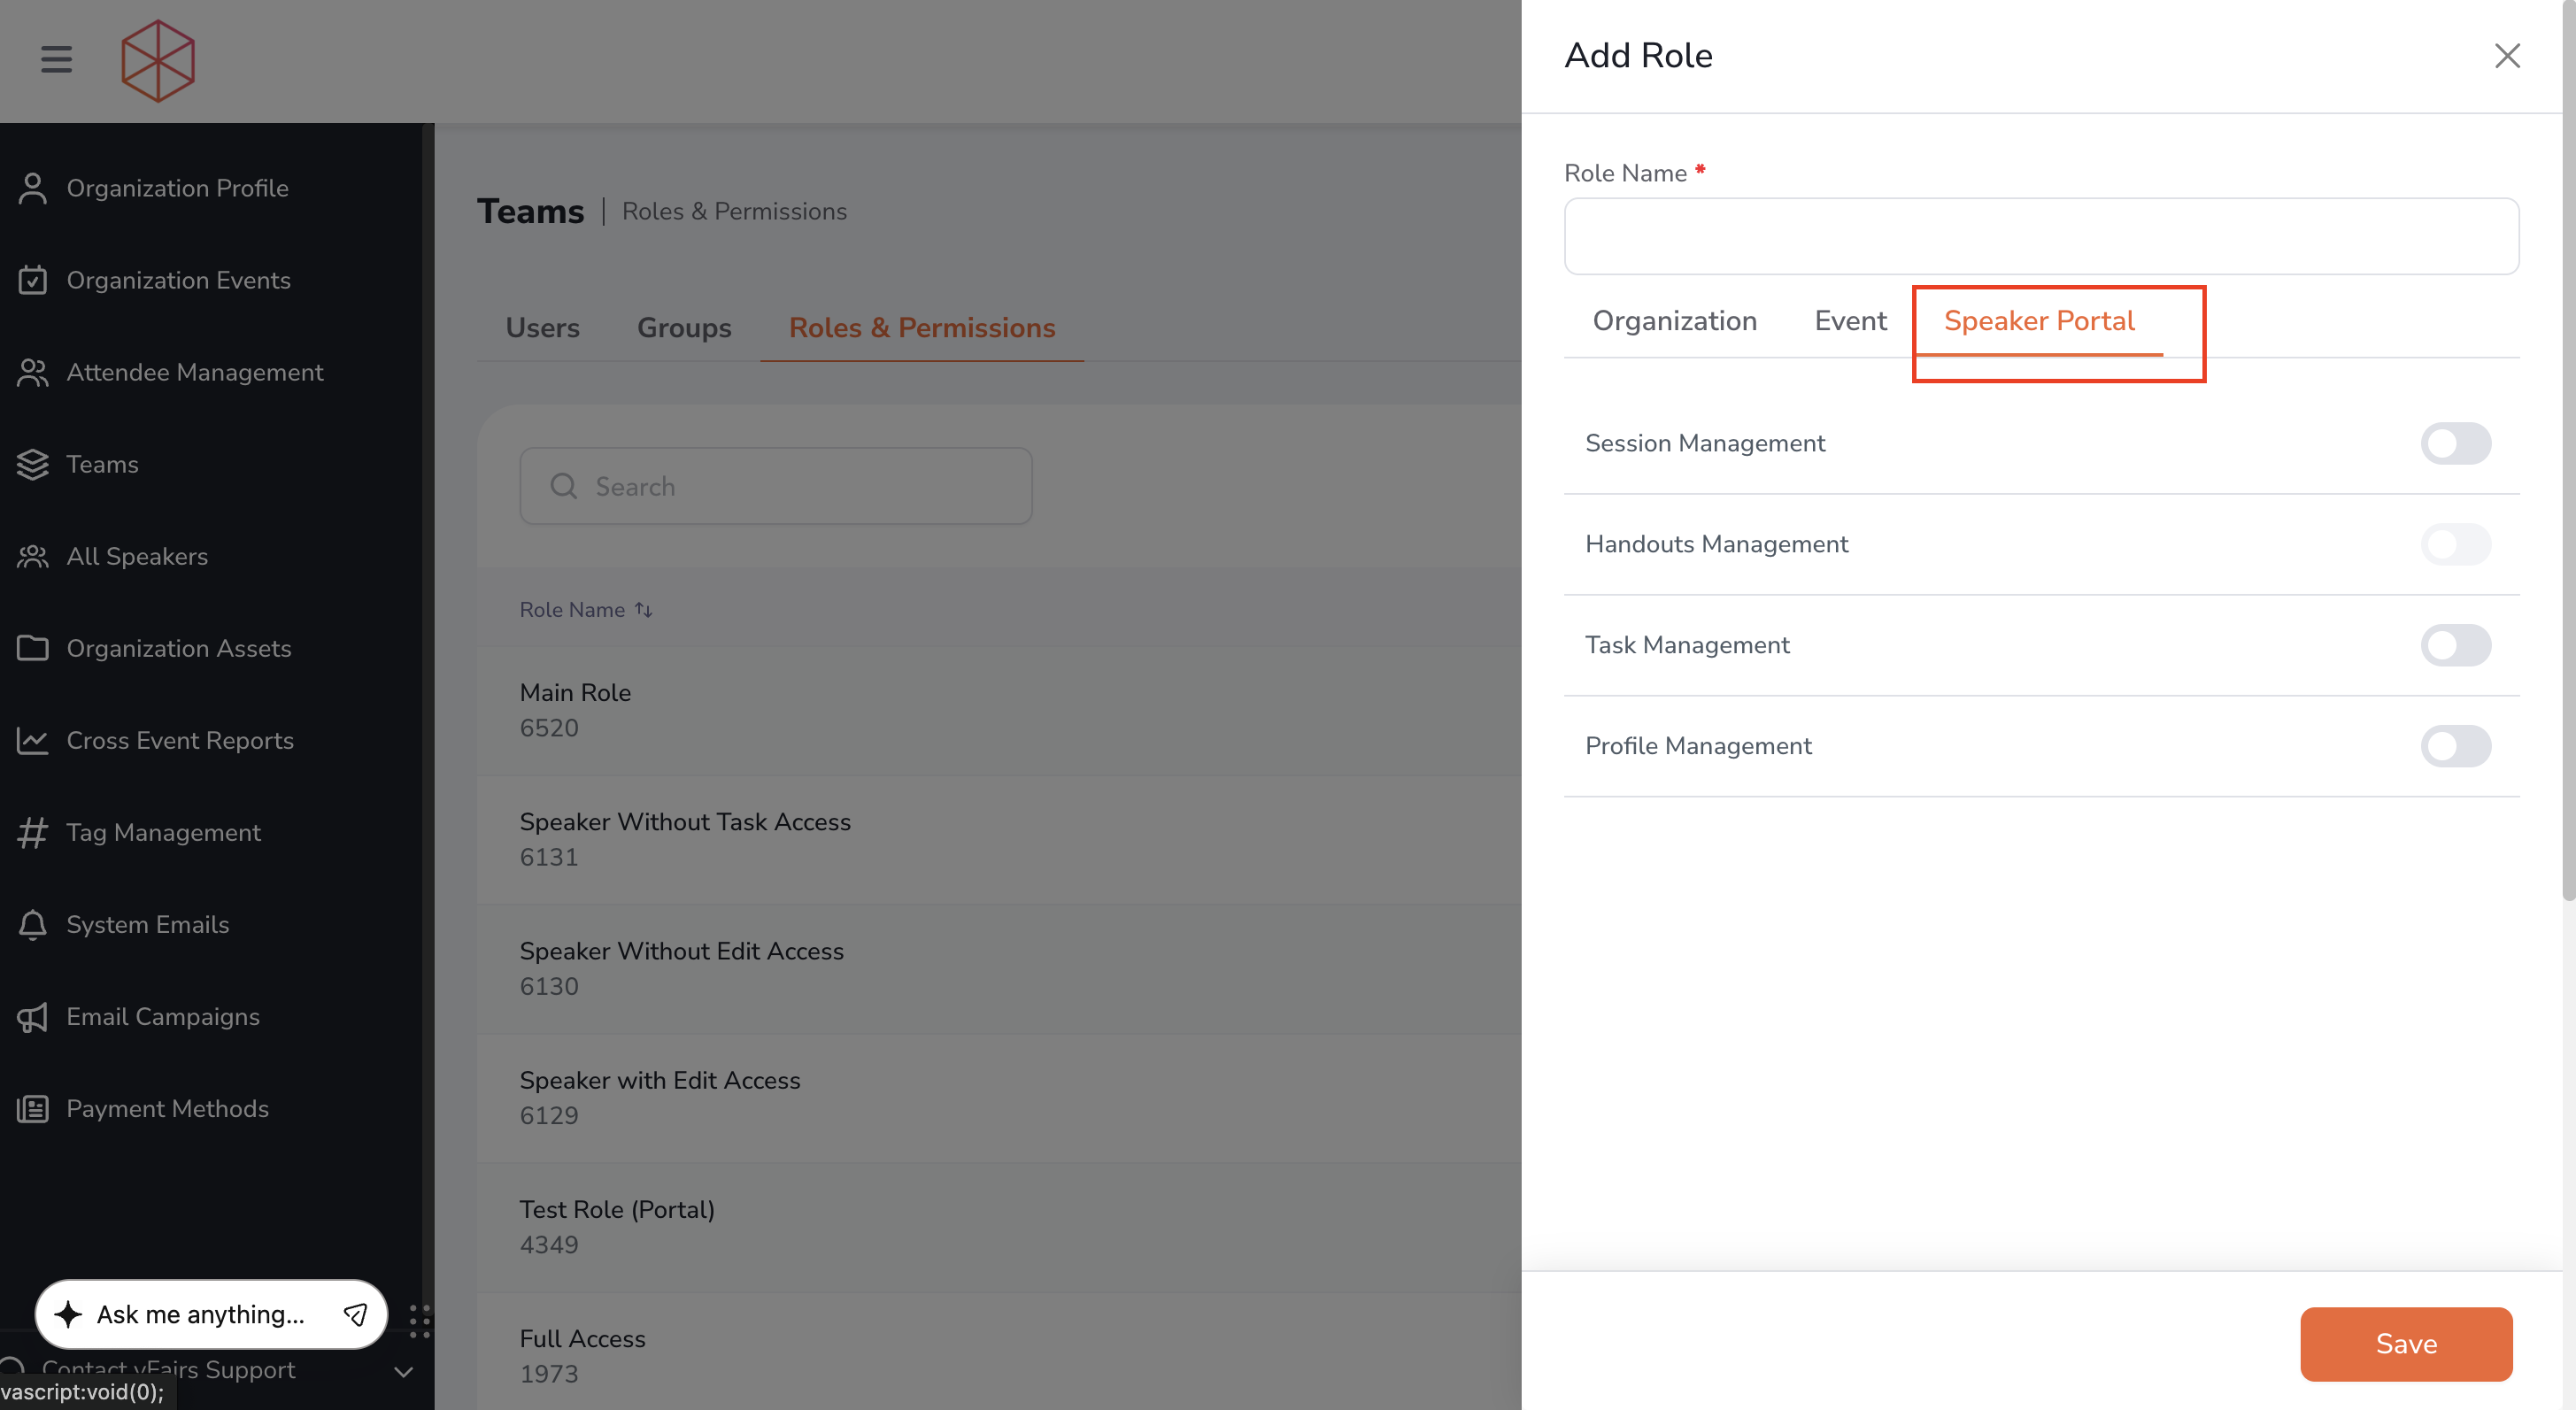
- Select Add Role.
- Enter a name for the role.
- Configure the permissions that should be available to speakers assigned to this role.
- Save the role.
The role is then available for assignment to speaker users.
Step 4: Configure Role Permissions
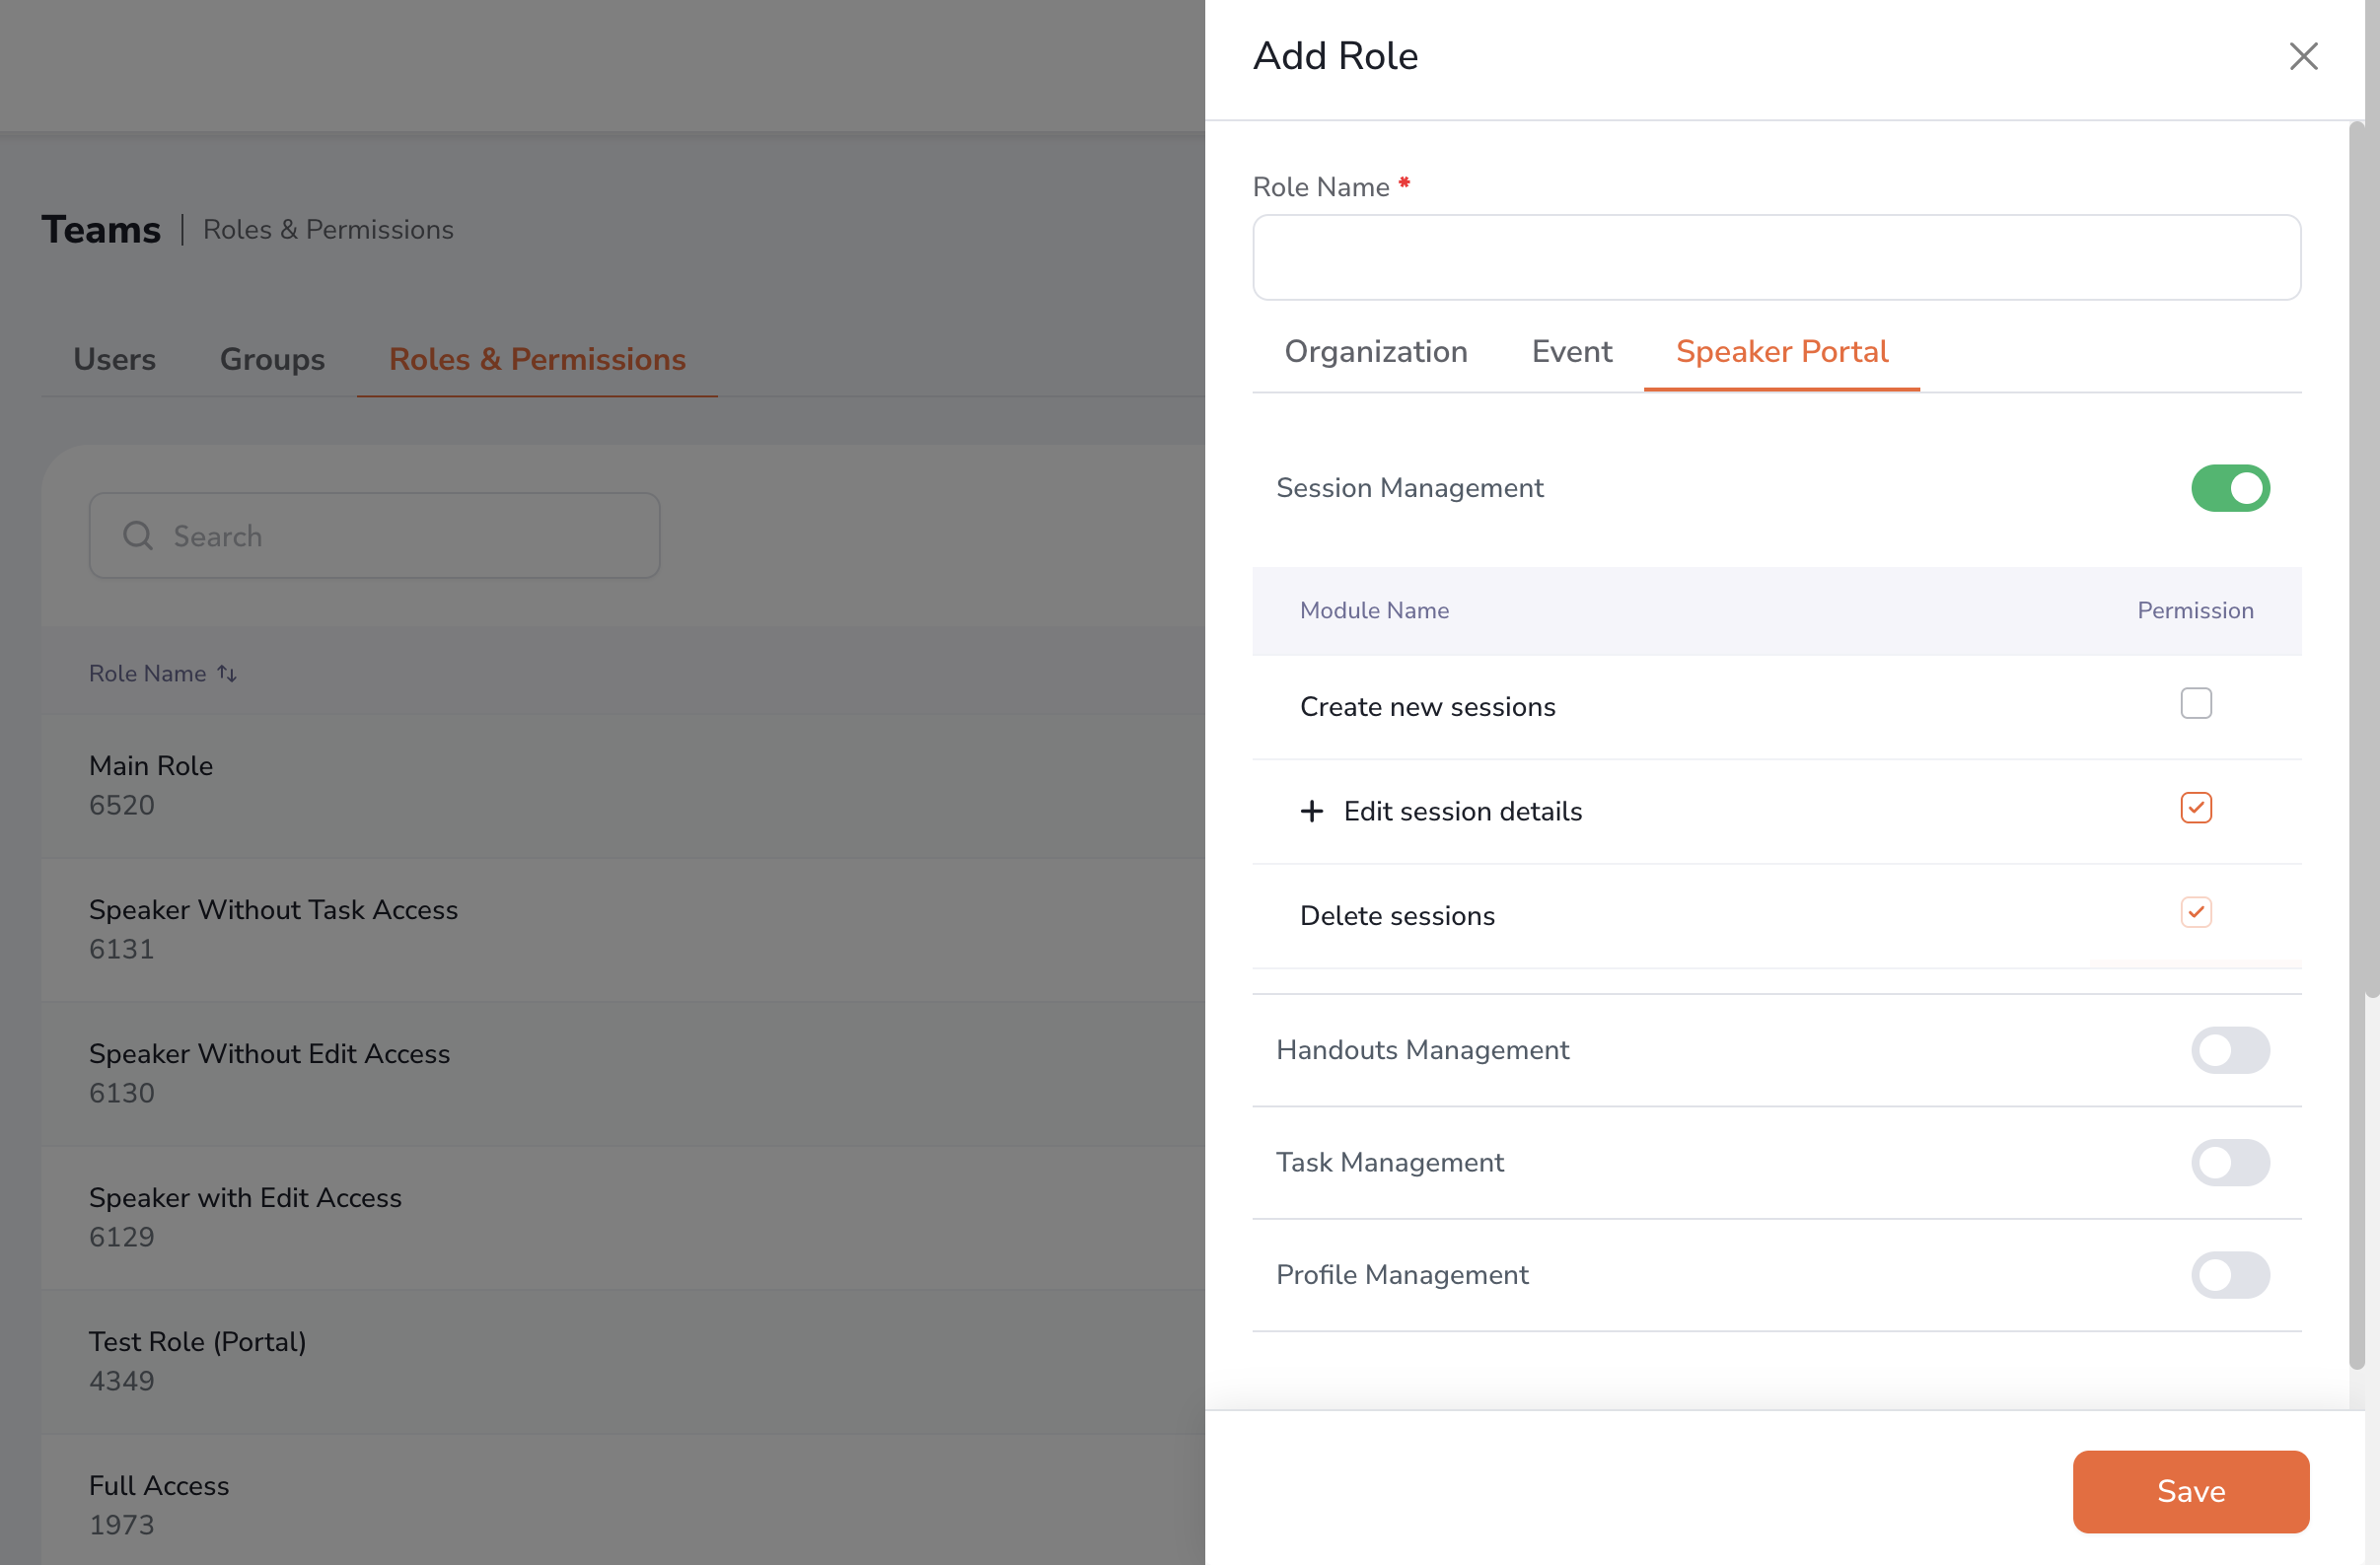
When creating or editing a role, configure the permissions that speakers assigned to the role should have.
Permissions are organized by functional areas within the Speaker Portal.
For example, permissions may include:
Session Management
Configure whether the speaker can:
- View sessions
- Create sessions
- Edit sessions
Handouts Management
Configure whether the speaker can:
- Upload handouts or materials
- Edit uploaded content
- Delete content
Portal Access
Configure access to applicable restricted sections or modules within the Speaker Portal.
This allows organizers to provide either limited or broader access depending on the speaker's responsibilities.
Step 5: Save the Role
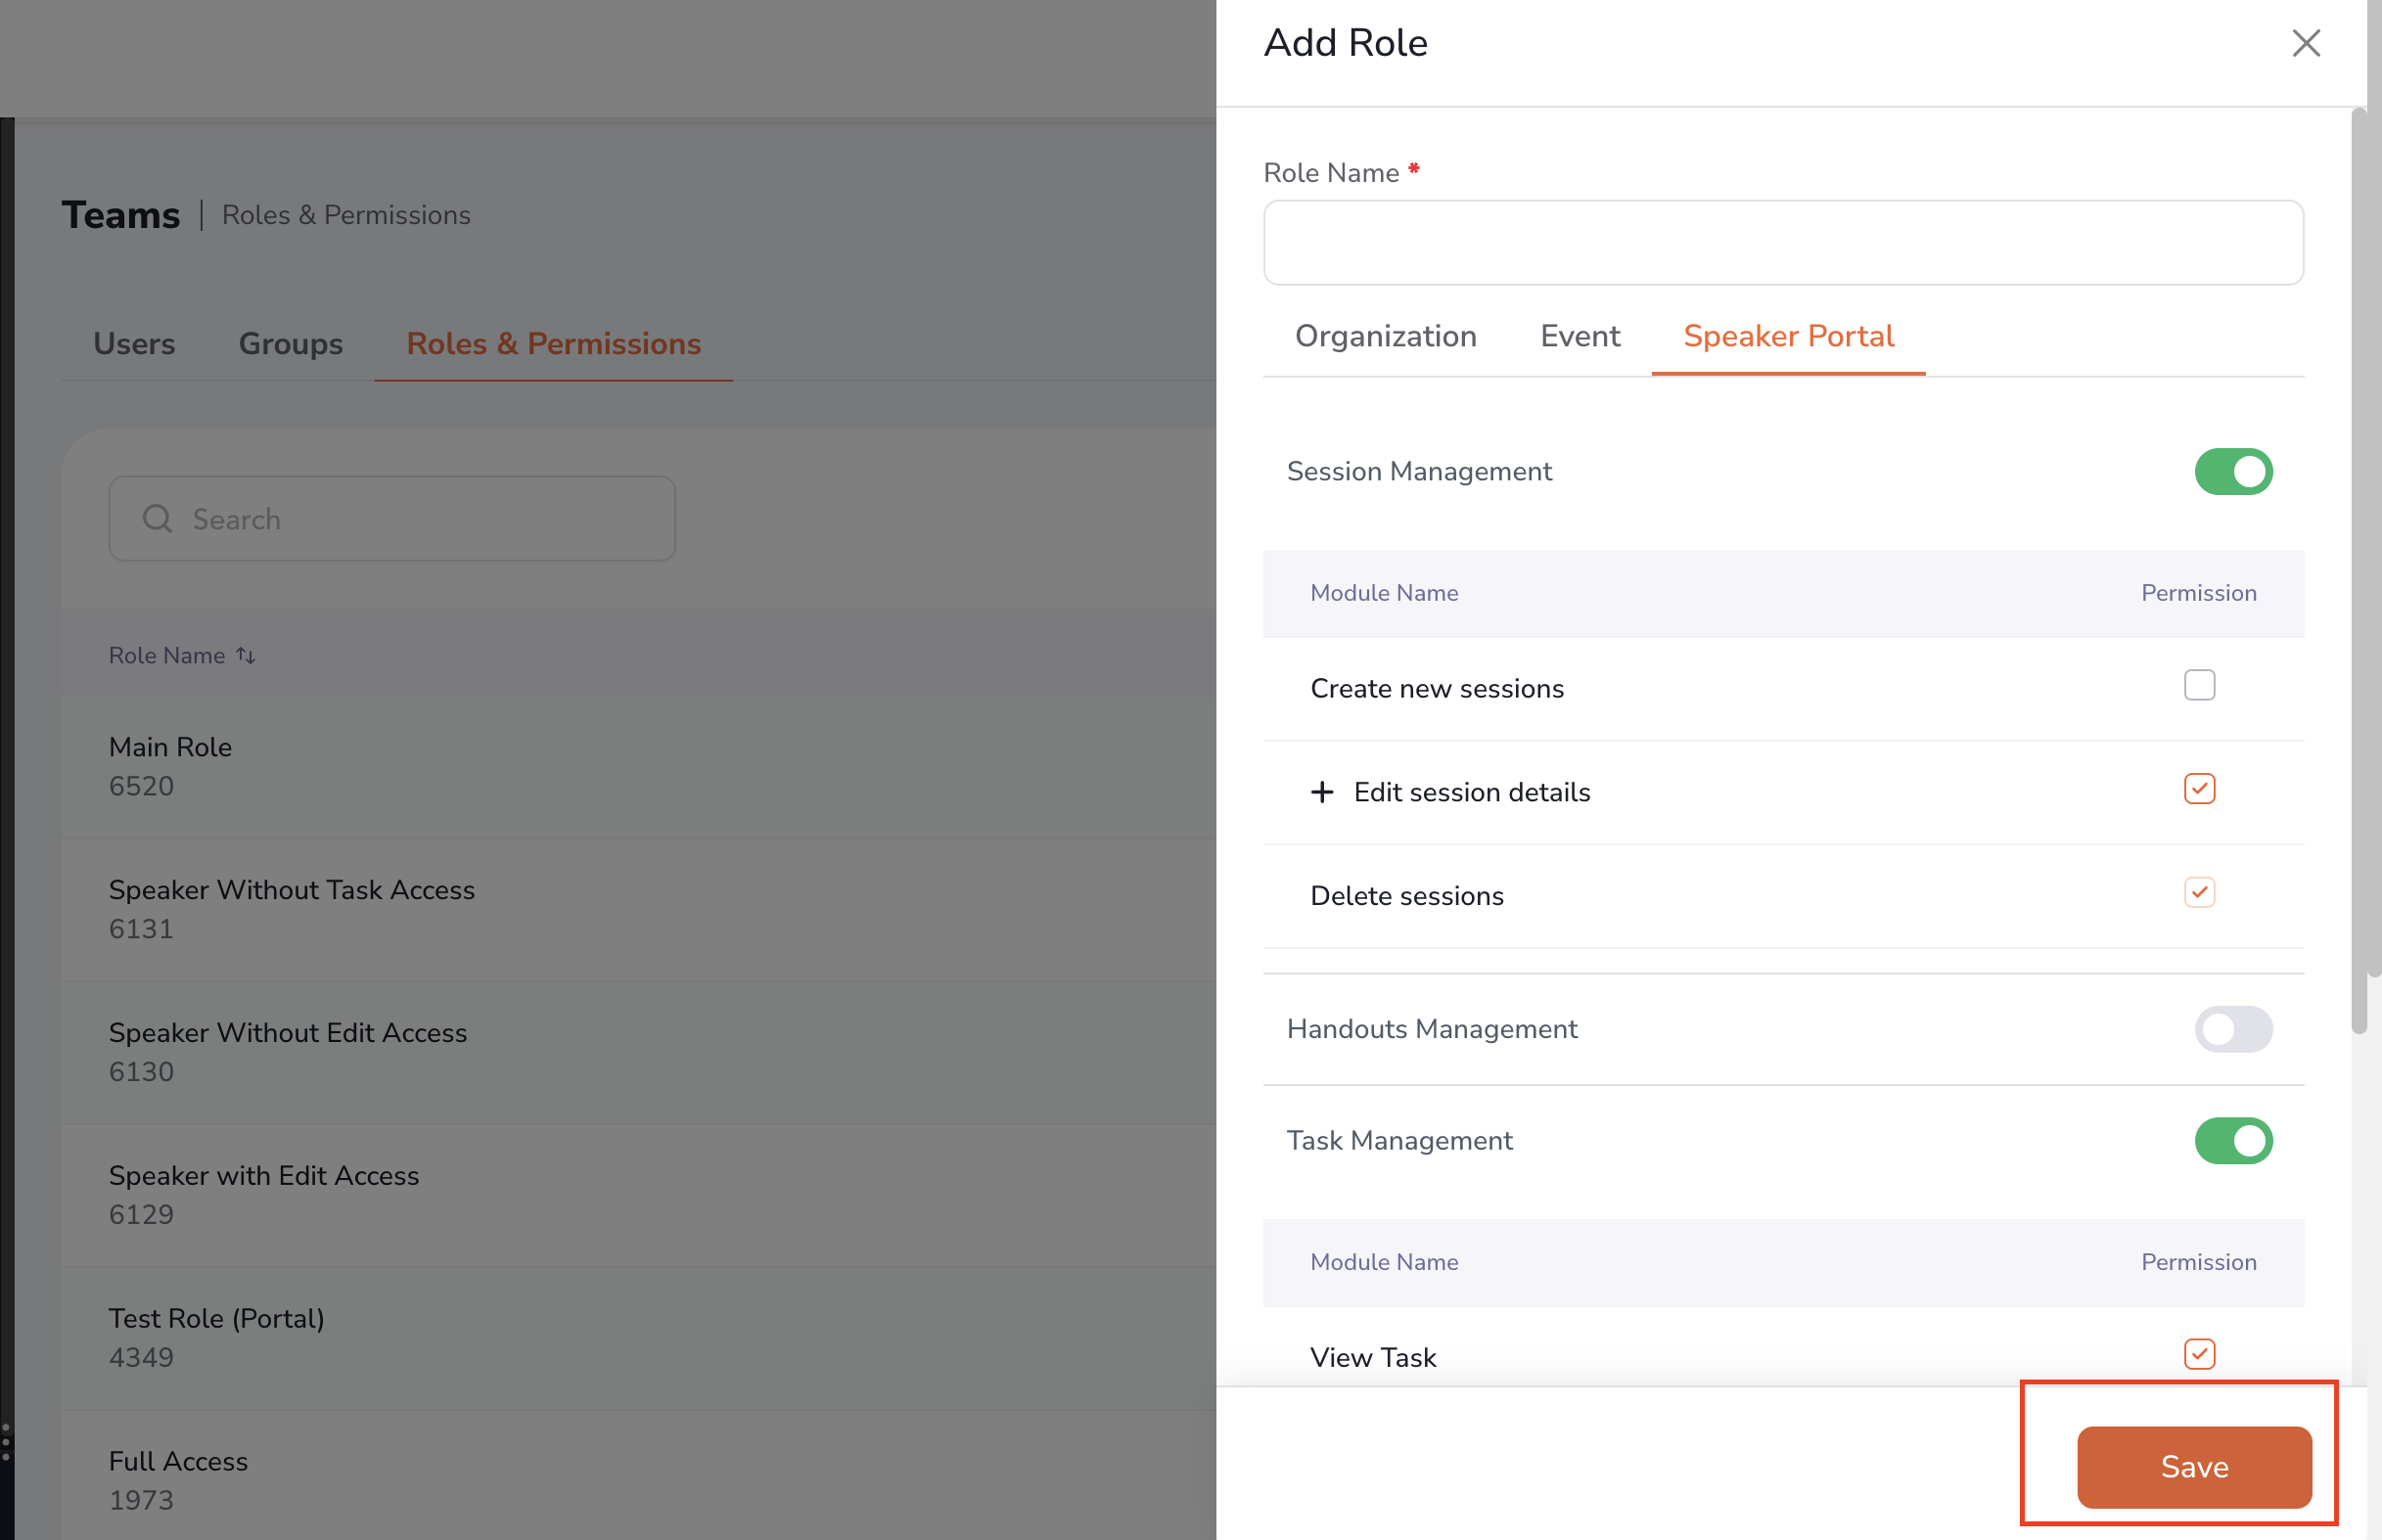
After configuring the required permissions, save the role.
The role is added to the available speaker roles and can then be assigned to applicable speaker users.
The configured permissions determine which actions and sections are available to speakers assigned to the role.
Step 6: Assign a Role to a Speaker
Select the speaker who should receive the custom role via each event's backend.
Assign the appropriate speaker role to the user.
For example, a speaker responsible only for providing session content can be assigned a role with content-management permissions without providing access to unrelated functionality.
The speaker will receive the permissions associated with the assigned role.
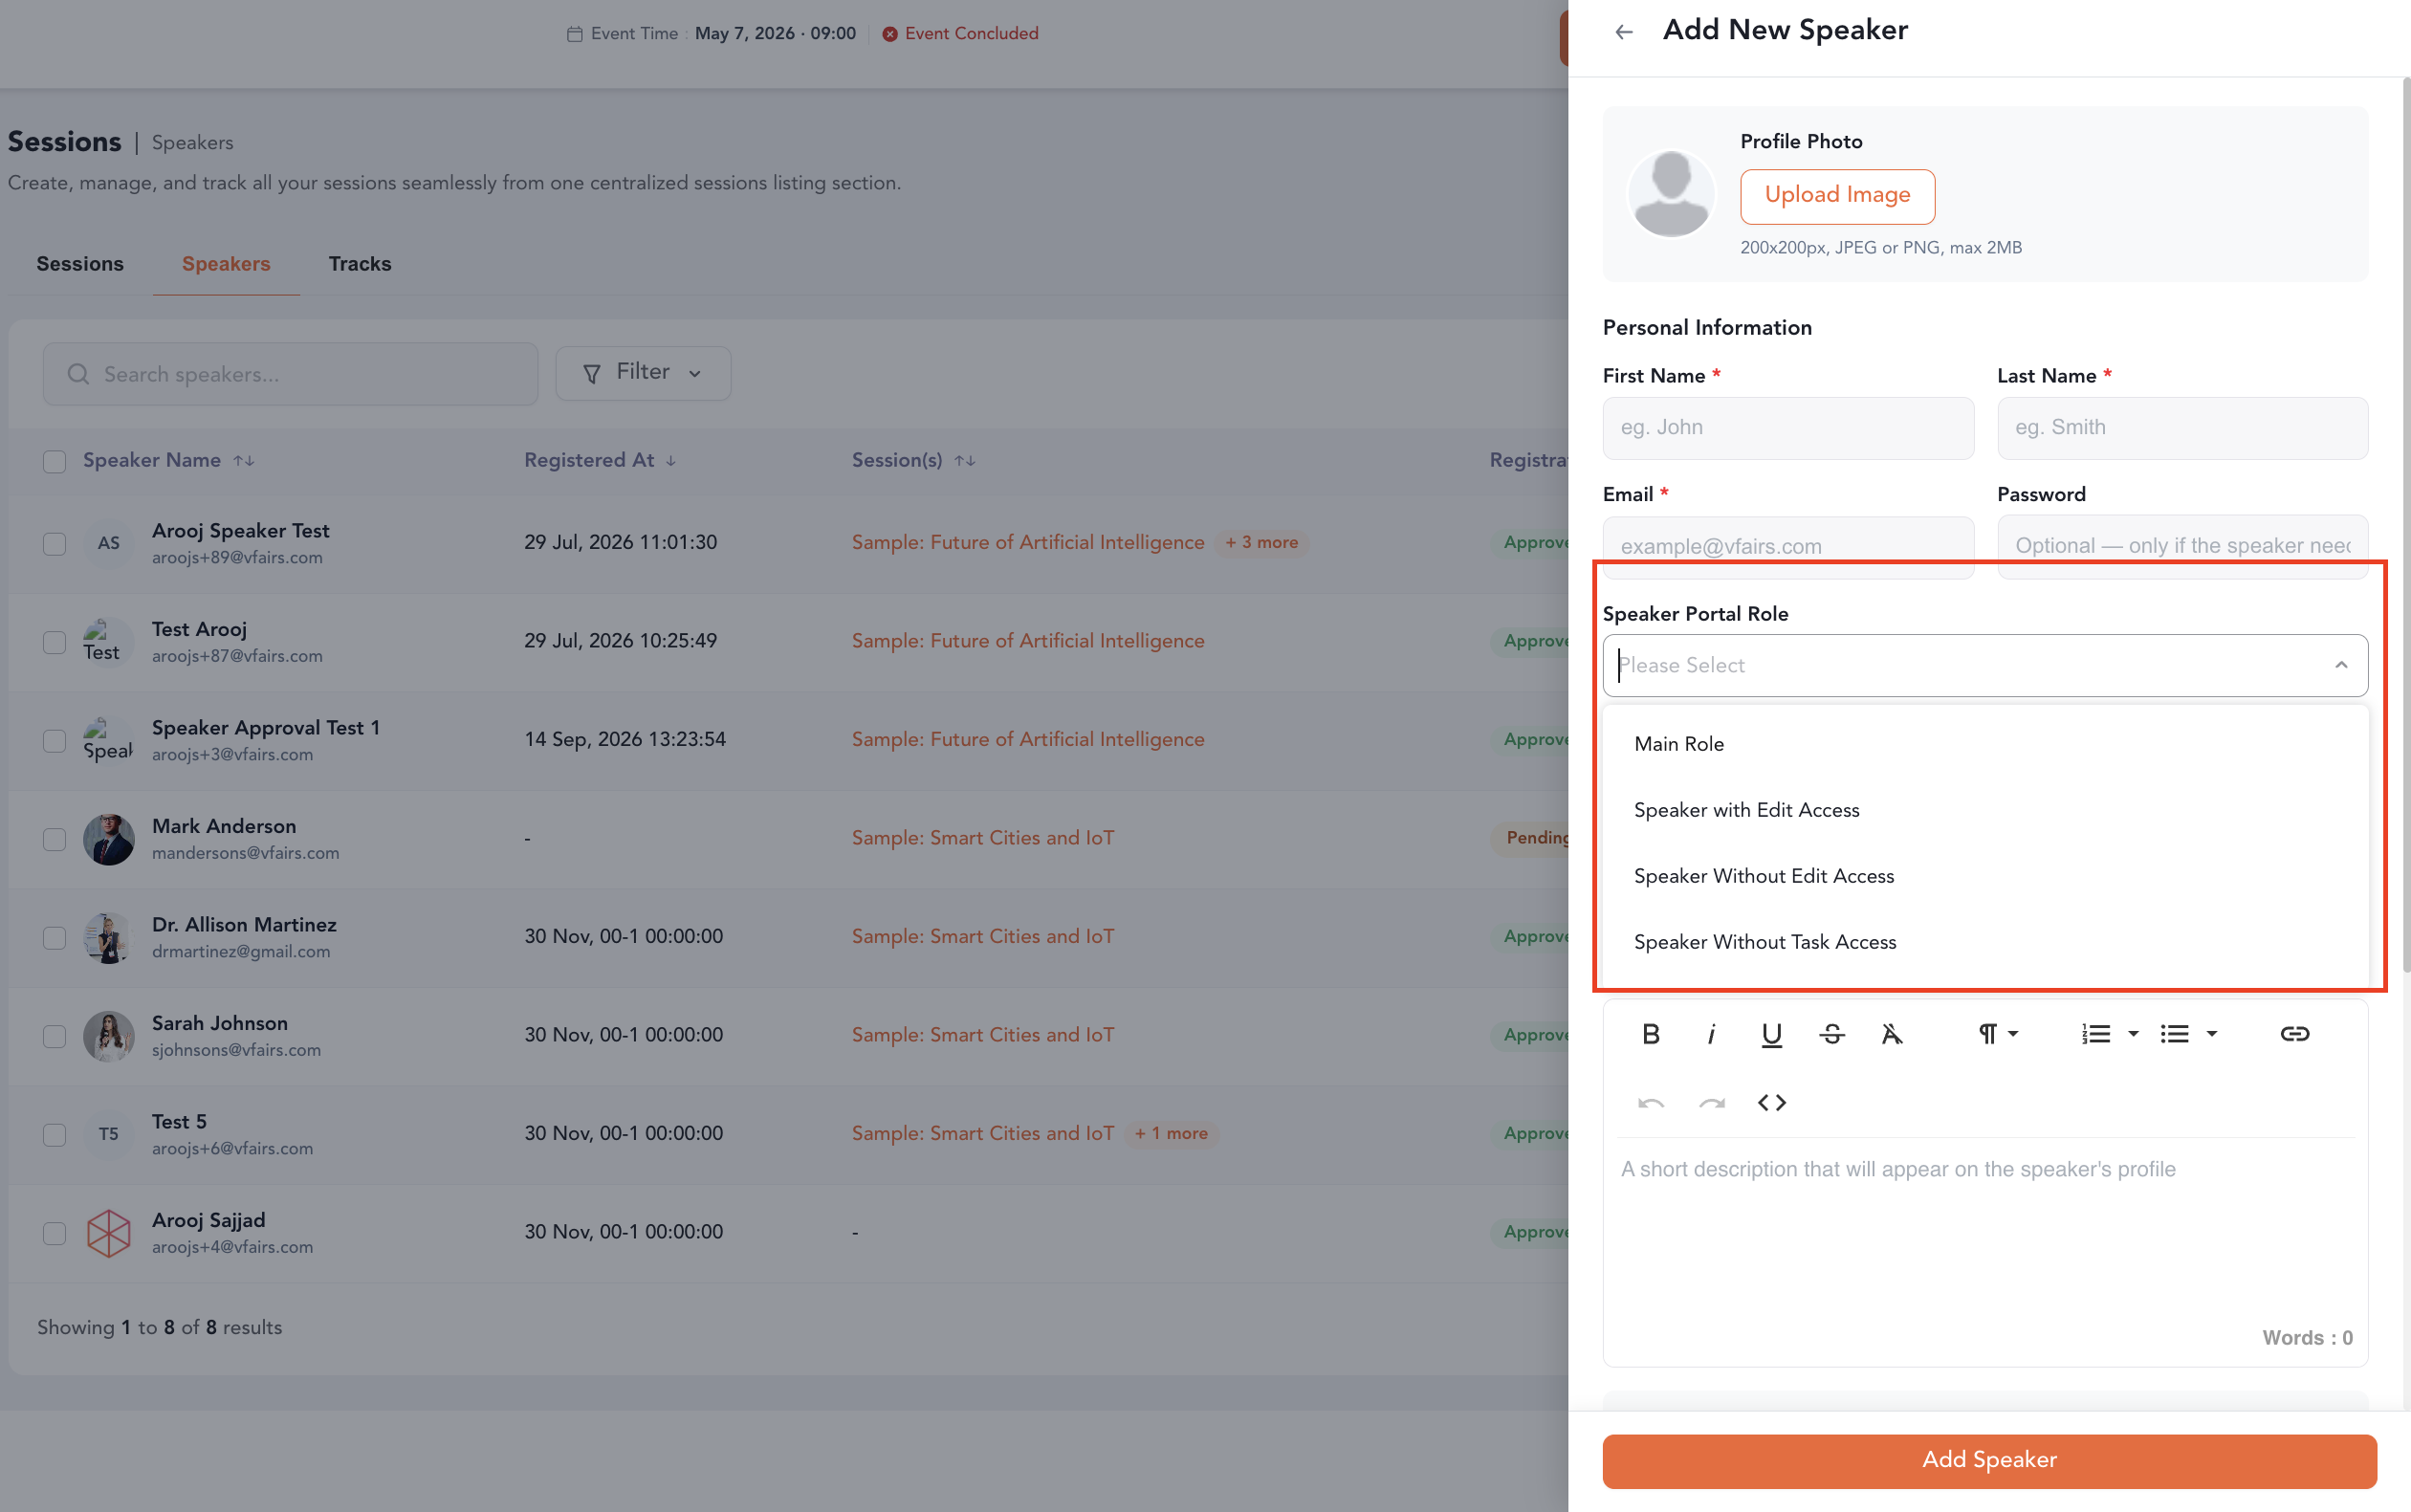
Note: All of the roles created in an organization will be synced in the events associated with that organization and will start showing up in the speaker creation drawer's role mapping dropdown for the organizer to map the role accordingly.
Step 7: Manage Existing Roles
Organizers can update an existing custom role when event requirements change.
To edit a role:
- Open the role management interface.
- Select the role you want to update.
- Modify the role name or permissions as required.
- Save the changes.
Updated permissions should be reflected for speakers assigned to the role according to the platform's permission update behavior.
Step 8: Review Permission Changes
When permissions are modified for an existing role, review the resulting access before saving the changes.
For example, adding Edit Sessions allows users assigned to that role to perform session-editing actions, while removing the permission restricts that capability.
Role configuration should therefore reflect the responsibilities assigned to the speaker.
Step 9: Apply Role Updates to Assigned Speakers
When a role's permissions are updated, the changes should be reflected for speakers assigned to that role.
Speakers should receive the updated access without requiring them to be manually reassigned to the role.
Where the platform requires a session refresh for permission changes to take effect, the updated permissions should follow the existing platform session behavior.
Step 10: Delete a Custom Role
If a custom role is no longer required, organizers can delete it subject to dependency checks.
Before deleting a role, the system should verify whether the role is currently associated with any speakers or other dependencies.
If dependencies exist, the organizer should be informed and prevented from deleting the role until the applicable dependencies are resolved.
Default/system roles should remain protected according to the platform's role-management rules.