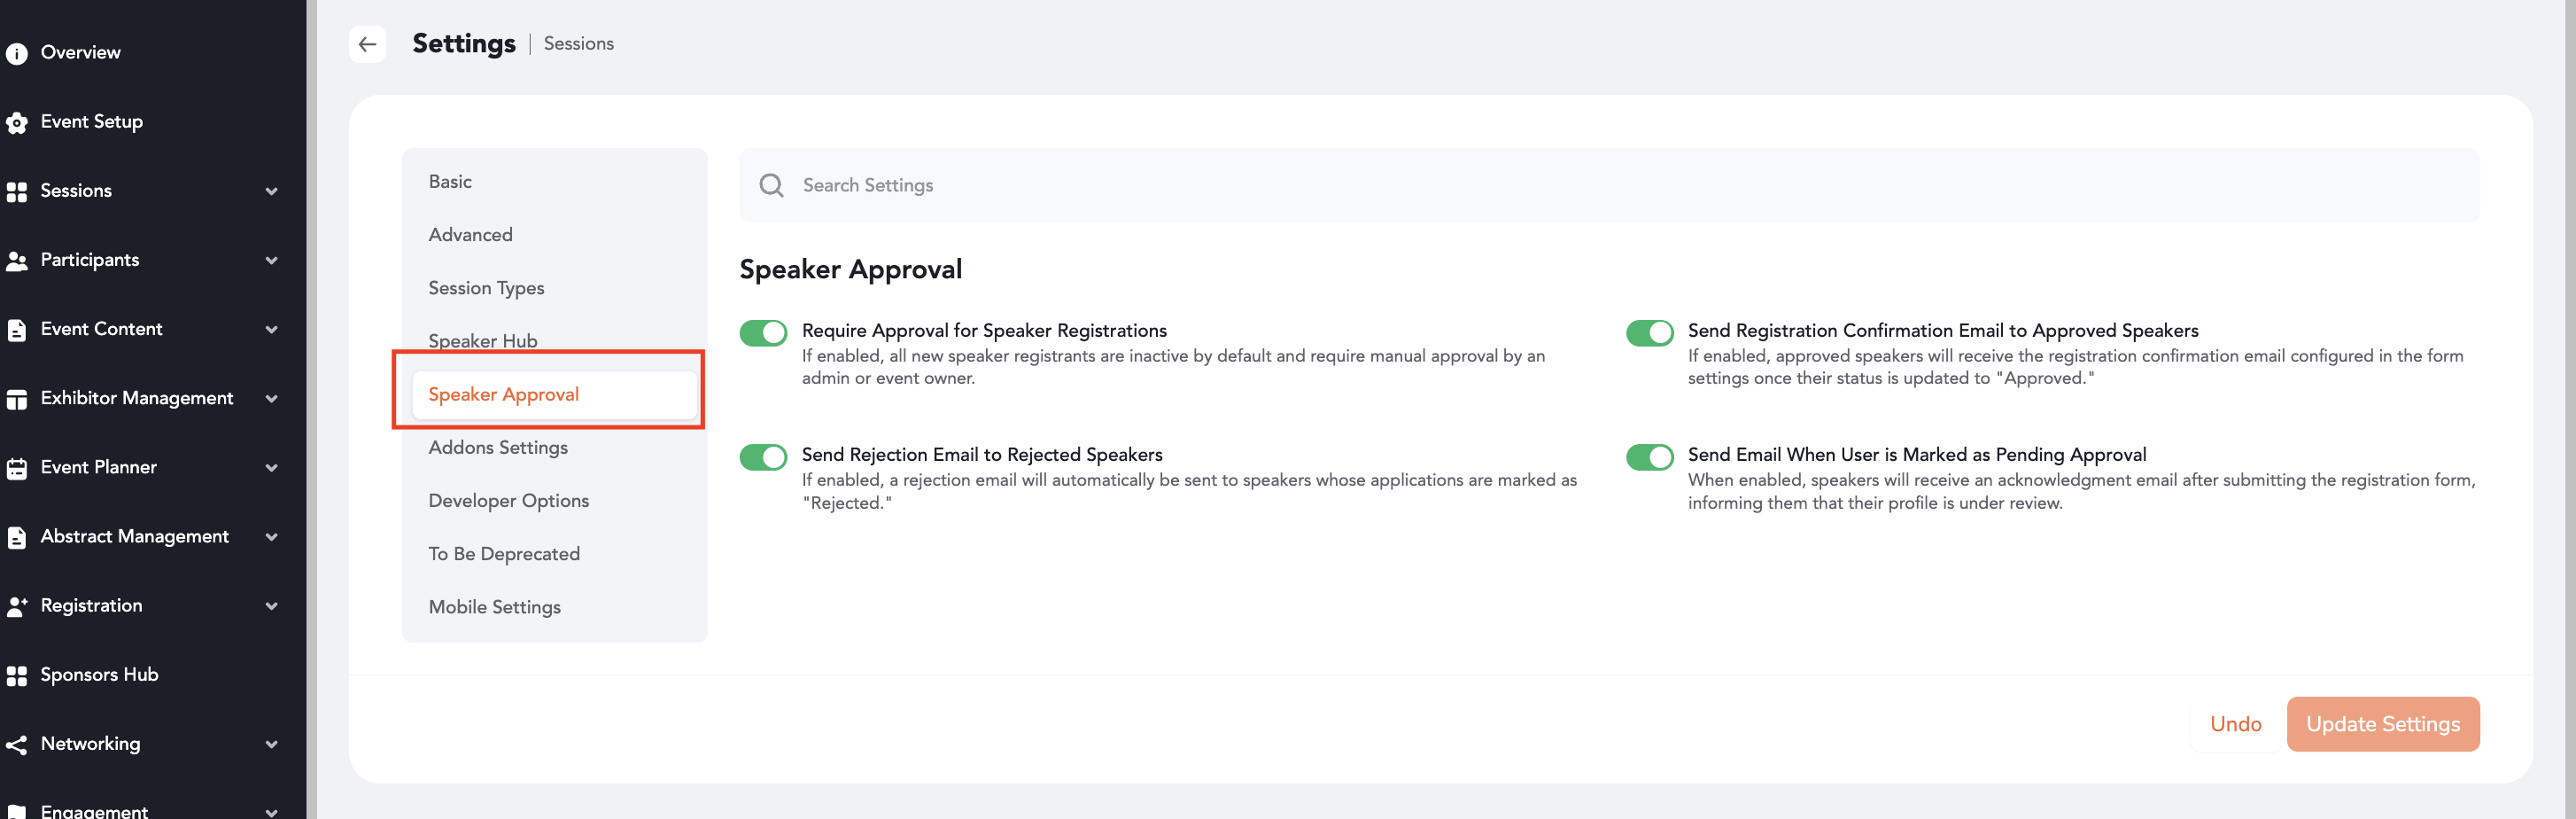
- Go to Backend → Agenda & Speakers → Session Listing → Settings.
- Open the Speaker Approval section.
- Enable Require Approval for Speaker Registrations.
Once enabled, speakers registering through the Speaker Registration Form will require organizer approval before being confirmed.
Step 2: Configure Email Notifications
After enabling Speaker Approval, configure the available email notification options:
- Send Registration Confirmation Email to Approved Speakers
- Send Rejection Email to Rejected Speakers
- Send Email When User is Marked as Pending Approval
These emails are optional and can be enabled based on your event requirements.
Step 3: Speaker Submits the Registration FormNote: The email templates are available under System Emails and can be customized for the event.
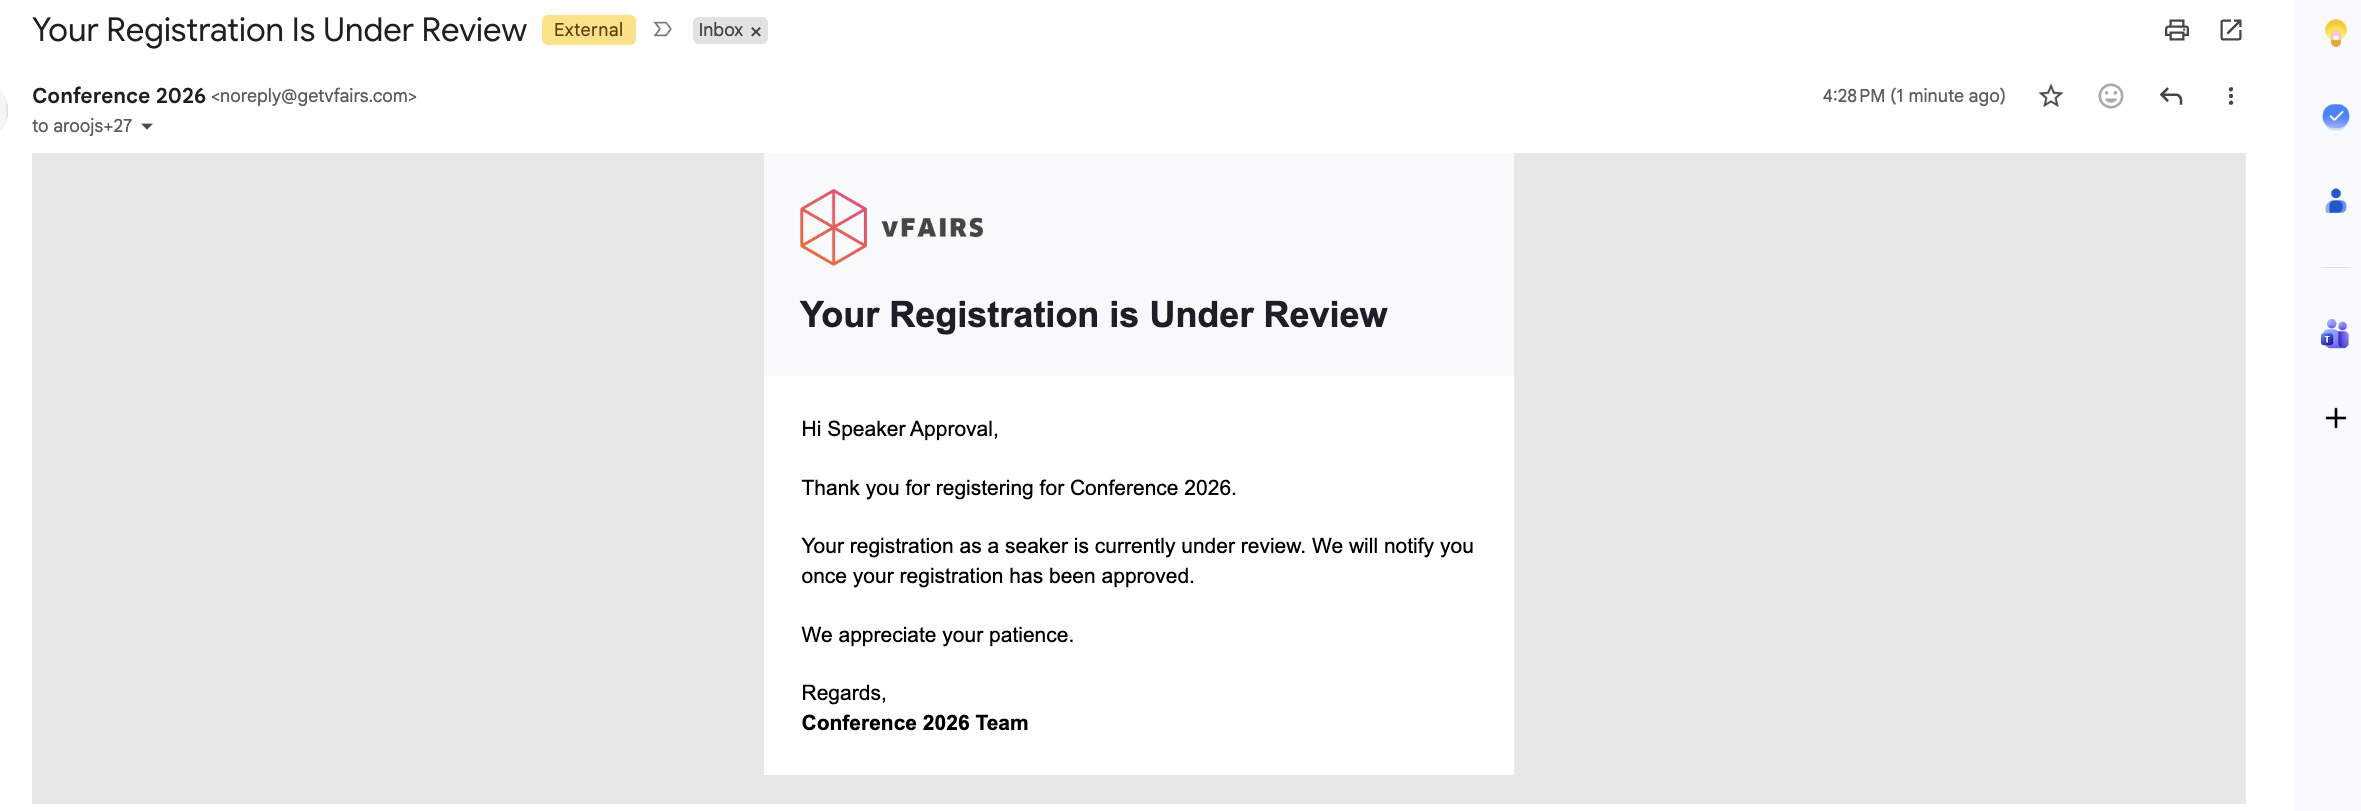
When a speaker submits the Speaker Registration Form:
- The speaker is added to the Speaker Listing.
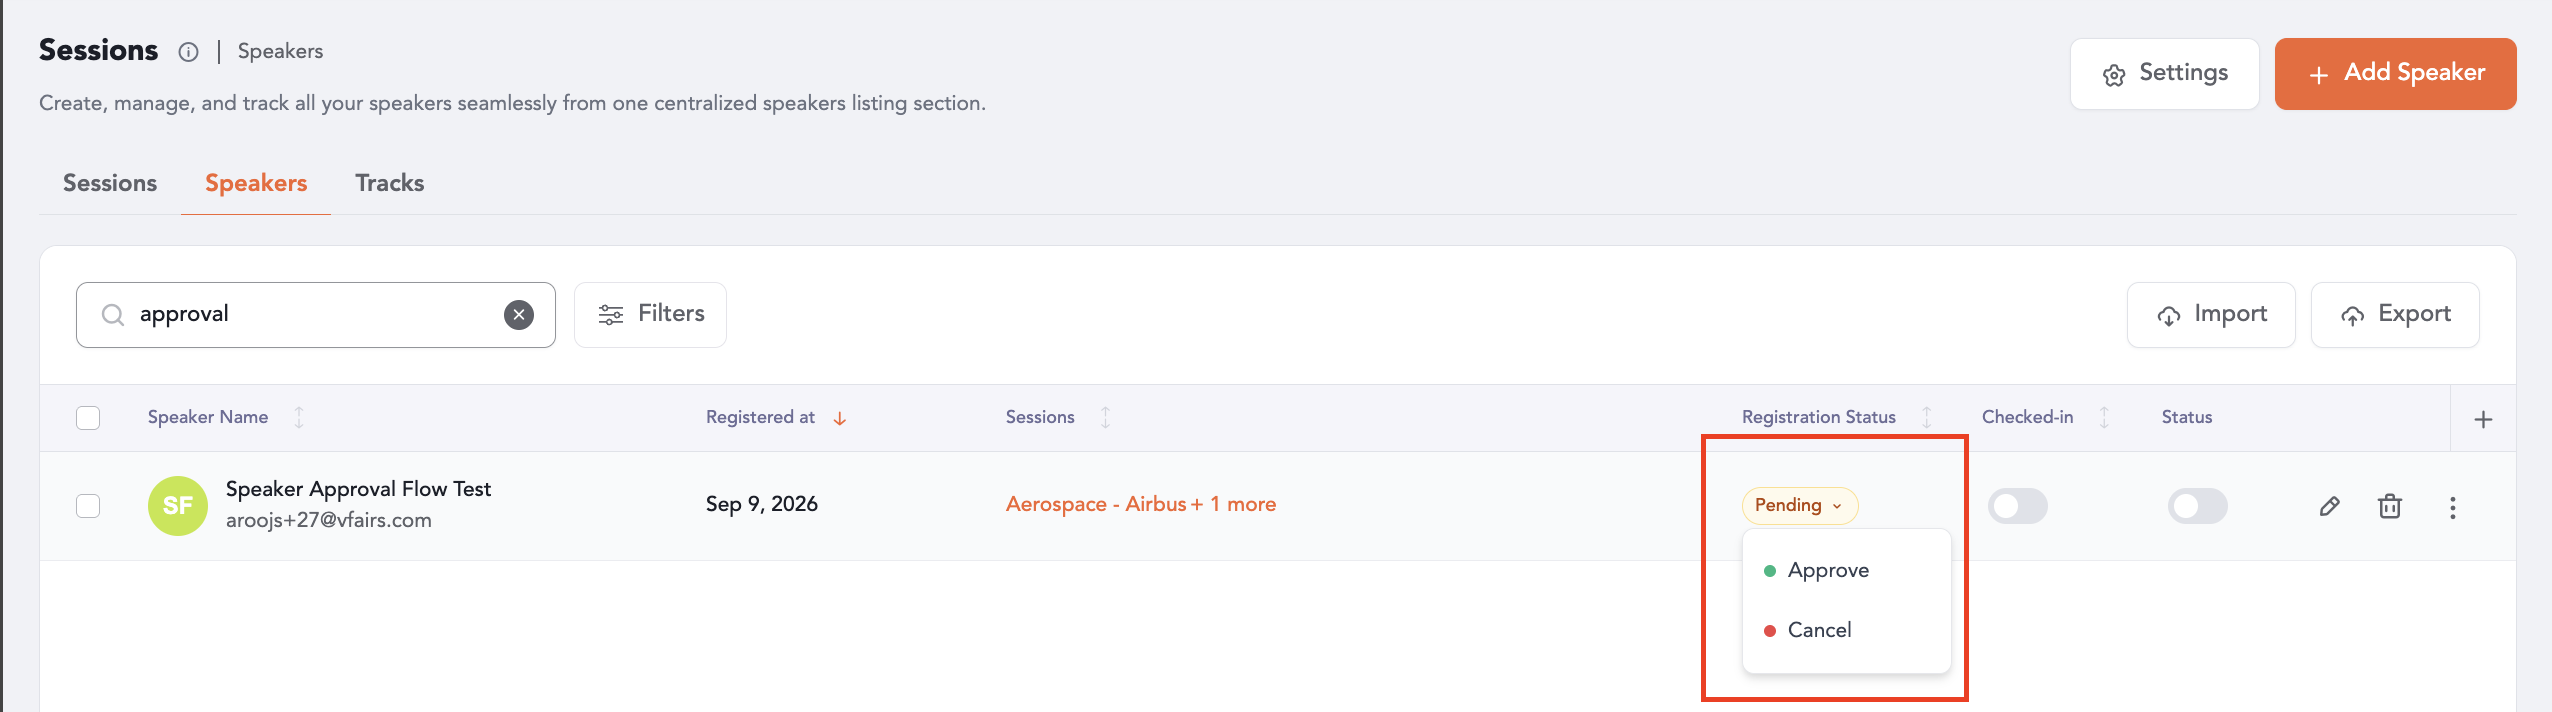
- Their Registration Status is set to Pending.
- If enabled, the Pending Approval email is sent to the speaker.
- The speaker remains pending until an organizer takes action.
- Go to Backend → Agenda & Speakers → Speakers.
- Locate the speaker with a Pending registration status.
- Review the speaker's submitted information.
- Choose one of the available actions:
- Approve Registration
- Cancel Registration
Step 5: Approve or Cancel the Registration
Approve Registration
If the speaker is approved:
- Select Approve Registration.
- The Registration Status changes to Approved.
- If enabled, the Speaker Registration Confirmation email is automatically sent to the speaker.
Cancel Registration
If the registration is not approved:
- Select Cancel Registration.
- The Registration Status changes to Cancelled.
- If enabled, the Rejection Email is automatically sent to the speaker.
Once a decision is made, the registration status is finalized and the pending actions are no longer available.
Step 6: Speakers Added Through Other MethodsThe approval flow applies only to speakers who register through the Speaker Registration Form.
Speakers added through:
- Backend/manual creation
- CSV import
will bypass the approval process and will not have a Registration Status. Their status will remain blank/neutral in the Speaker Listing.
Step 7: Track Registration StatusThe Registration Status column in the Speaker Listing allows organizers to identify the status of form-based speaker registrations:
- Pending – Awaiting organizer review
- Approved – Registration approved
- Cancelled – Registration cancelled
- — – Speaker was added through backend creation or import
The Registration Status can also be included in speaker exports for reporting purposes.