Step 1: Navigate to the Teams section from the left-hand menu in organization portal
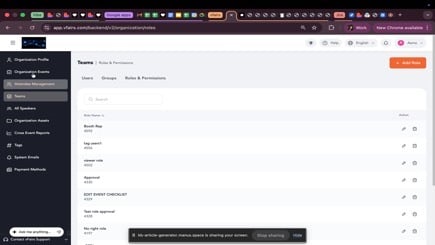
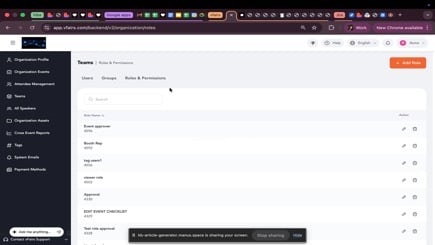
Step 2: Click on the Roles & Permissions tab.
Step 3: Click the + Add Role button.
Step 4: In the User Role sidebar, enter a name for the new role in the provided text field. For example, "Event approver".
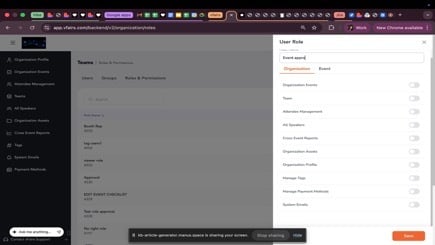
Step 5: Switch to the Event tab within the User Role sidebar.
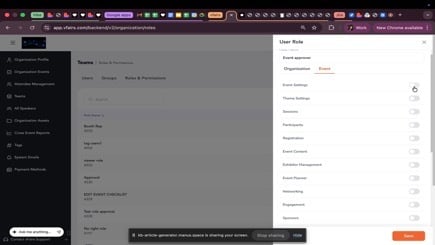
Step 6: Scroll down and locate the Approve Event Status permission. Toggle it on to enable approval for event features.

Step 7: Click Save to create the new role.
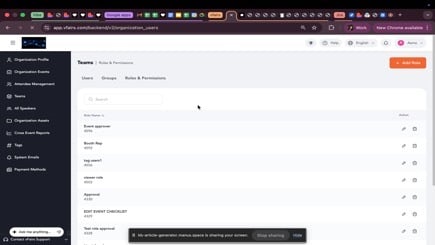
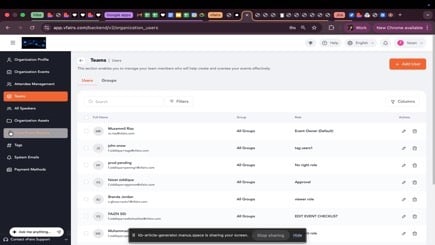
Step 8: Confirm that the new role, for example, "Event approver", appears in the list of roles.
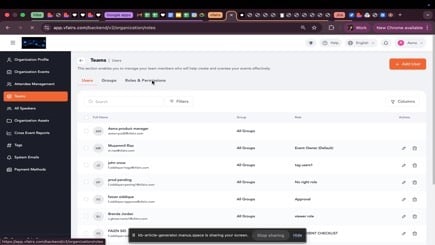
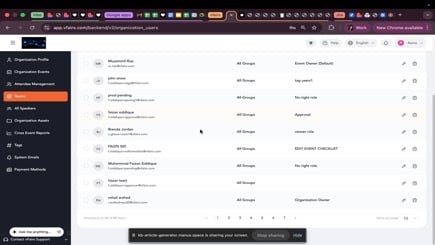
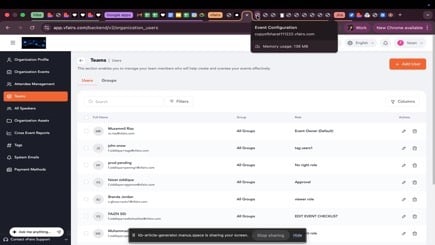
Step 9: Click on the Users tab within the Teams section.
Step 10: Locate the user you wish to assign the role to and click the Edit icon (pencil icon) next to their name.
Step 11: In the Update User sidebar, click on the Roles field.
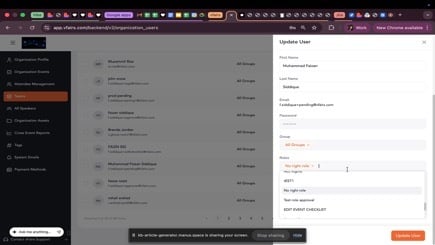
Step 12: Select the newly created "Event approver" role from the dropdown list.
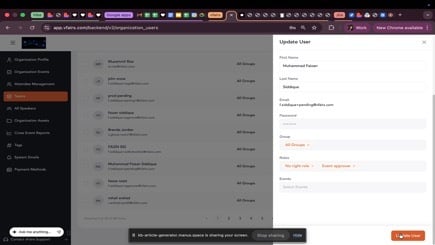
Step 13: Click Update User to save the changes.
Step 14: Navigate to Organization Events from the left-hand menu.
Step 15: Locate the event for which you want to submit features for approval. Click the launch event icon next to the event edit icon.
Step 16: On the event's launchpad, click the Send for approval button.
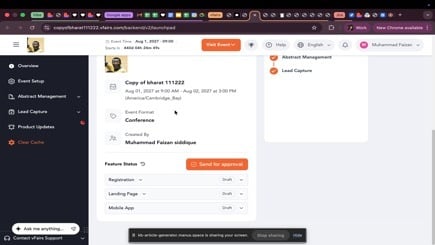
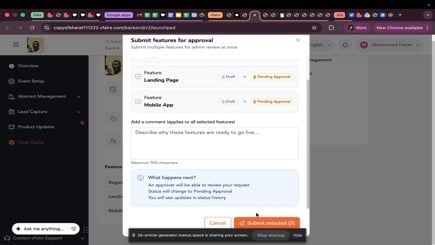
Step 17: In the Submit features for approval pop-up, select the features you wish to submit for approval (e.g., Landing Page, Mobile App).
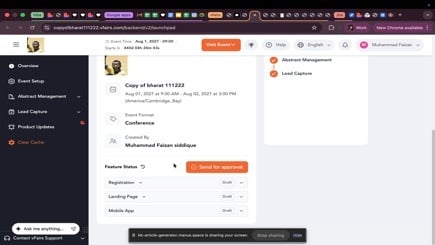
Step 18: In overview tab of event portal, you will see all the progress. review Click Send for Approval to send the features for approval. It shows a default selection of all three features to be submitted for approval. You can select any number of items to be submitted for approval
Step 19: Observe that the status of the submitted features changes to "Pending Approval" on the event launchpad.
Step 20: Login as an approver in the relevant event portal. You will see in the overview tab a button for approving event. Clicking on approve event button shows the selection of all the features submitted for approval. You can choose all to approve or decline and add any comments while declining. Status on event launchpad updates accordingly.
Ensure that the user assigned the 'Event approver' role has the necessary permissions to access and modify event settings.
The 'Approve Event Status' permission is crucial for allowing a role to approve event features.