1. Navigate to the Sessions Listing Page
Go to Agenda and Speakers section and click Sessions listing tab in your event’s backend.

2. Access the Bulk Action Options
Click the More button located at the top-right corner of the Sessions Listing page.

3. Choose an Action from the Pop-Up Menu
A pop-up will appear with the following options:
-
-
Delete All Sessions
-
Delete Selected Sessions
-
Deactivate All Sessions
-
Deactivate Selected Sessions
-
Activate Selected Sessions

-
4. Select the Sessions You Want to Update
Use the checkboxes beside each session to select which ones you want to delete, deactivate, or activate.
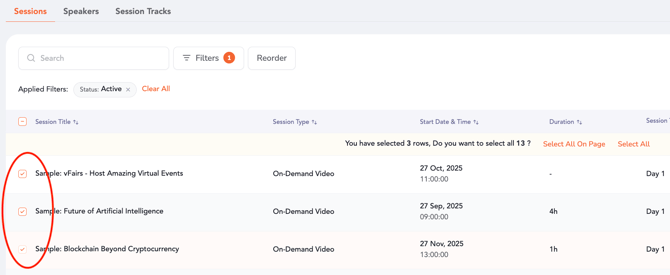
5. Apply the Desired Action
From the More pop-up, choose the action you want to perform.
The system will then execute the selected action on all chosen sessions simultaneously.
