Step 1: Create a Data Tag
-
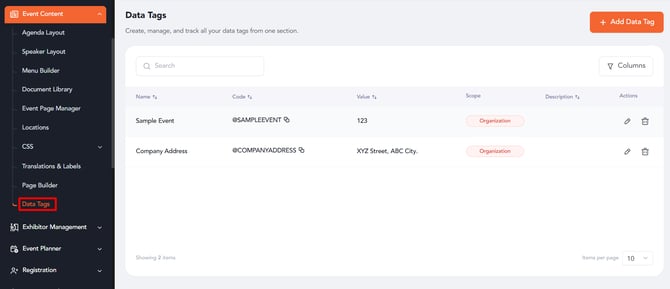
Go to Page Content → Data Tags.
-
Click Add Tag.
-
In the right sidebar form, fill in all required fields:
-
Name: Label to identify the tag.
-
Code: Unique code for inserting the tag (you can copy it to clipboard later).
-
Value: The plain text that should appear when the tag is used.
- Description (Optional): Details about the tag.
-
Scope: Choose whether the tag should be available only within the event or shared across all events in the organization.
-
Organization-level tags are shared across all events.
-
Event-level tags are only accessible within the specific event.
-
-
- Click Save. Your tag is now added to the list.

Step 2: Edit a Data Tag
-
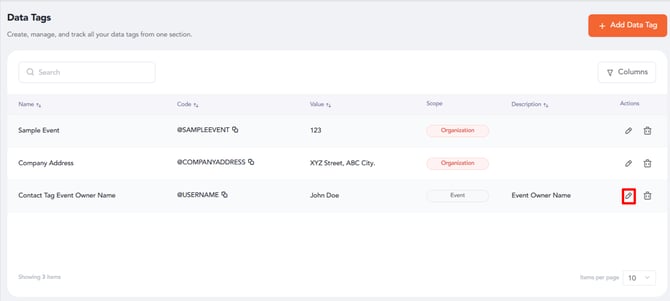
From the Data Tags list, click Edit.
-
The sidebar opens with existing values pre-filled.
-
Update the fields and click Save.
-
The tag is updated and will reflect wherever it is used.
Step 3: Use a Data Tag in Page Builder
-
From the Data Tags list, copy the Code.
-
Paste the code into any free text editor field.
-
When viewed live, the system replaces the code with the tag’s Value.

Notes
-
Only plain text is supported.
- Tags are also accessible in copy tags in email campaigns