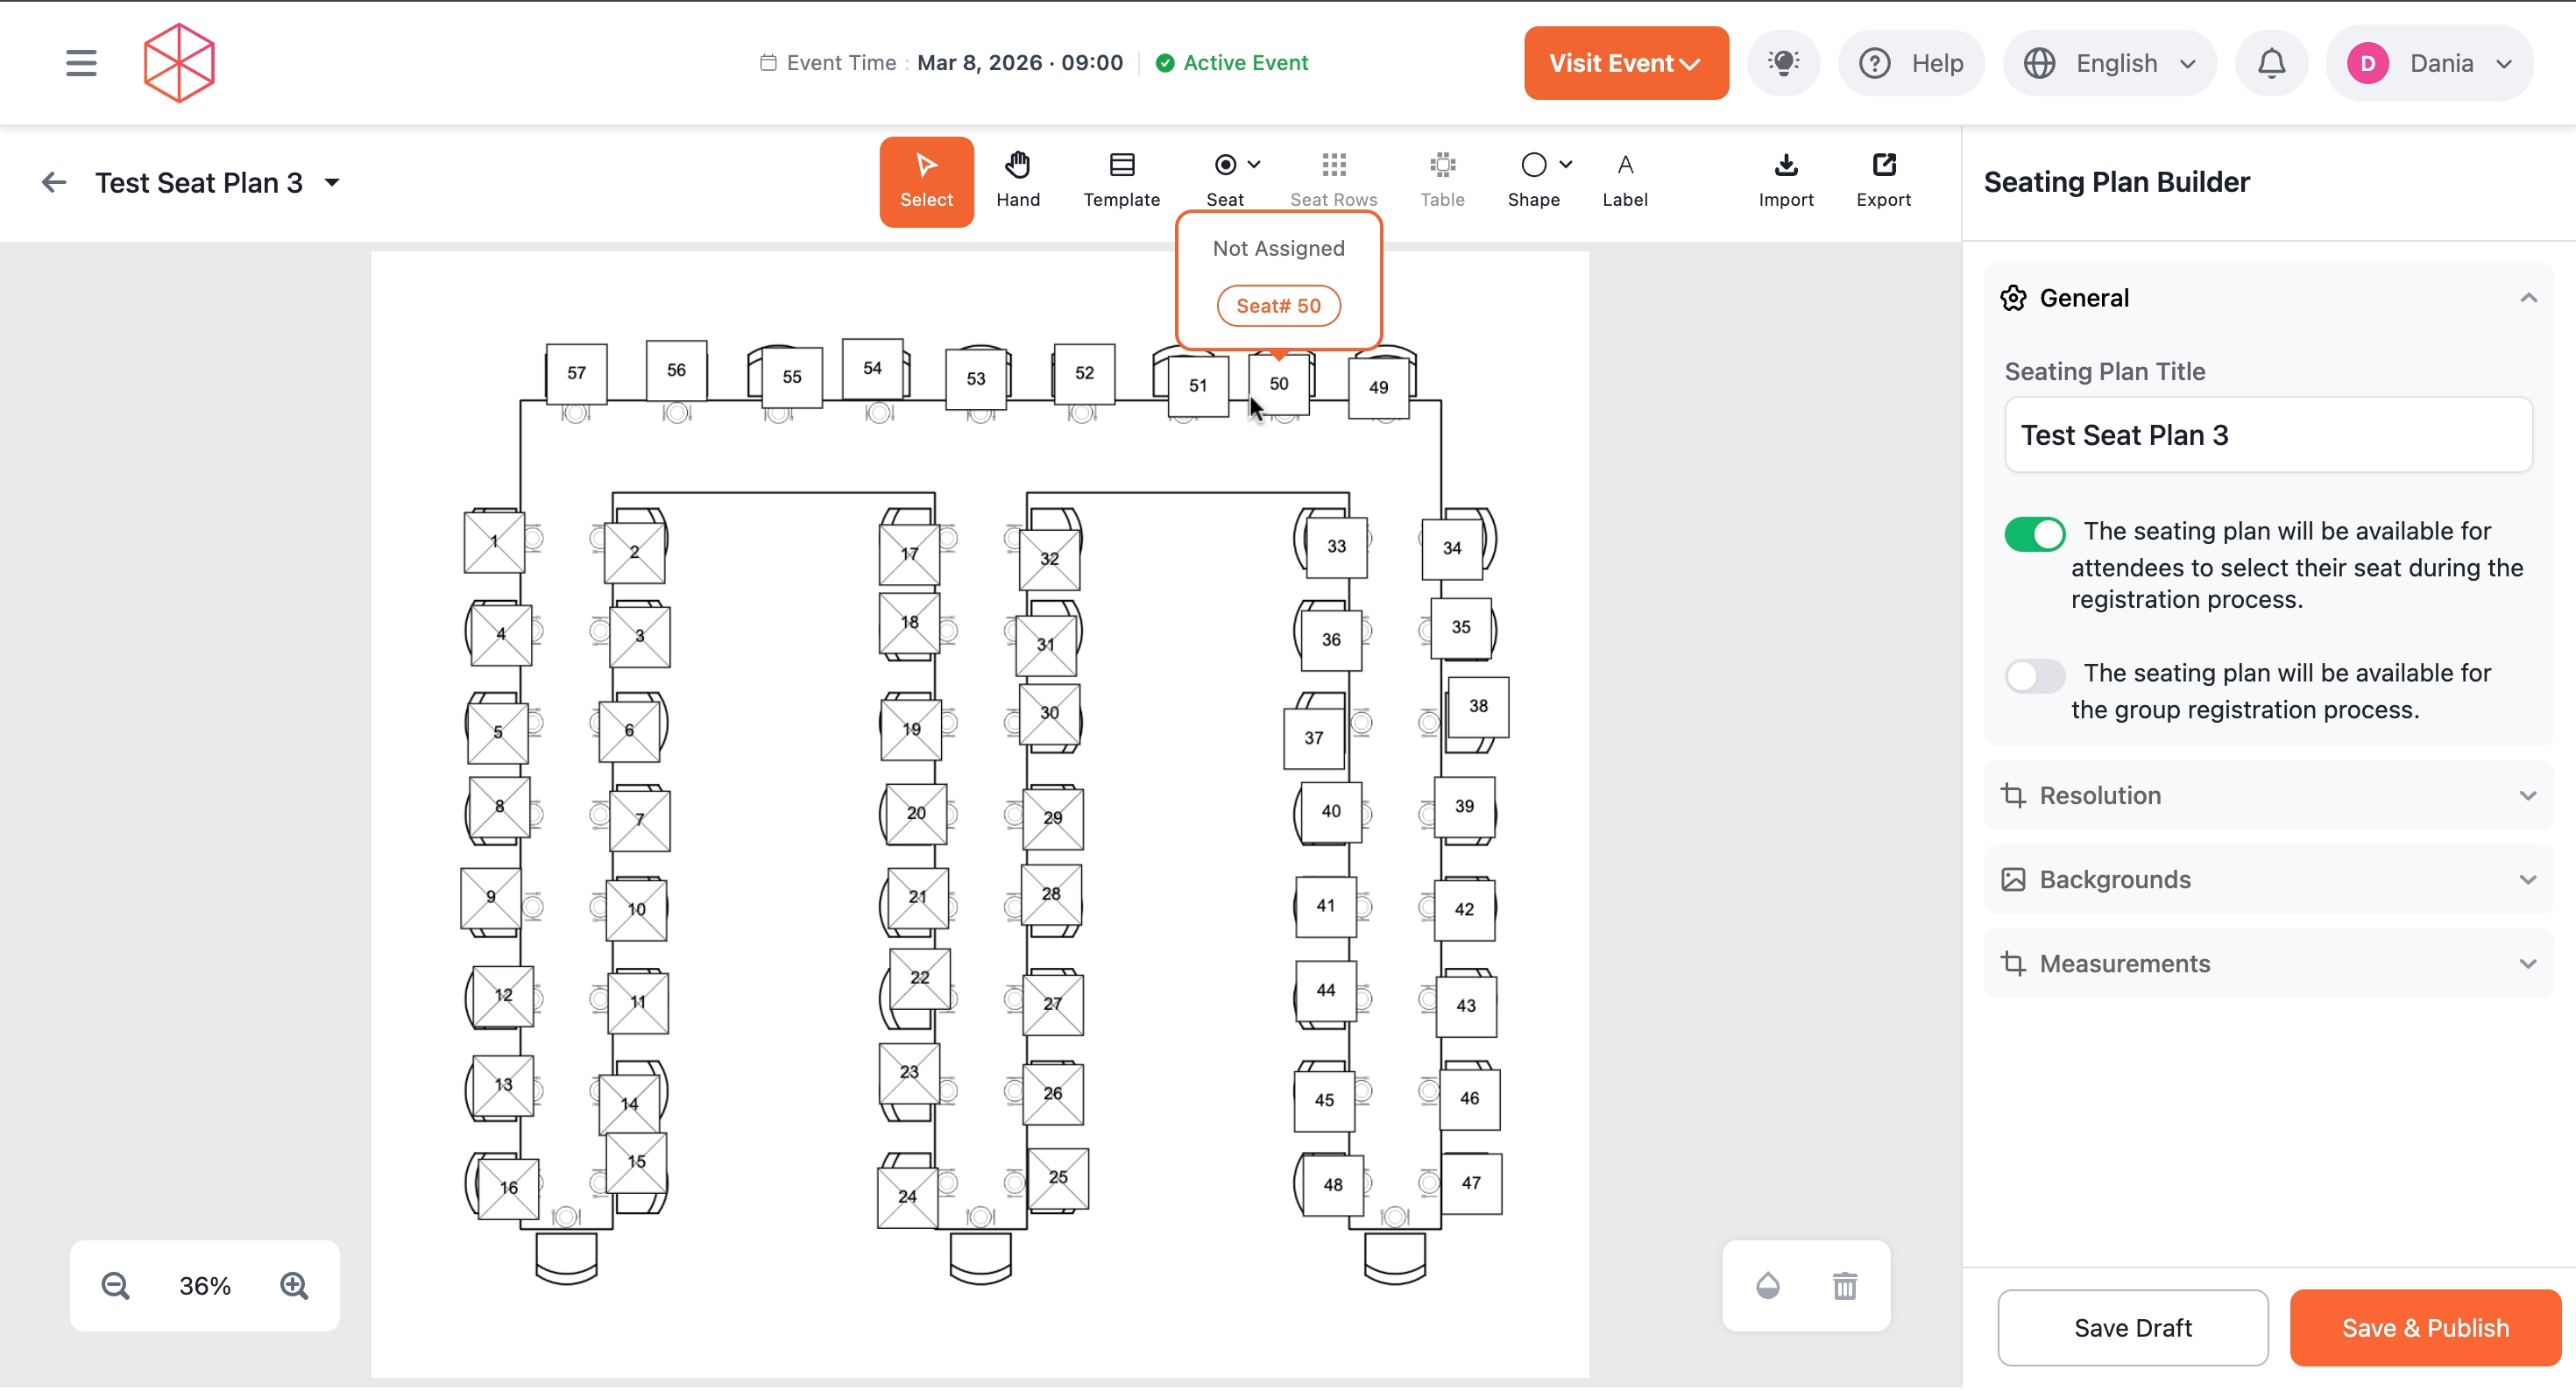
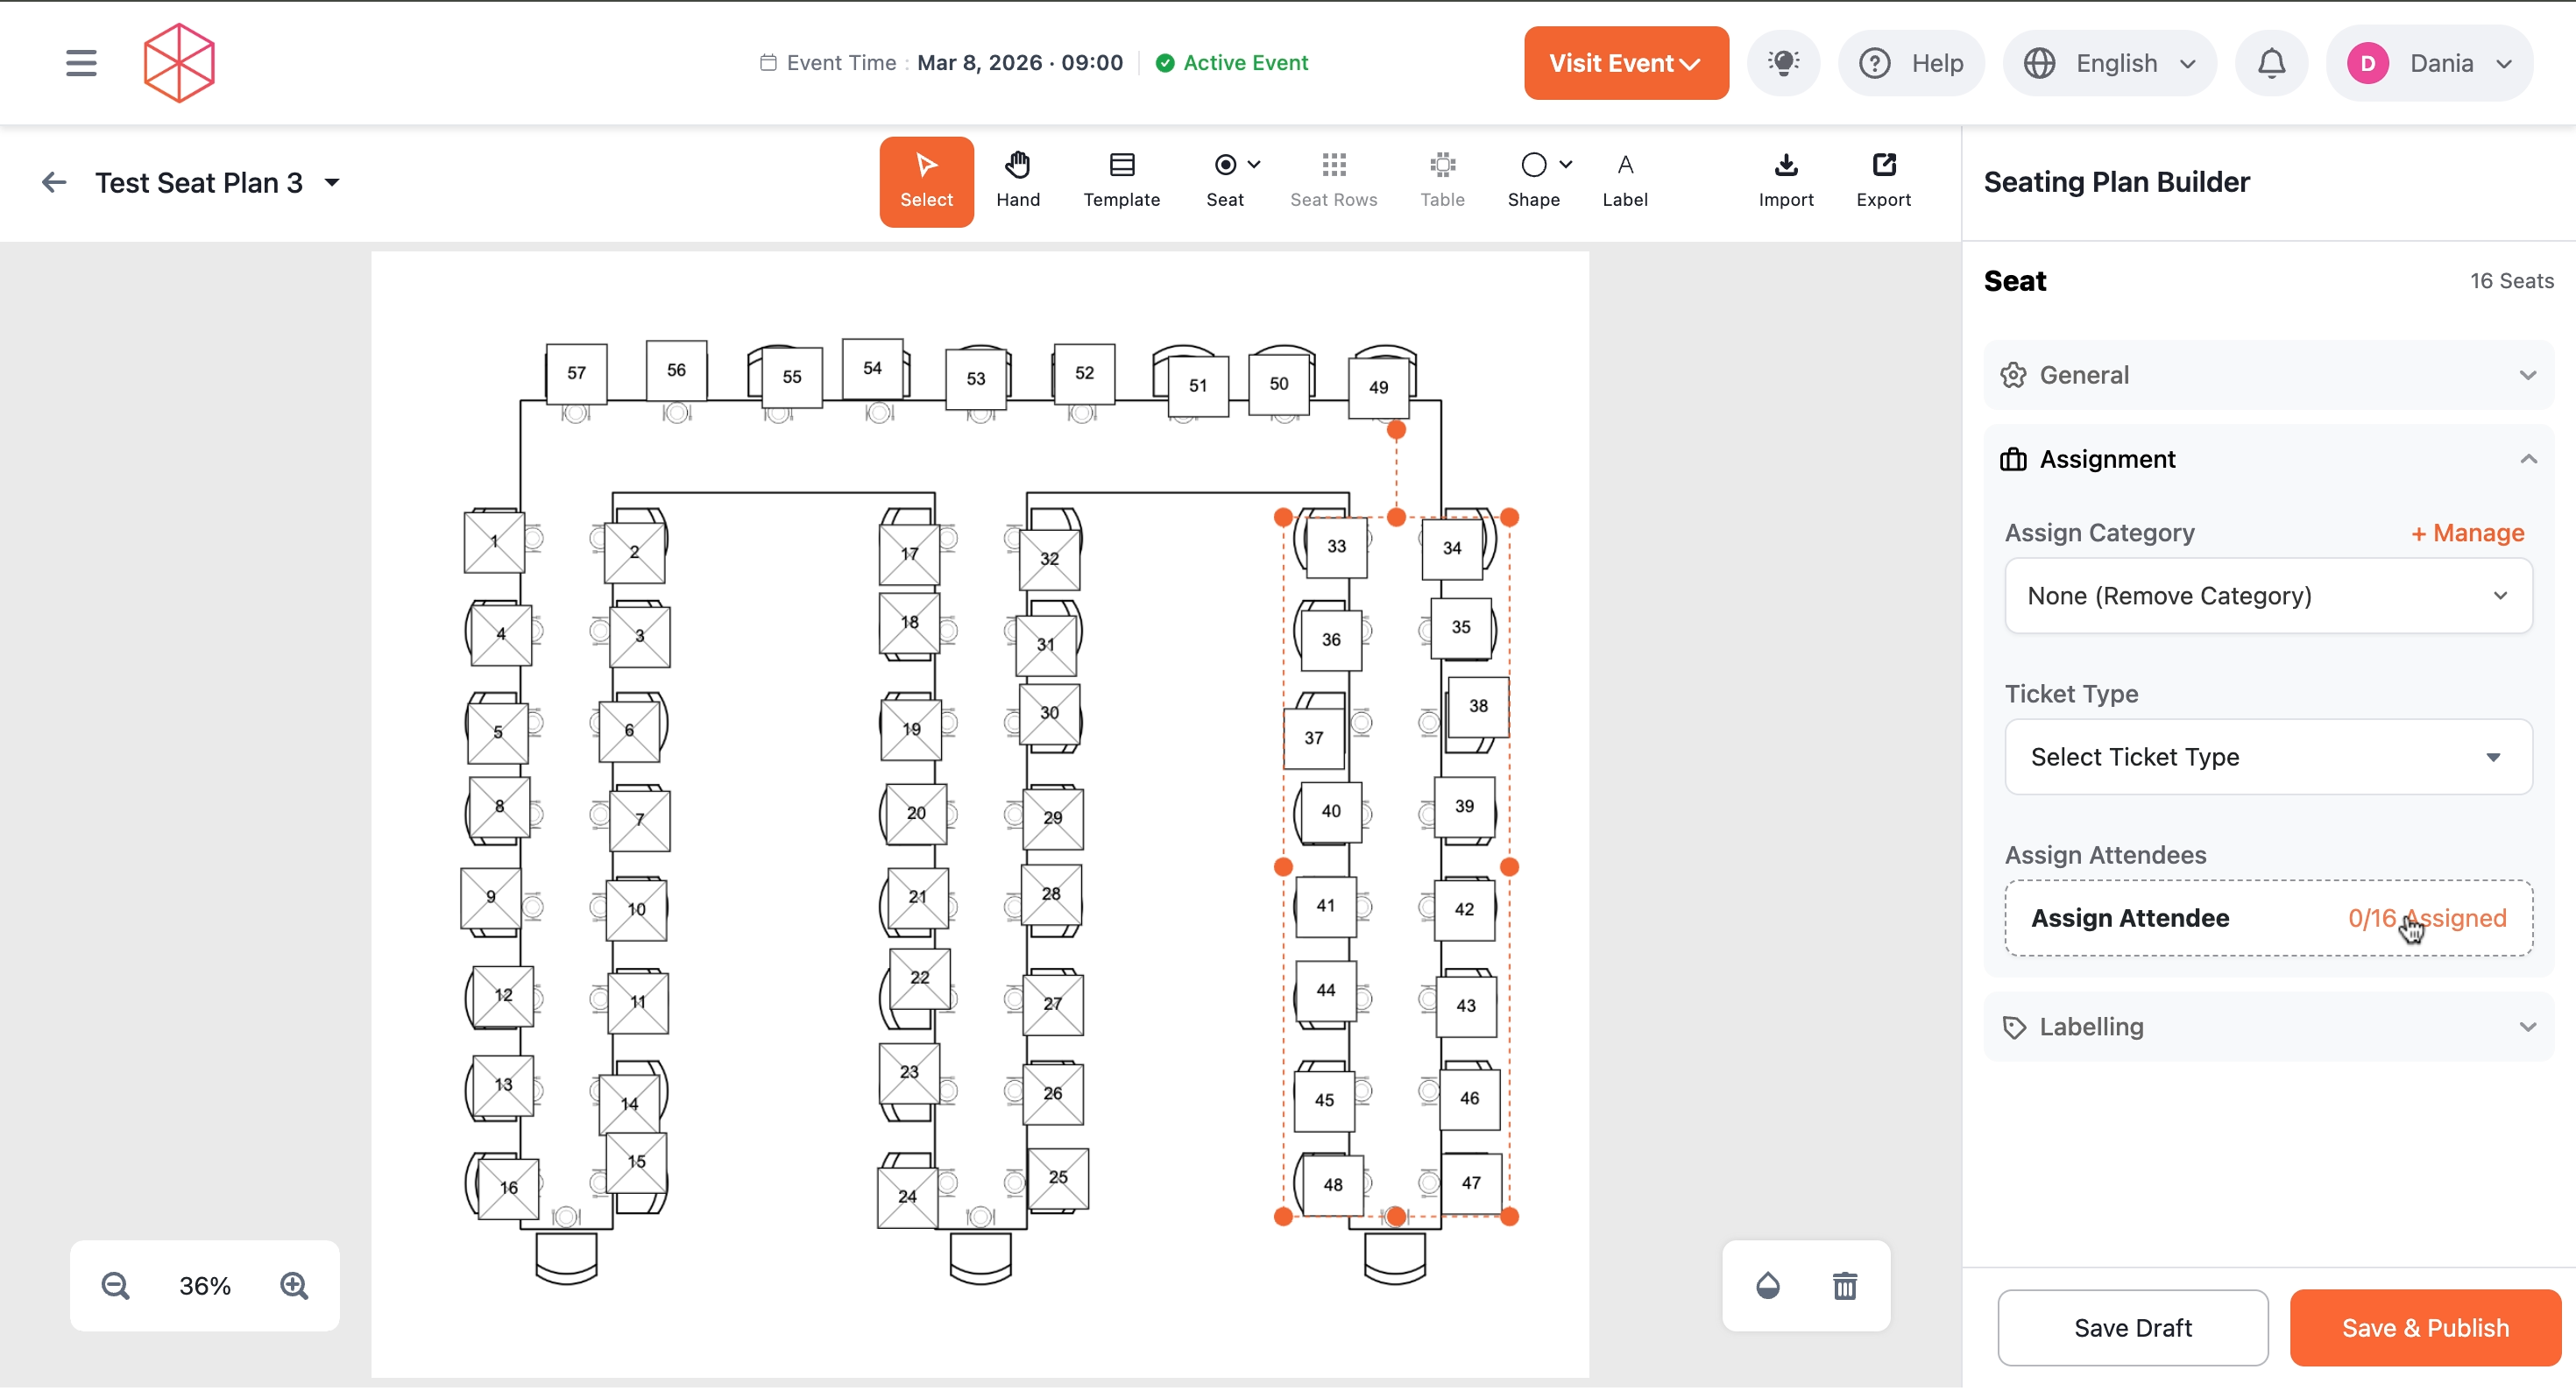
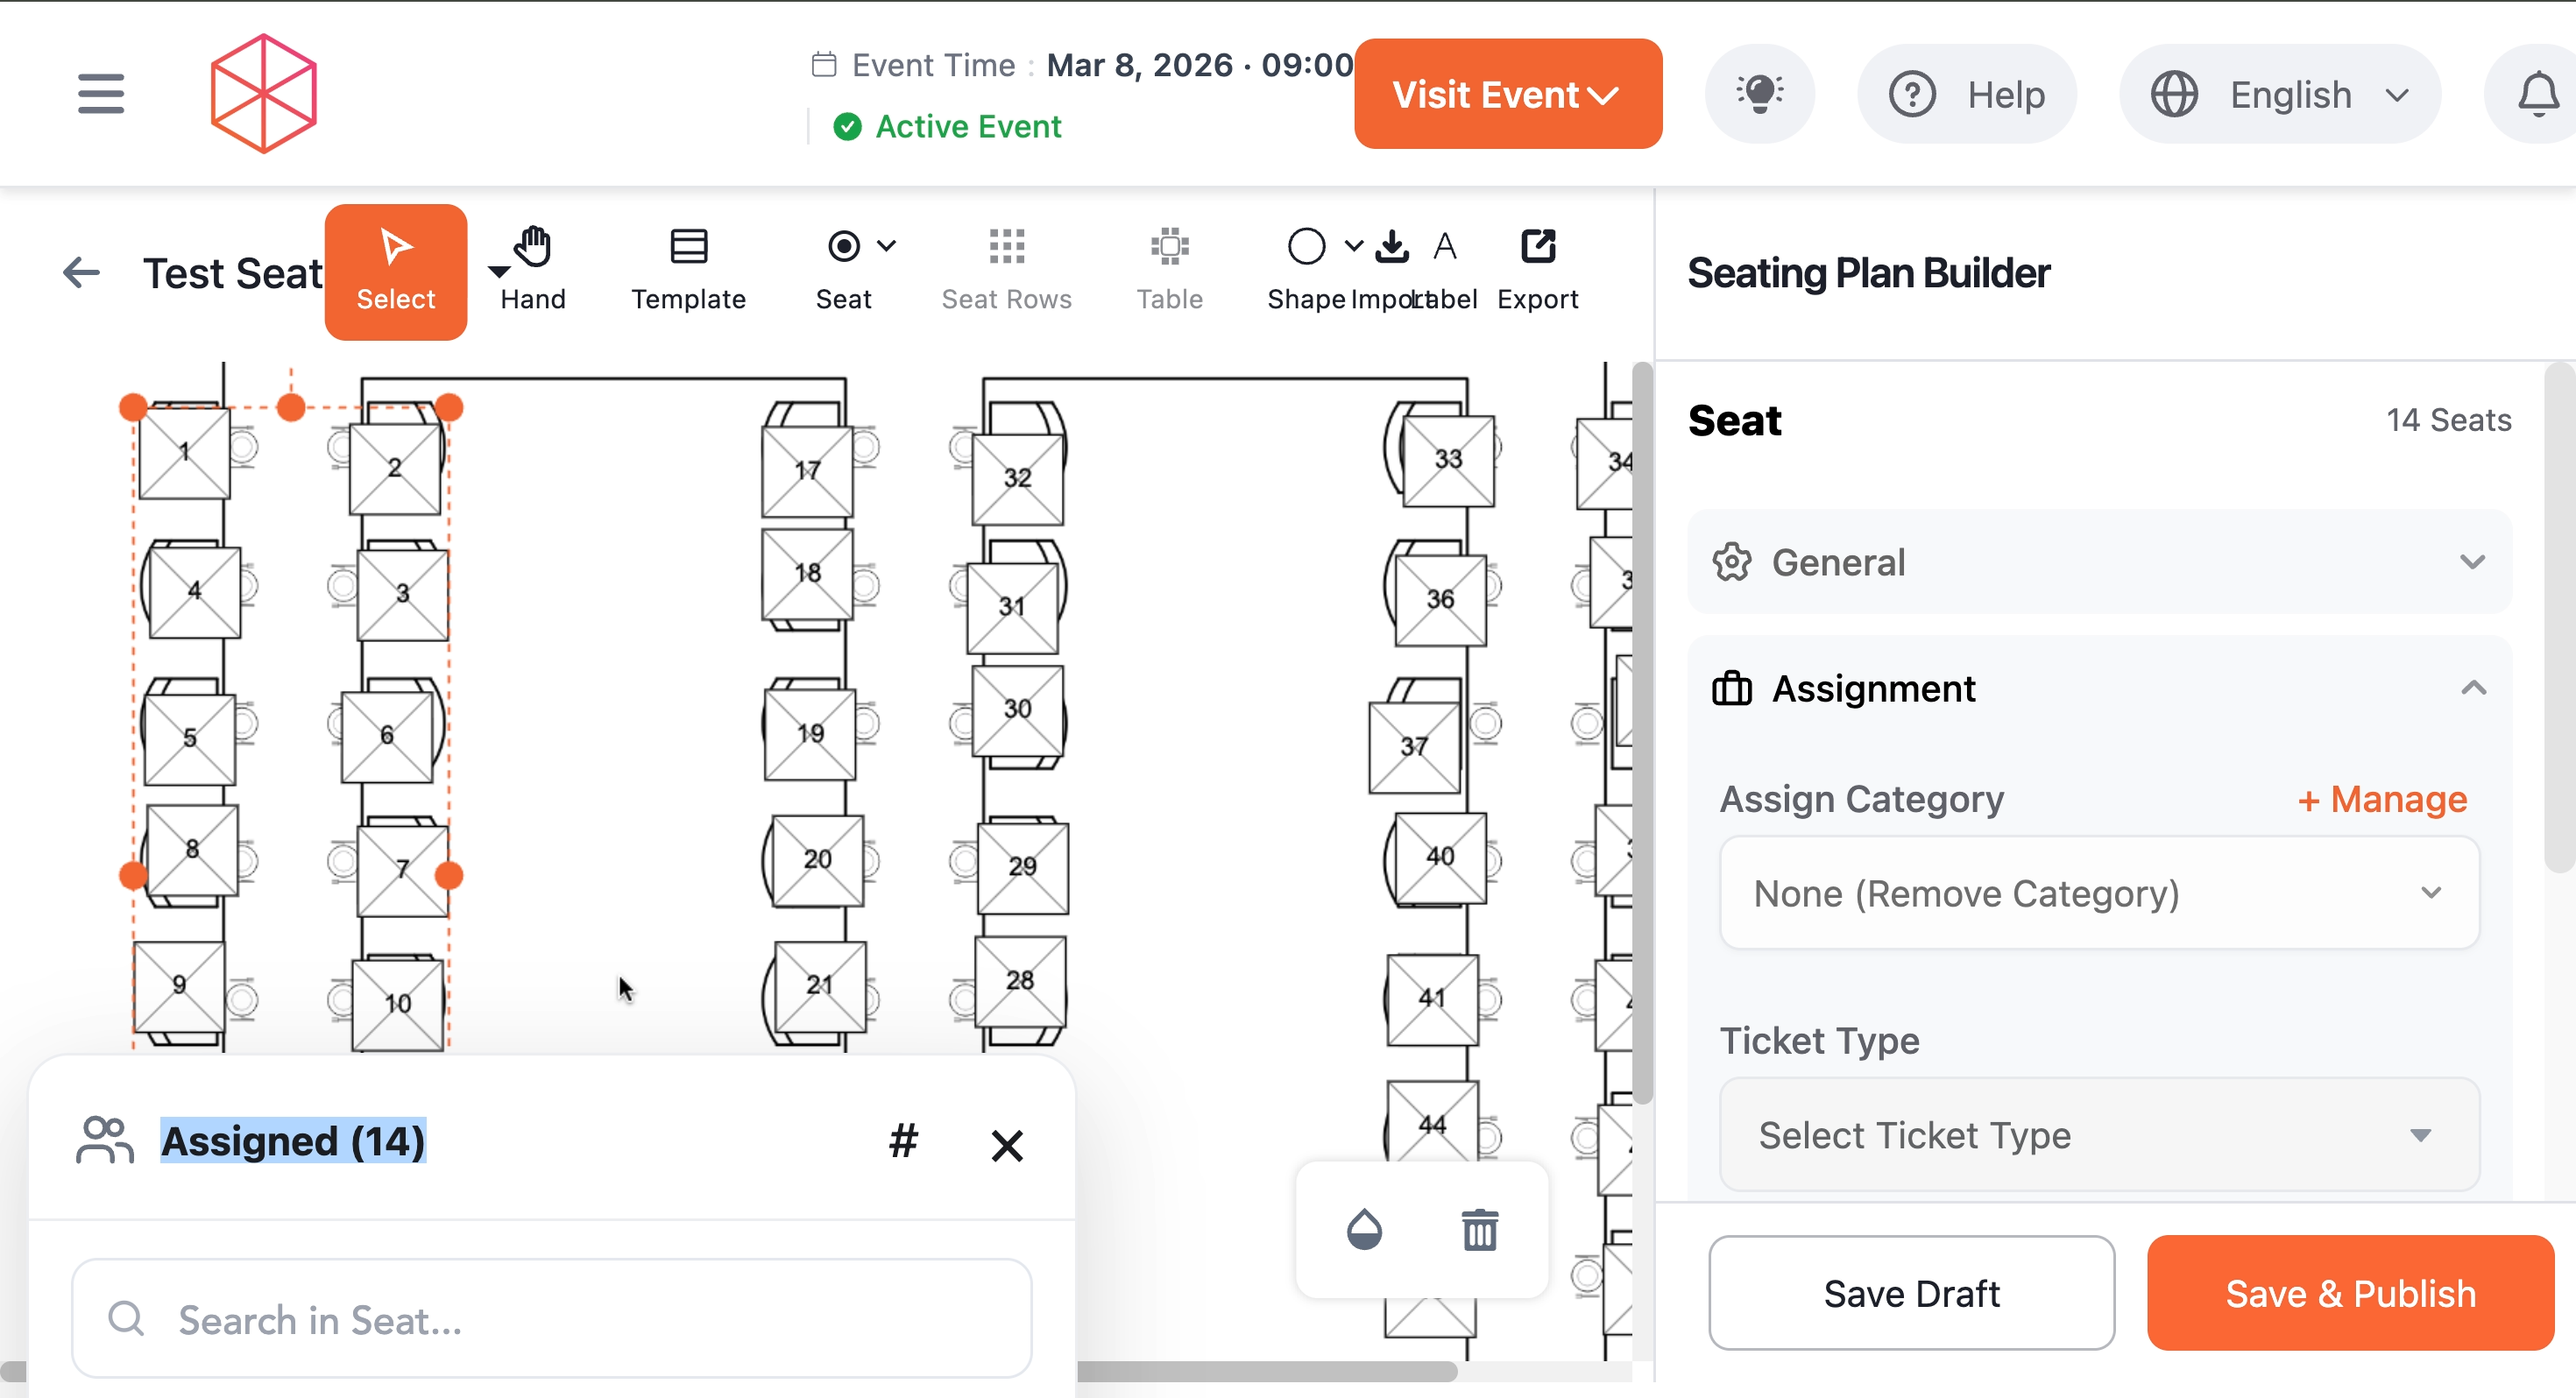
1. In the Seating Plan Builder, select the seats you wish to assign attendees to. You can select individual seats or multiple seats by dragging your mouse to create a selection box.
2. Once seats are selected, the right-hand panel will display Seat options. Under the Assignment section, click the Assign Attendee button.
3.A new window titled Assign Attendees will appear. This window guides you through four steps: Method, Select, Preview, and Confirm. Ensure the Select tab is active.
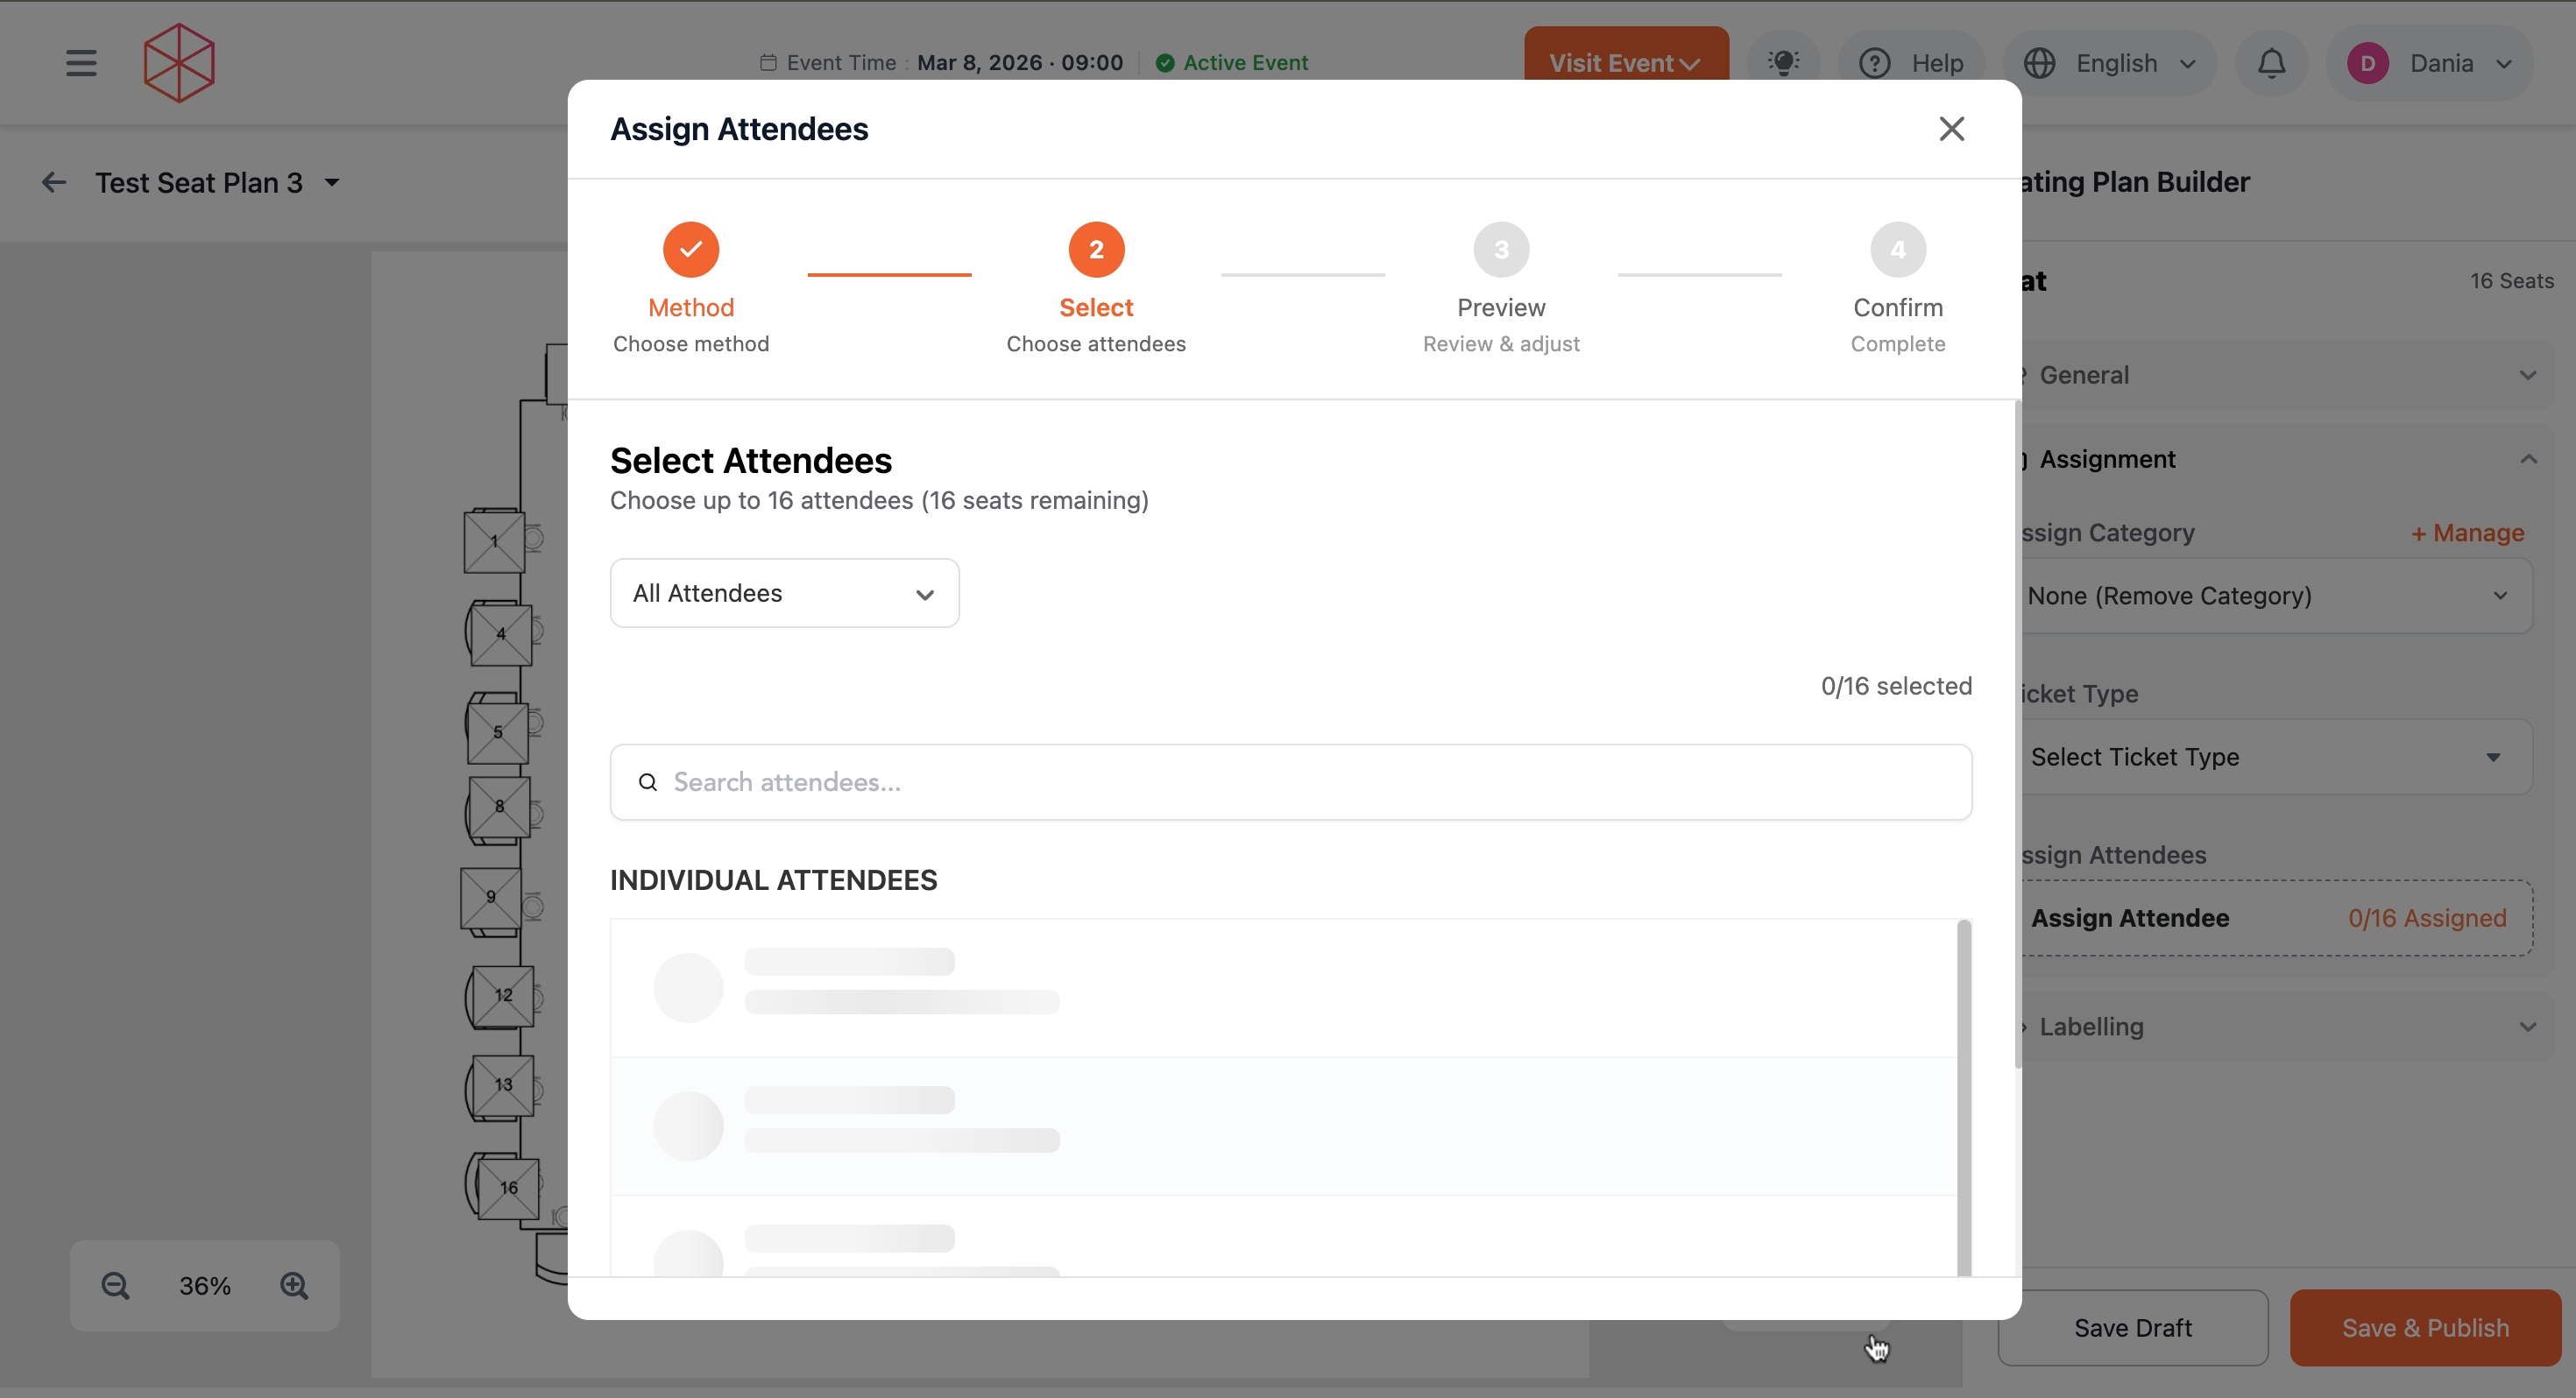
4.Select the attendees you wish to assign to the previously selected seats. You can navigate through pages using the pagination controls at the bottom.
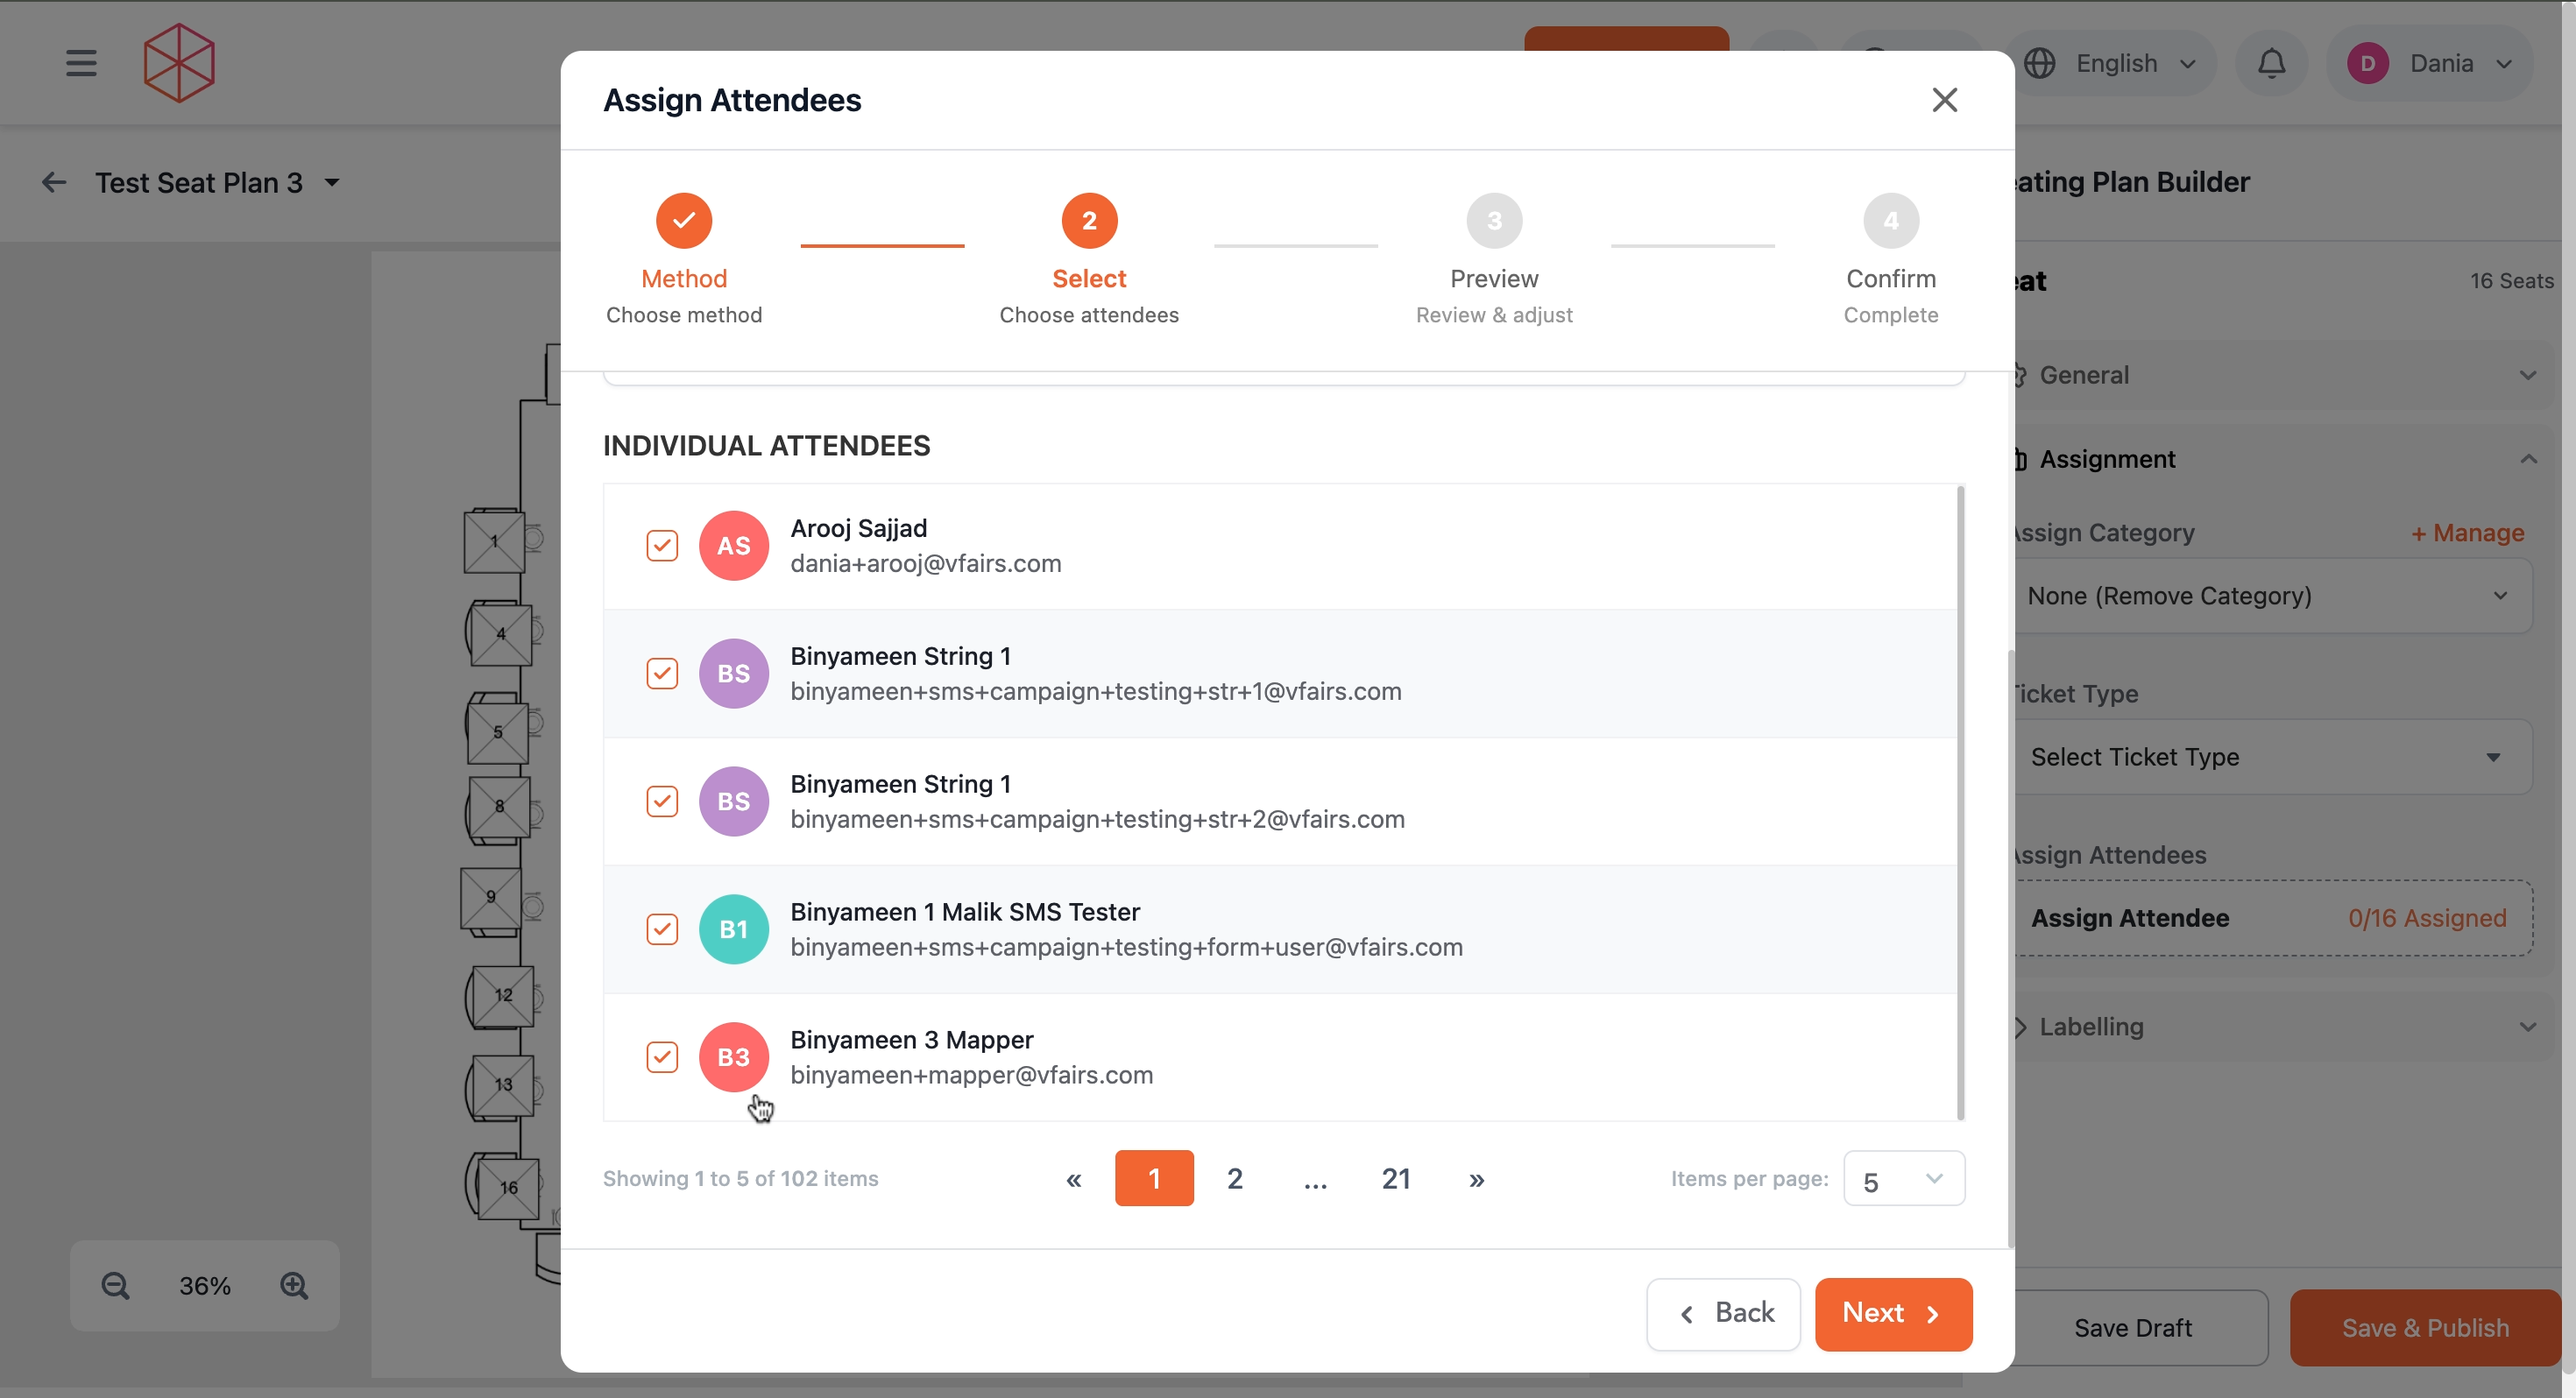
The system will indicate how many seats are remaining for selection.
5. After selecting all desired attendees, click the Next button.
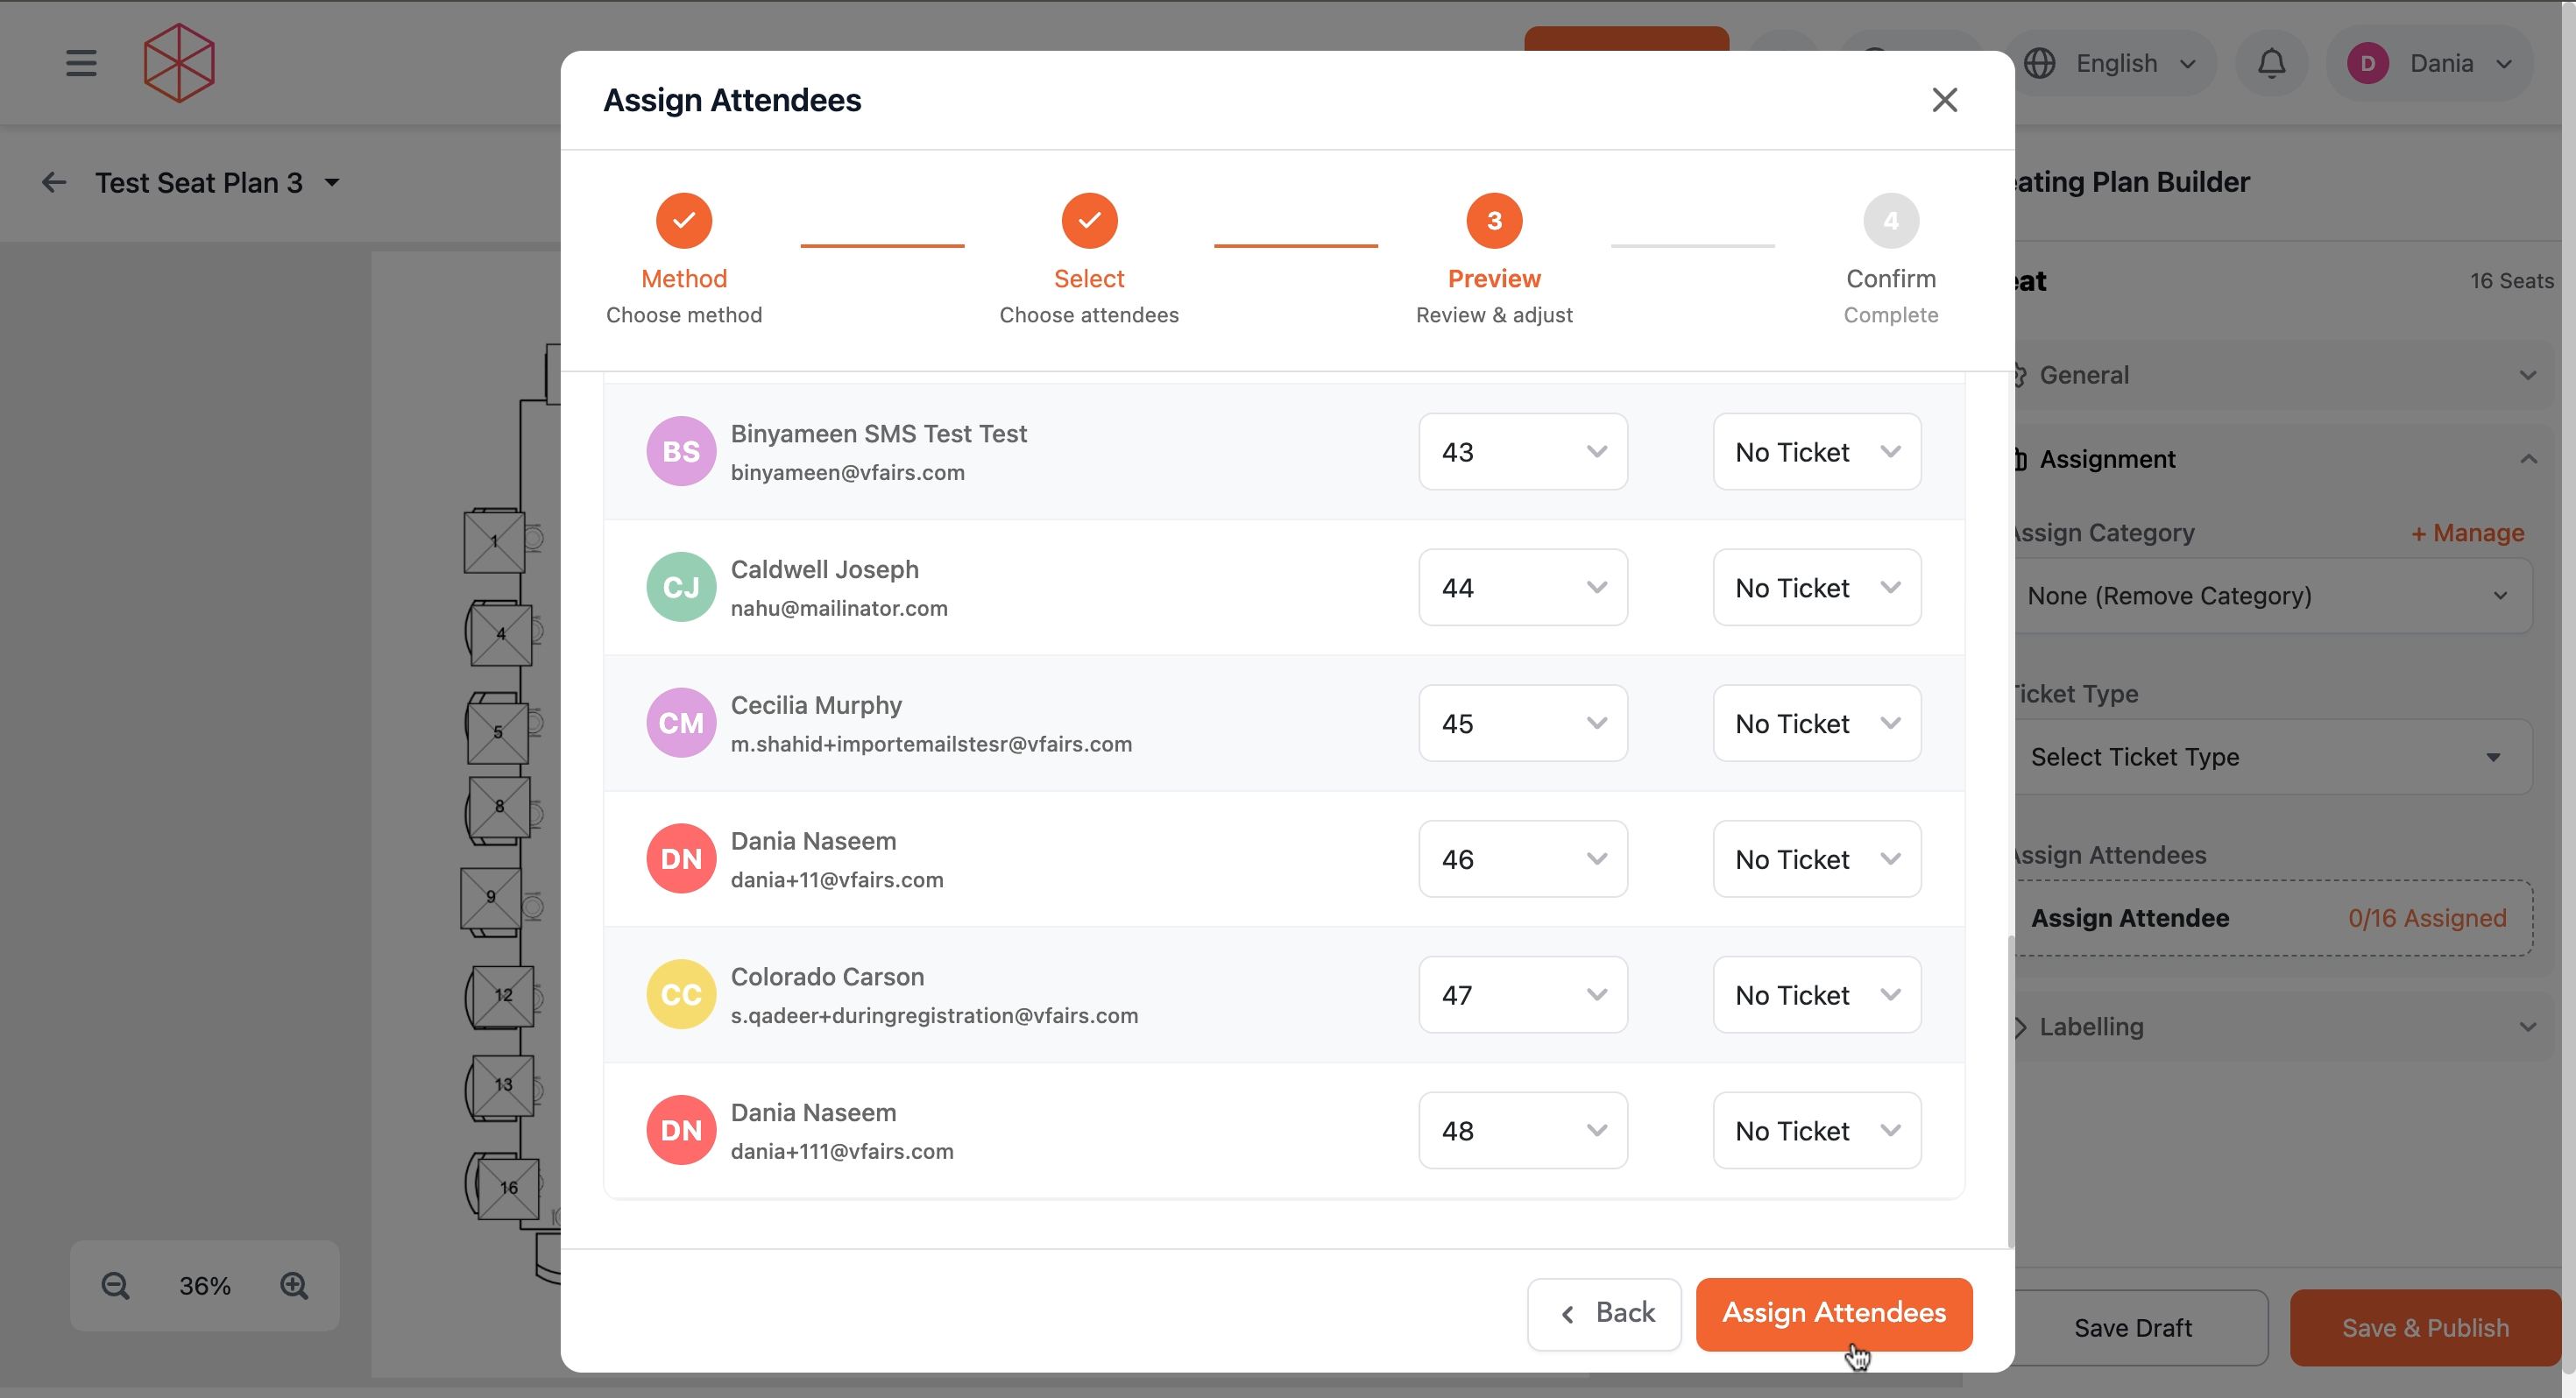
6.Review the assignments on the Preview screen. Each selected attendee will be listed with an assigned seat number and a "No Ticket" status (if no ticket type was selected).
7. Click the Assign Attendees button to confirm and complete the assignment process.
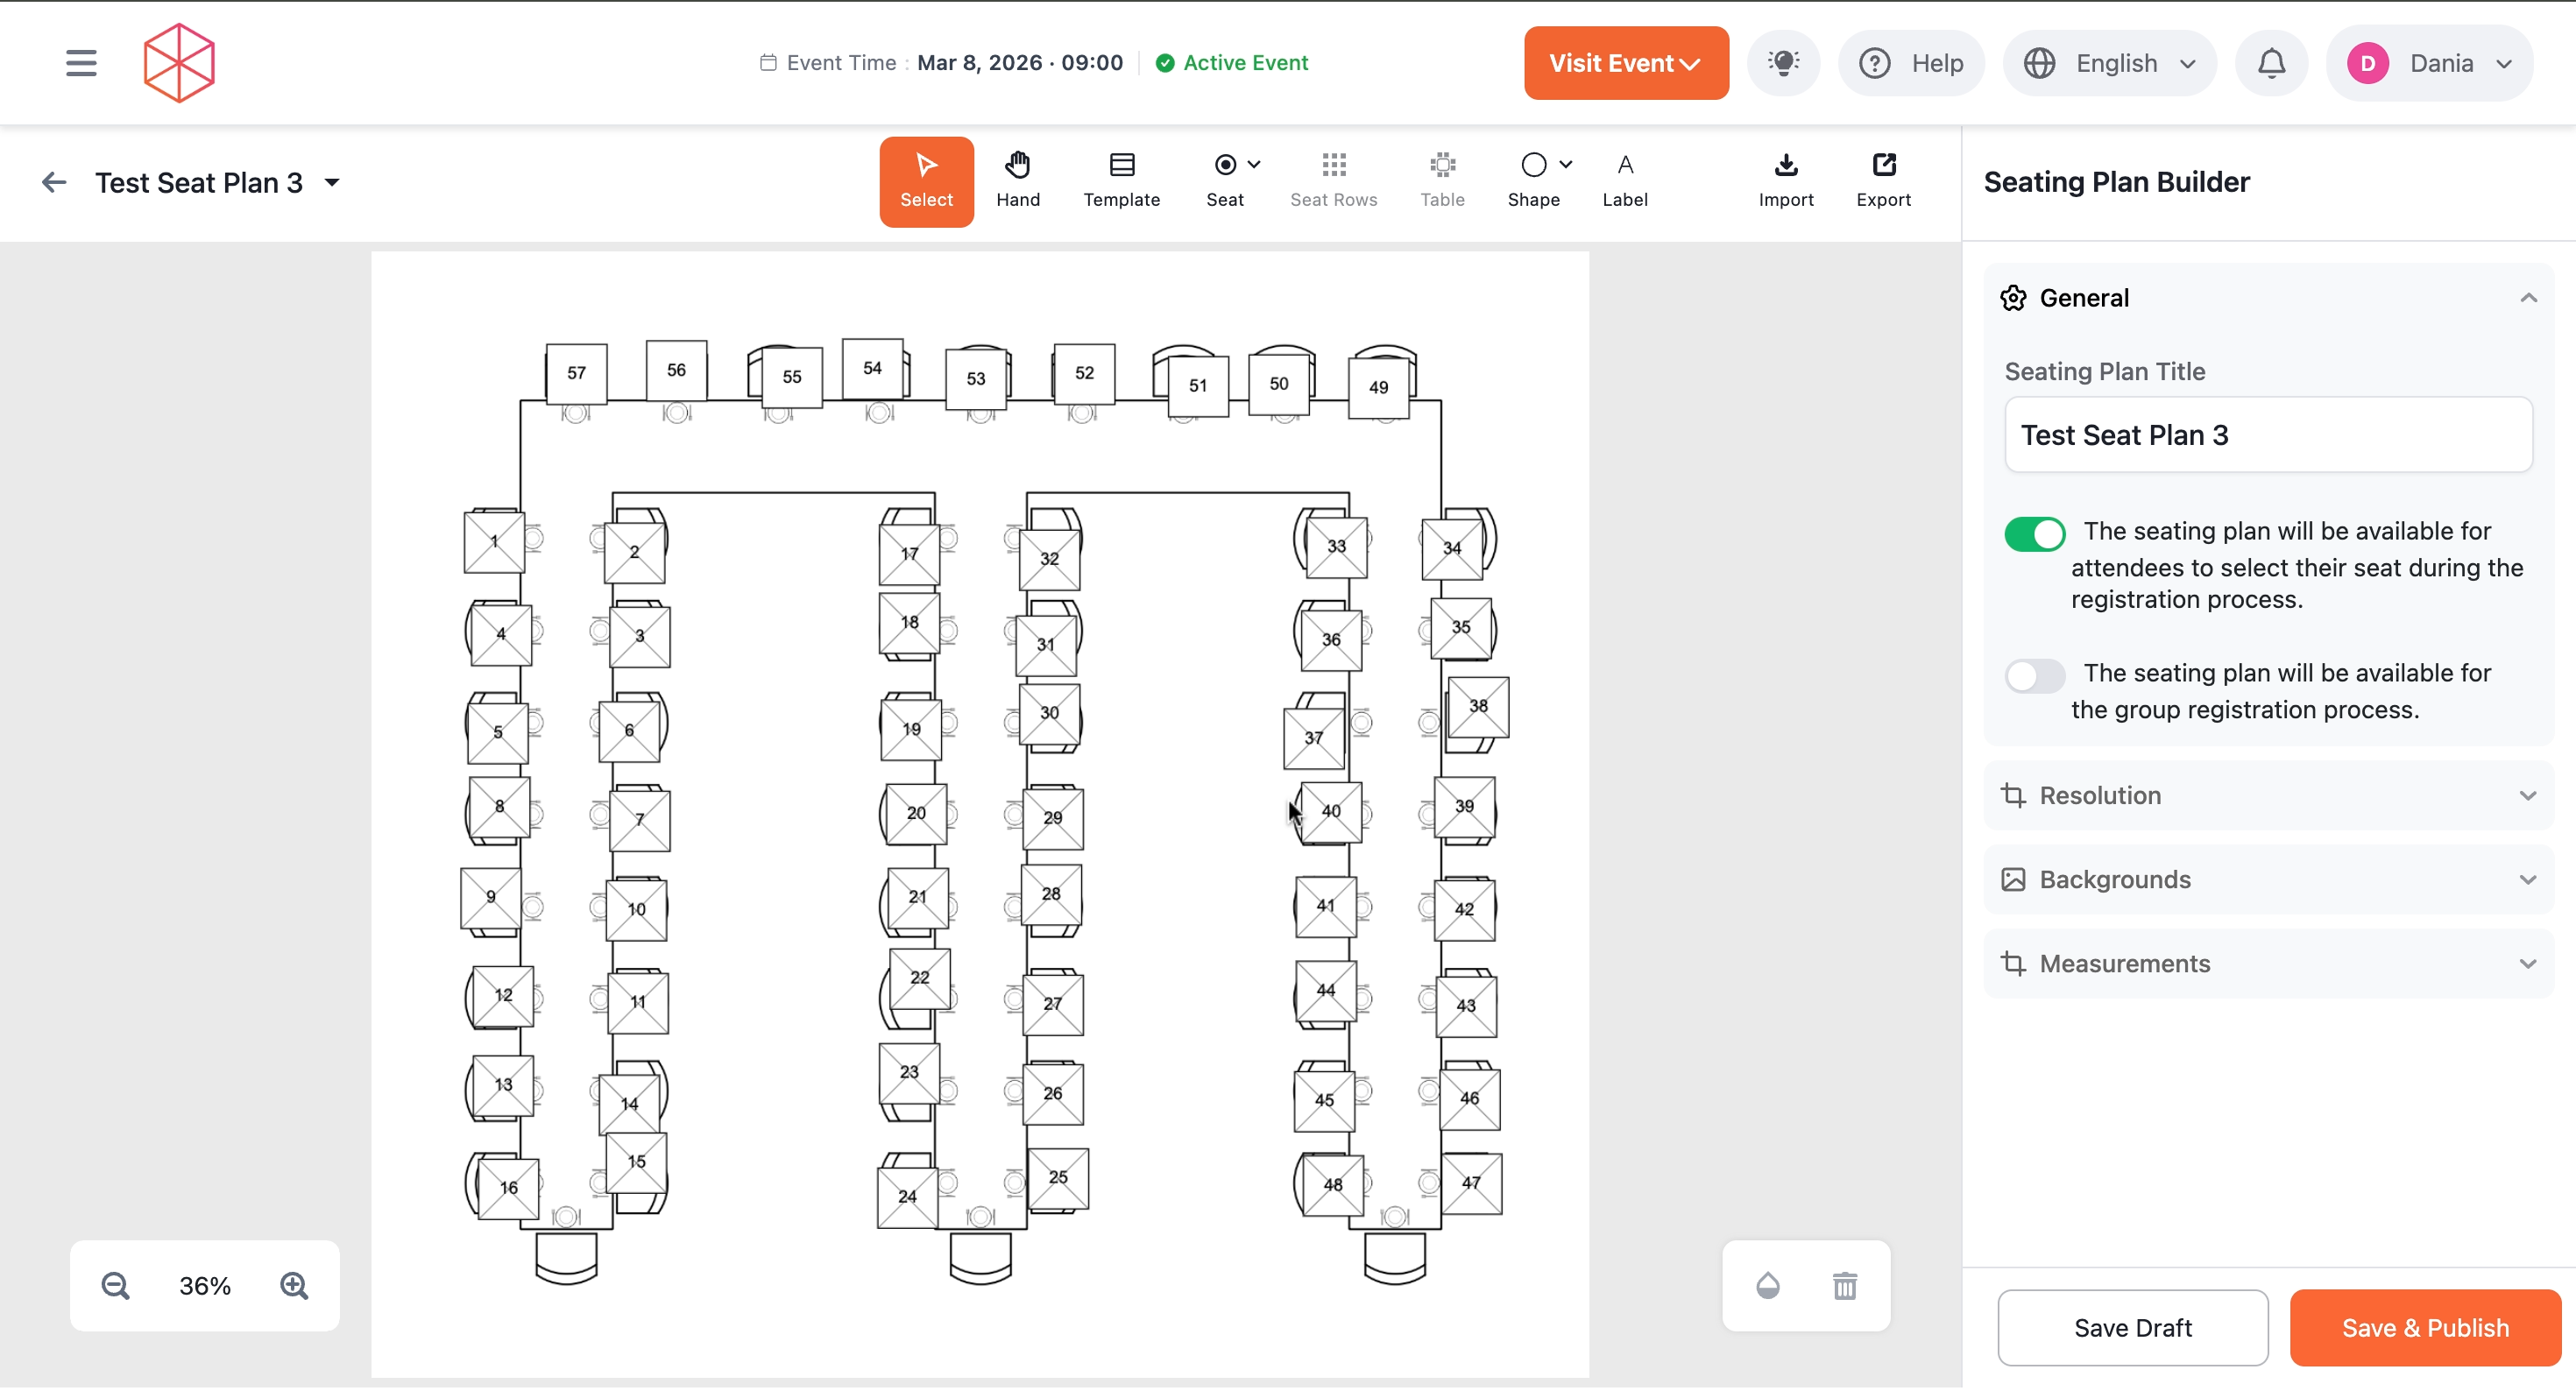
8. The attendees are now assigned to the selected seats. The seats will visually update on the seating plan to reflect their assigned status.
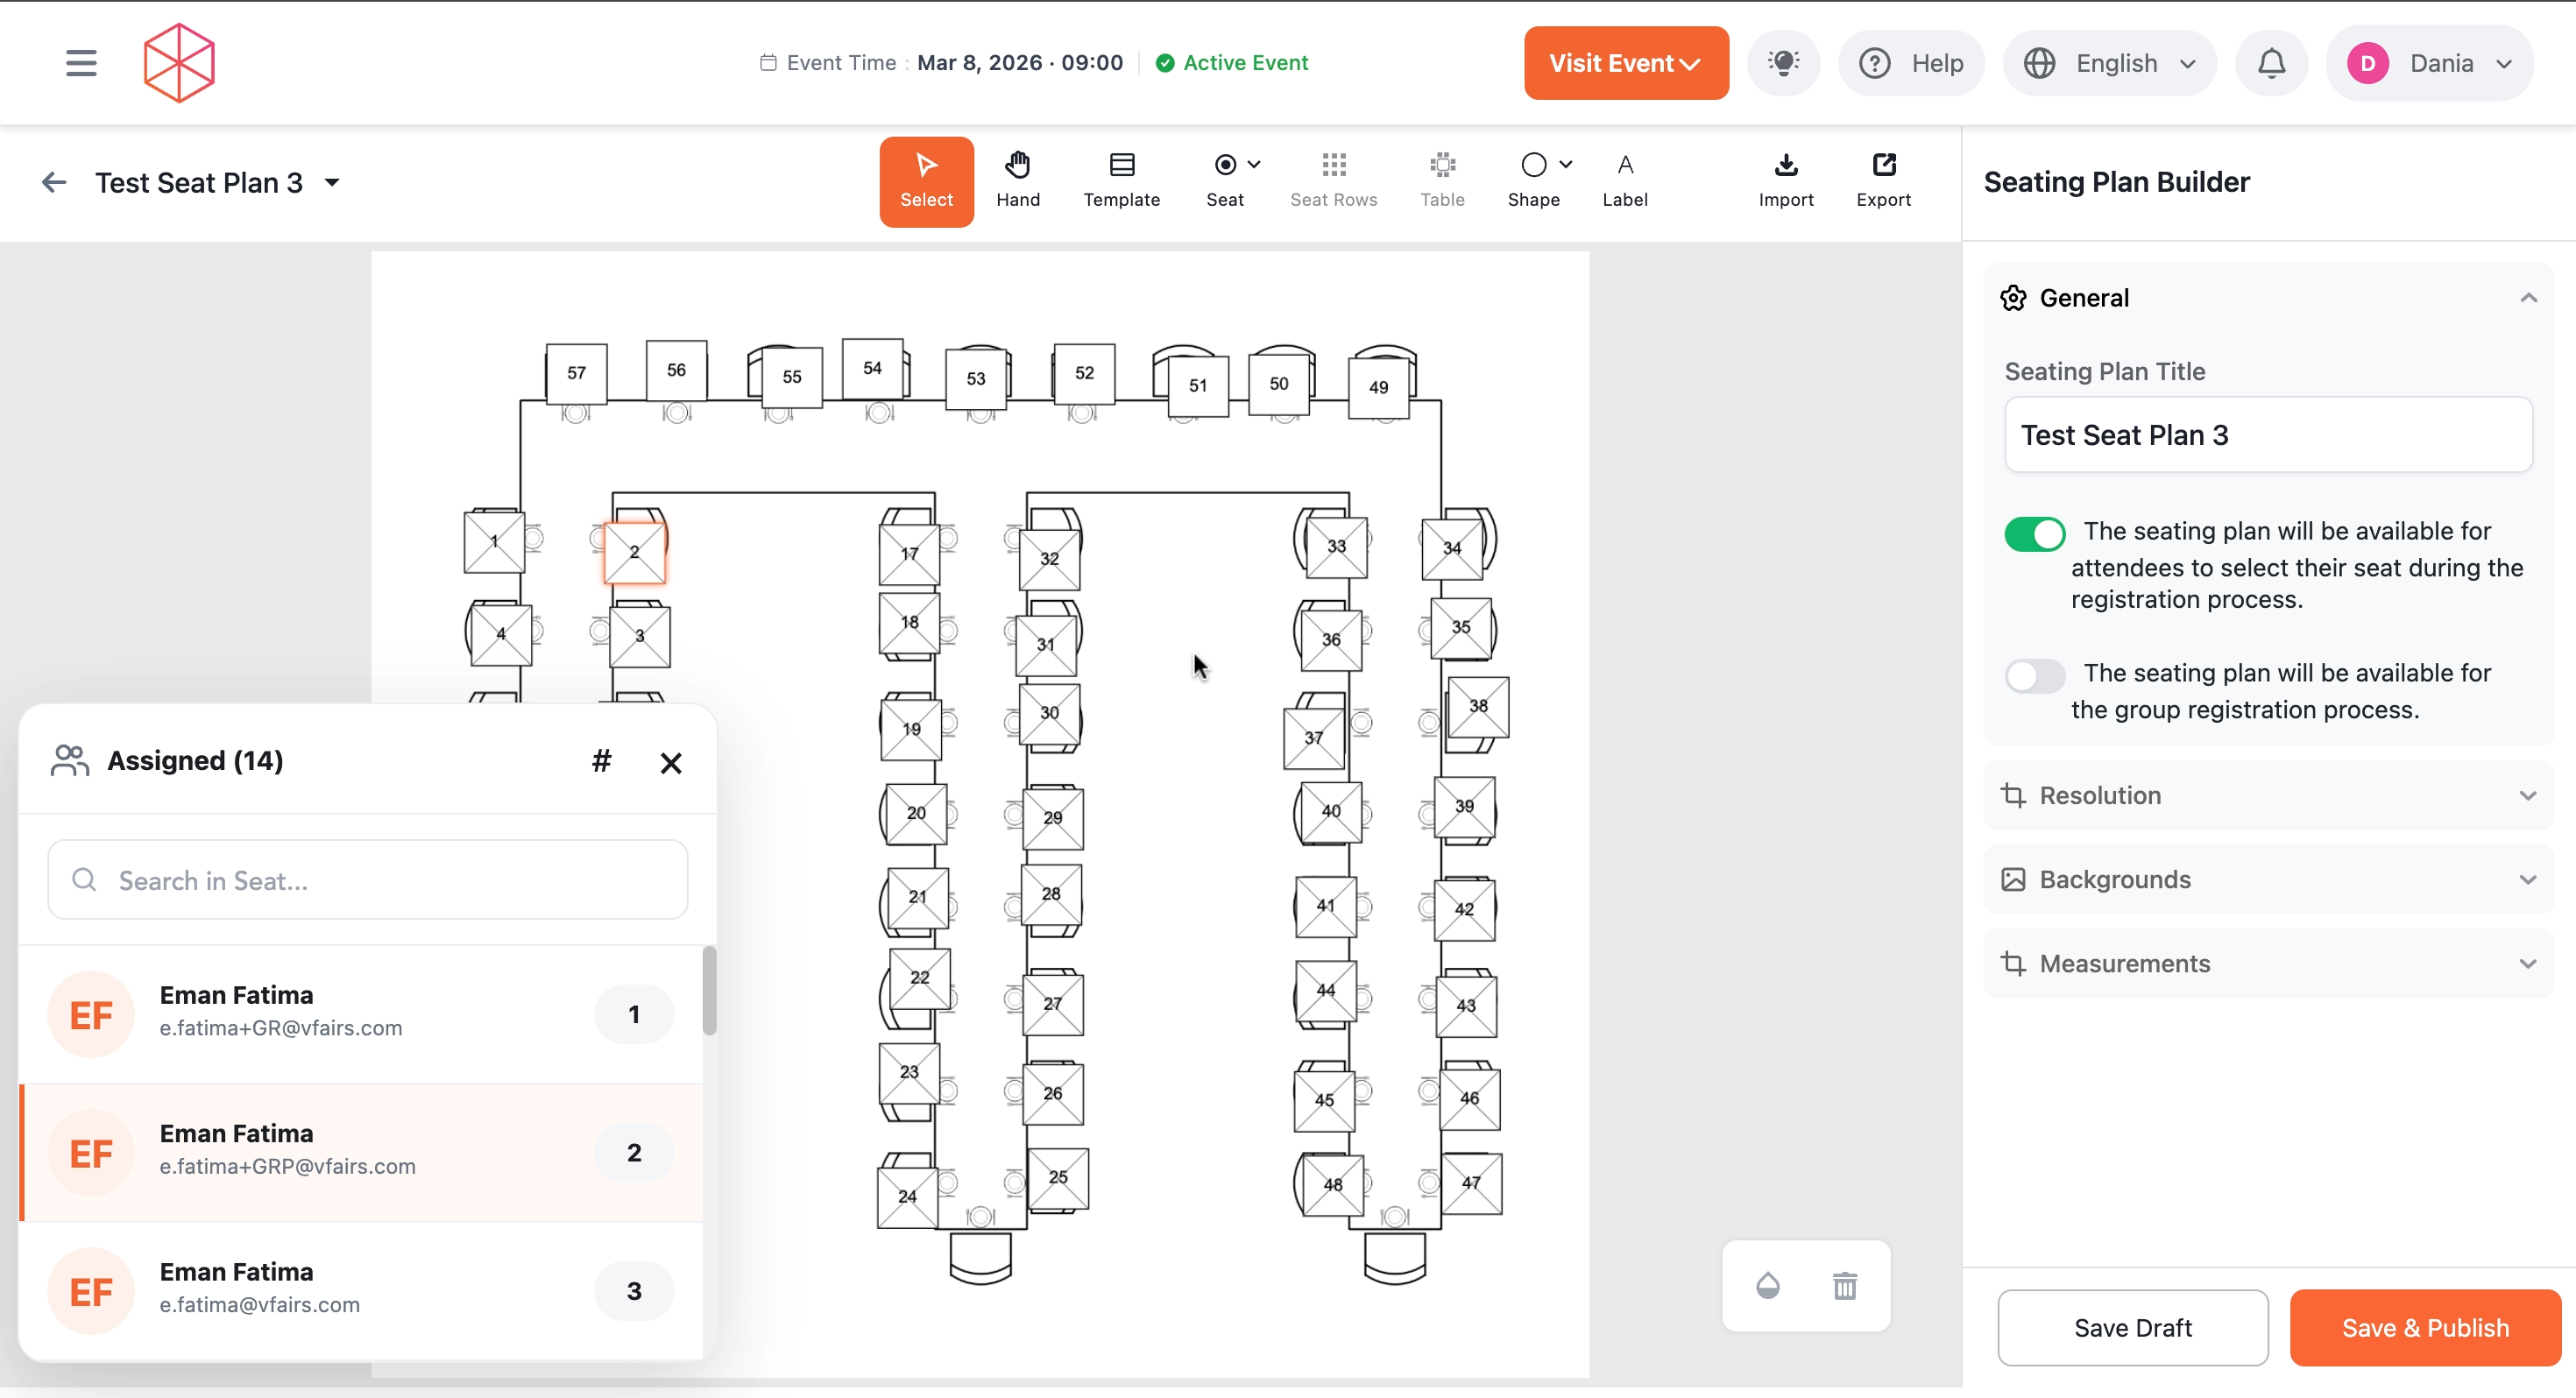
9. To vacate seats, select the seats that have attendees assigned to them. The right-hand panel will update to show the Seat options.
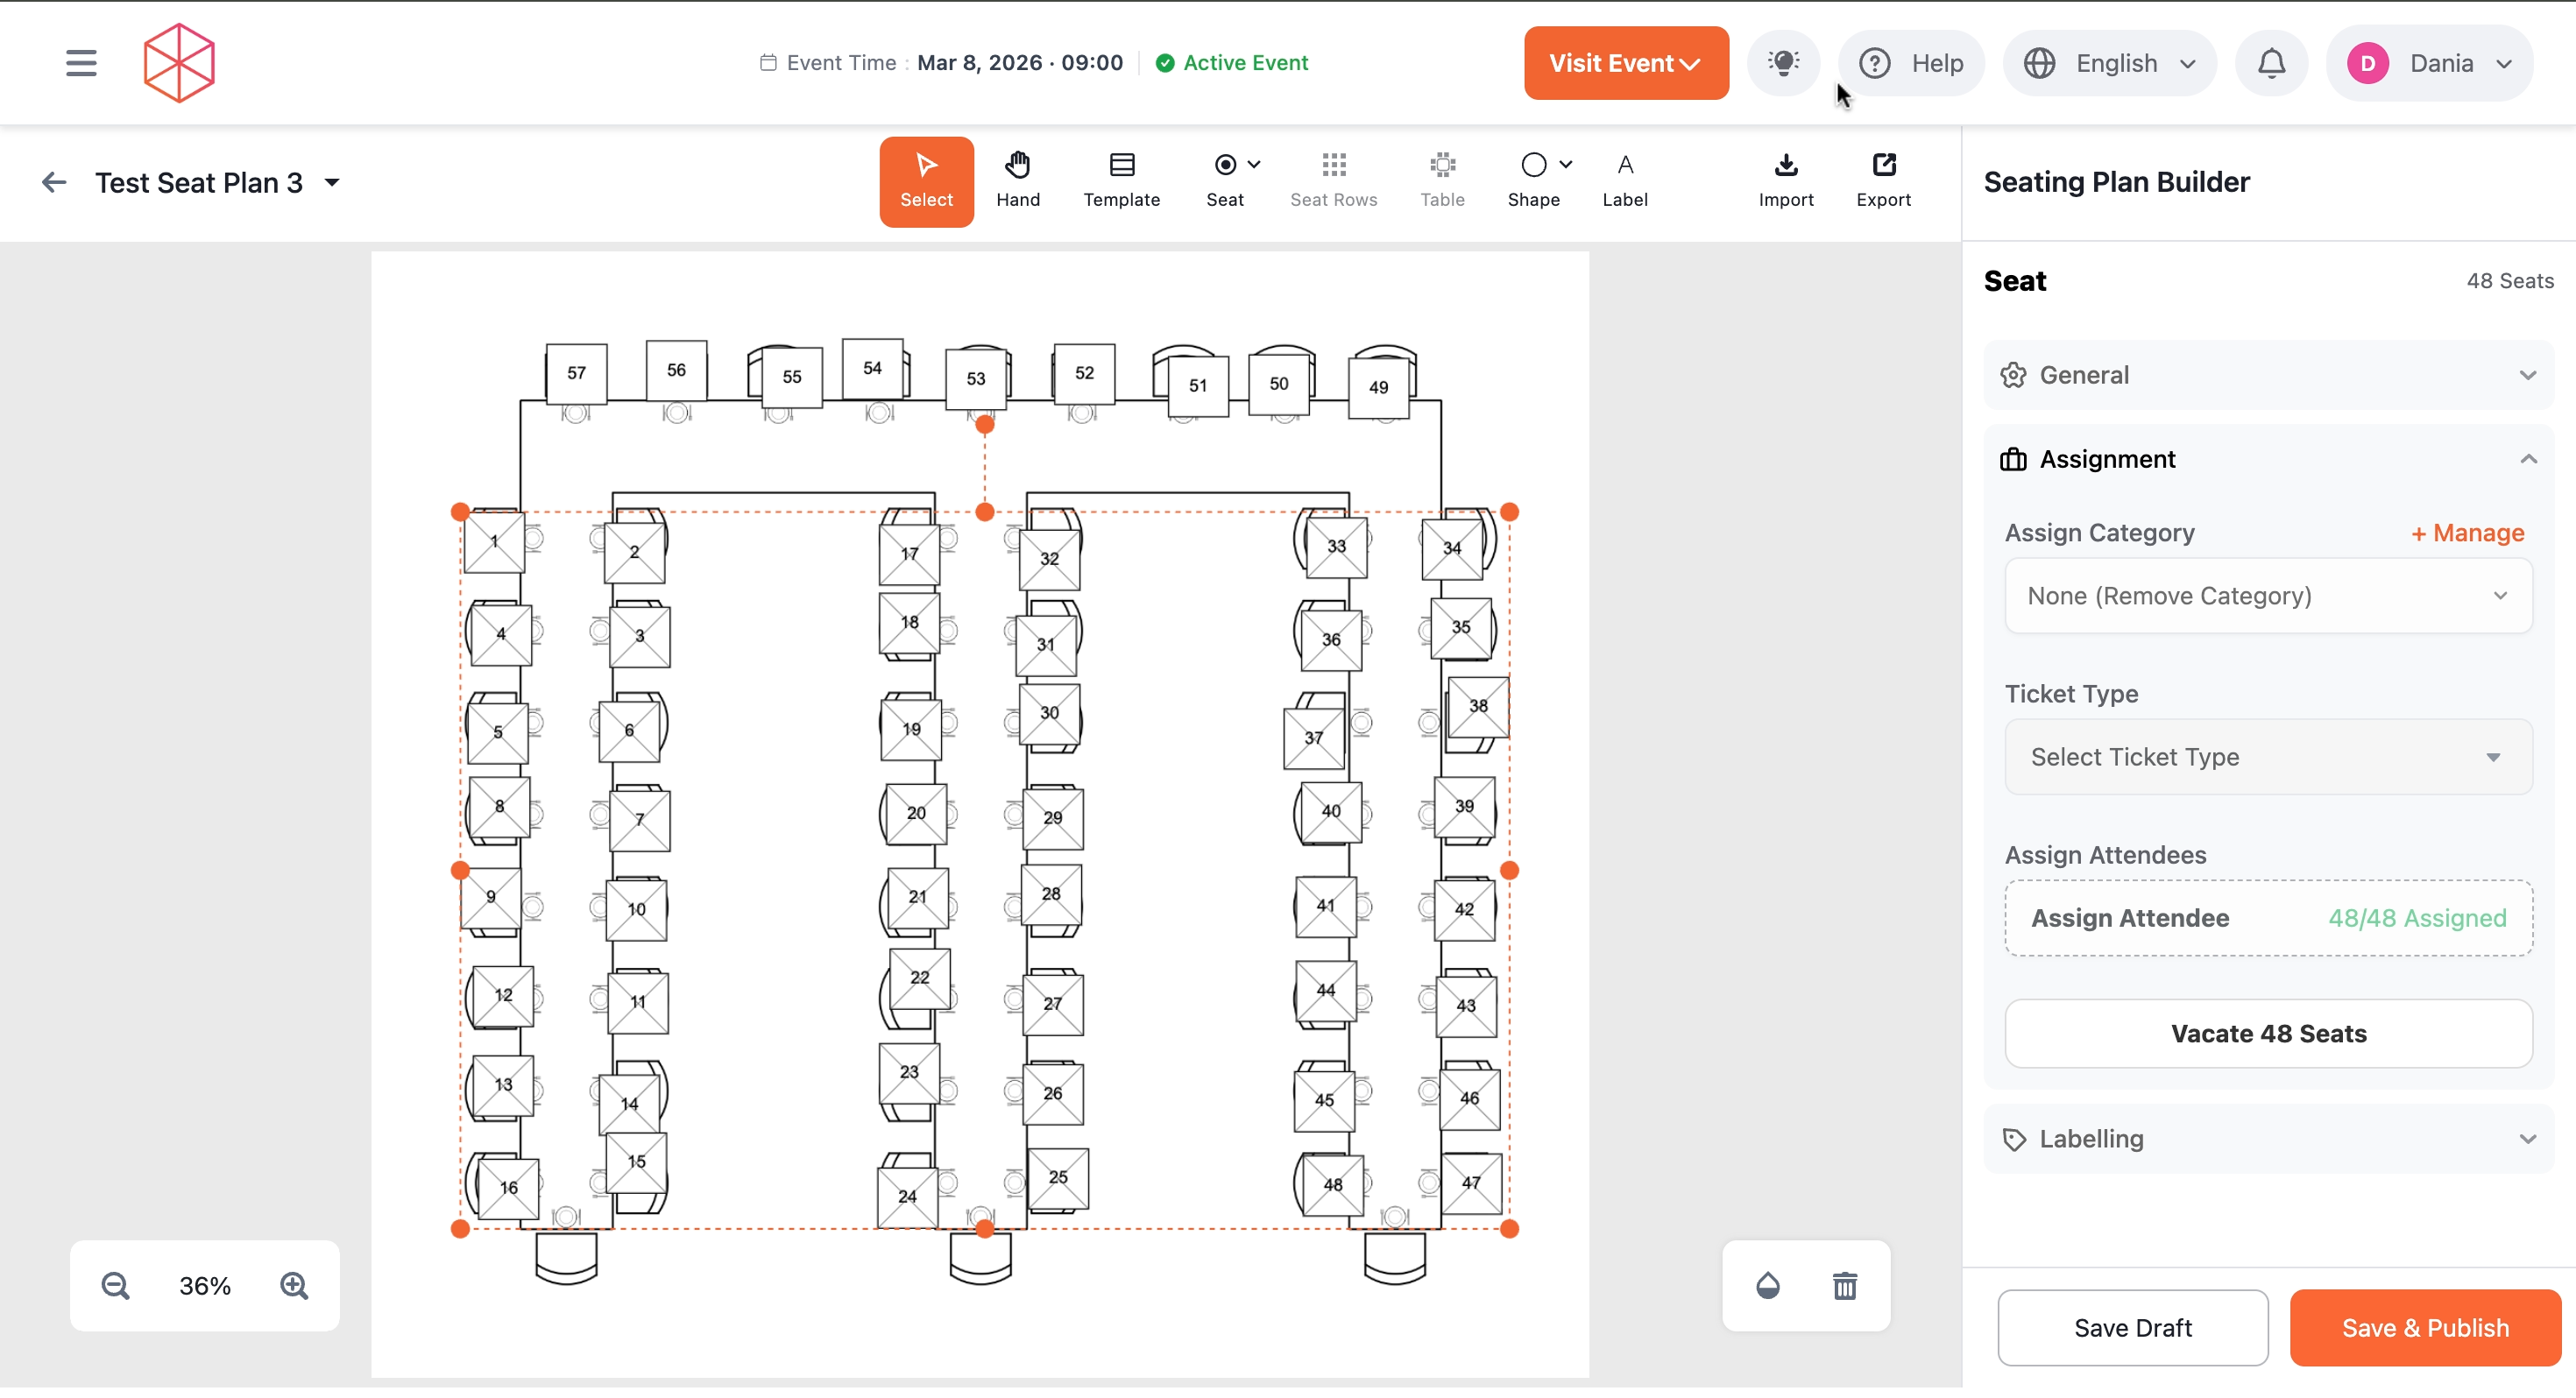
10. Under the Assignment section, click the Vacate [Number] Seats button.
The button will display the number of currently selected seats that are assigned.
11. A list of assigned attendees in the selected seats will appear in a pop-up window. You can search within this list if needed.
12. The selected seats will now be unassigned, and the seating plan will update to reflect this change.