New Prerequisite: Enable Video Matchmaking Add-on
Before configuring or using the Video Matchmaking module, make sure the add-on is enabled for your event.
Steps to Enable Video Matchmaking
-
Go to your Event Backend.
-
Navigate to Event Settings.
-
Open the Add-ons section.
-
Enable the toggle “Enable Video Matchmaking.”
-
Save your changes.
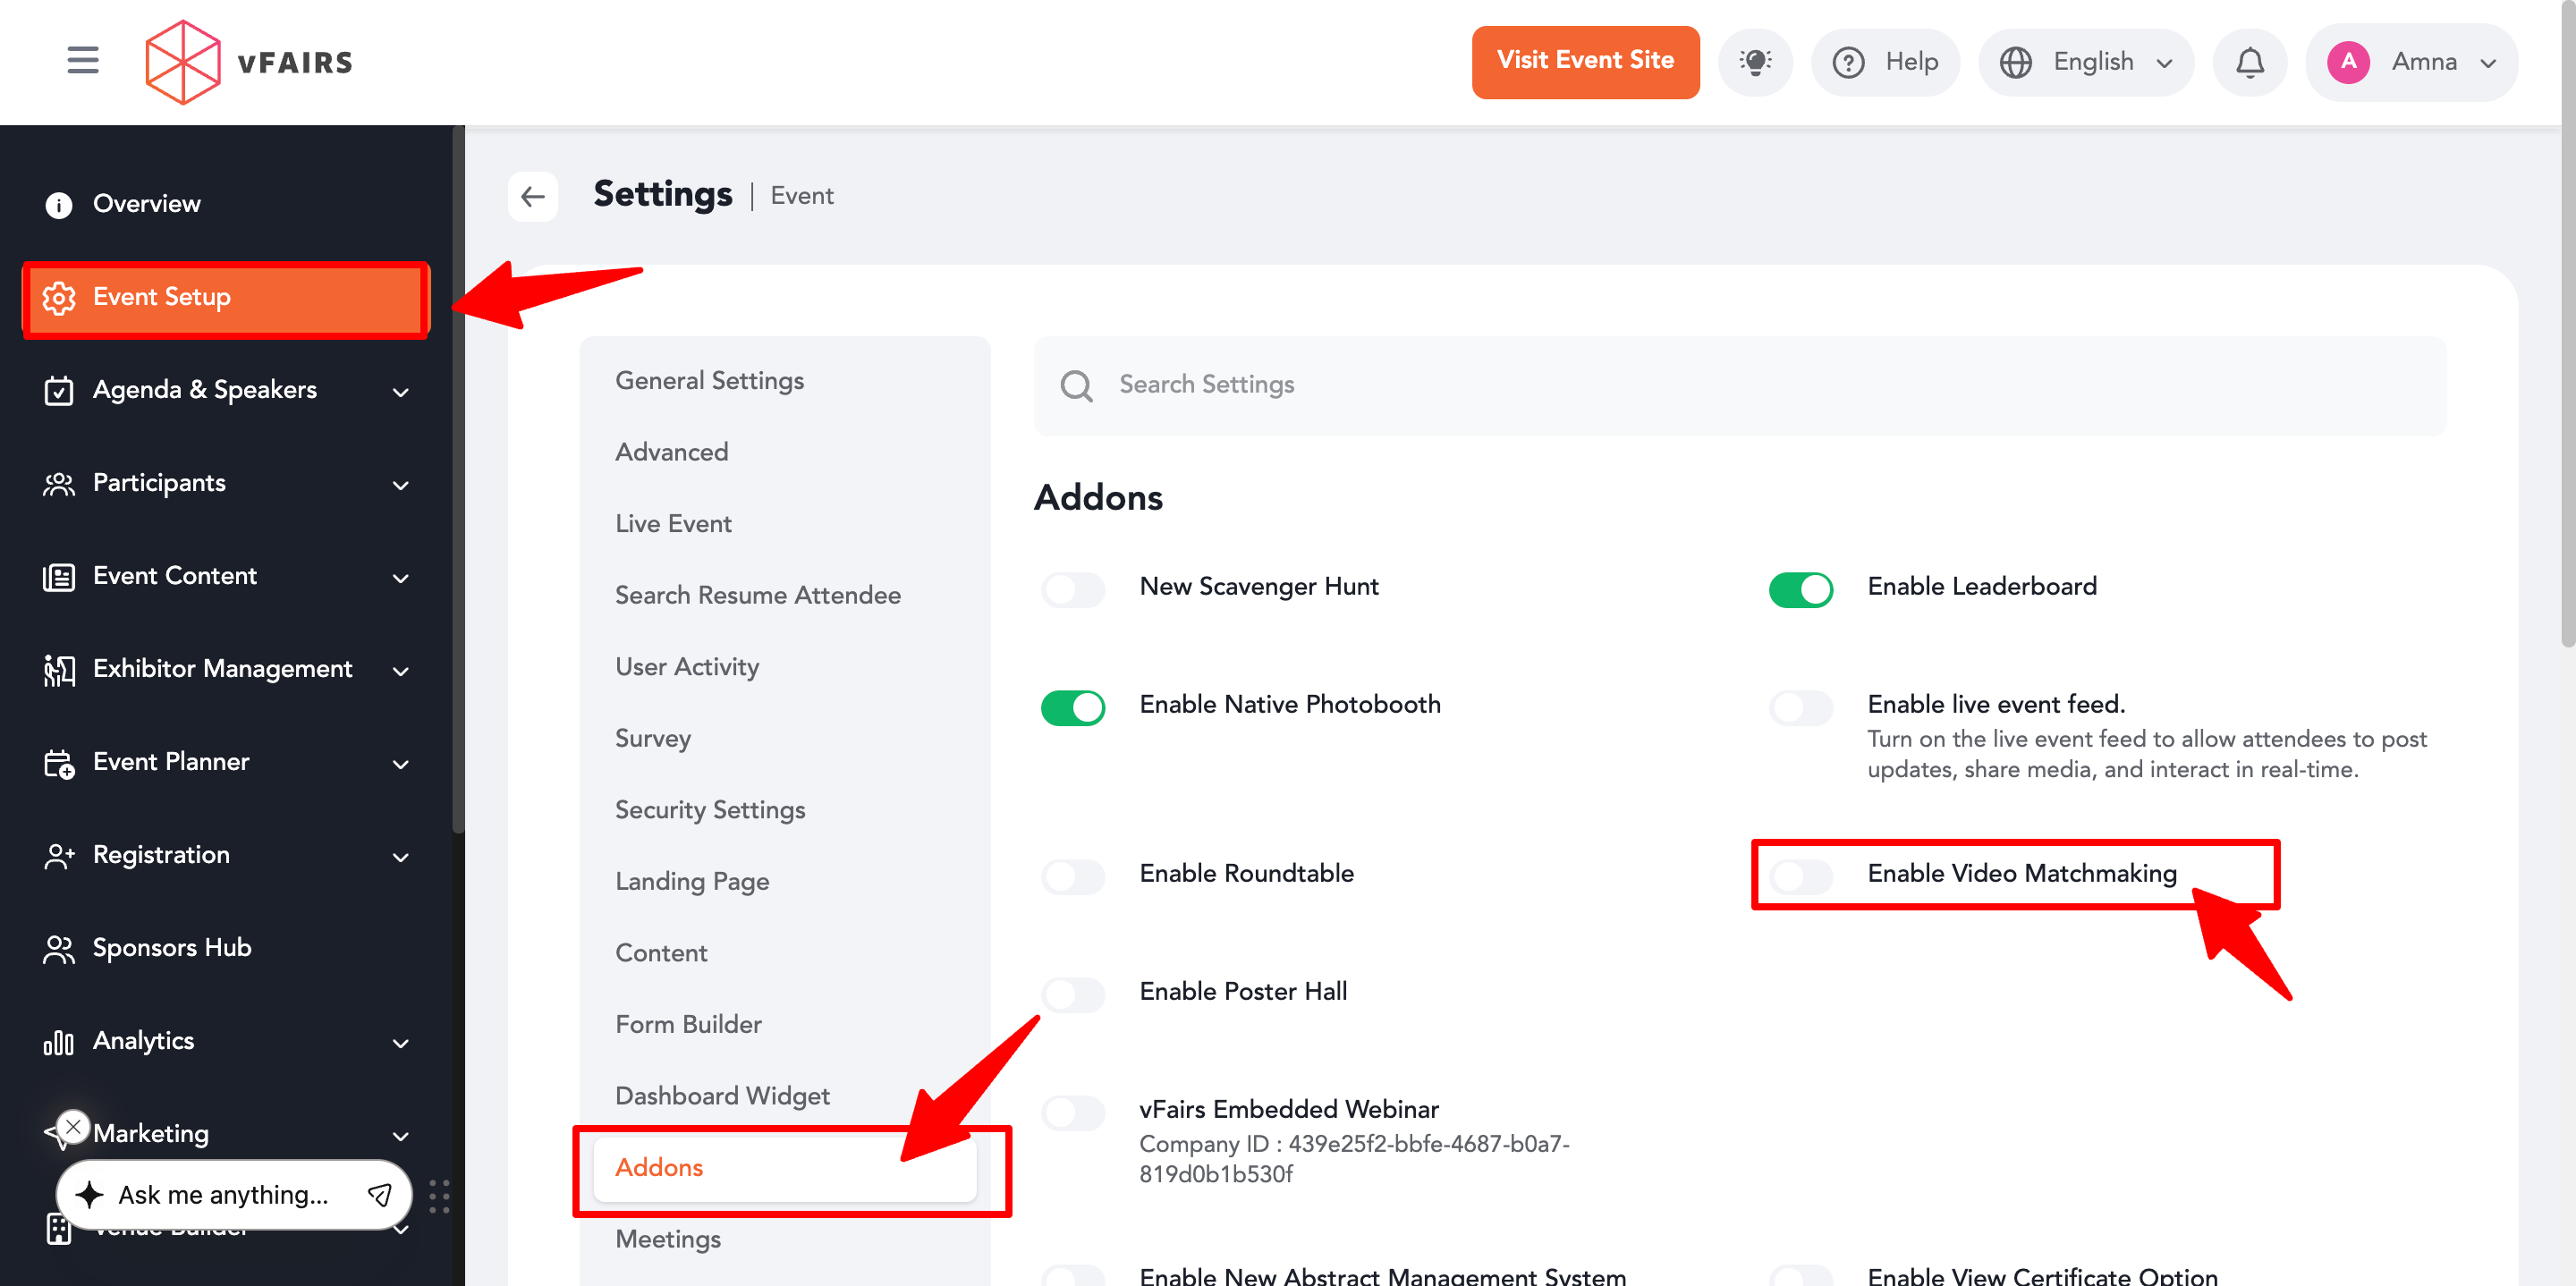
Once enabled, the Video Matchmaking module will become available in the Networking section, allowing you to create and manage matchmaking rooms.
- Access the Networking Tab
-
-
Navigate to the Networking tab in the left-hand menu.
-
Select "Video Matchmaking" from the options.

-
-
Add a New Room
-
Click on the option to add a new room.
-
Set up the room based on your specific requirements.

-
-
Setting Up a New Room
-
Room Name:
-
Enter a name for the room that will be displayed to participants.
-
-
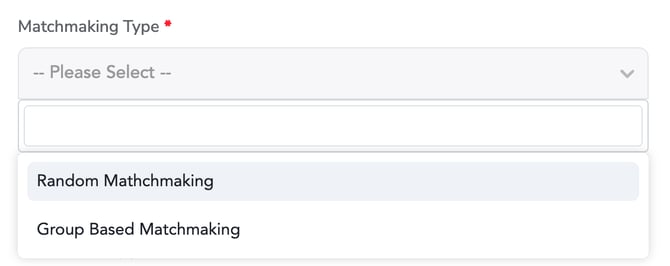
Matchmaking Type:
-
Select the type of matchmaking for the room, such as Group-Based or Random.
- Group-Based Matchmaking is designed for specific groups of participants, allowing for tailored interactions.
- In contrast, Random Matchmaking automatically selects active participants at random to form a diverse room.
-
-
Form:
-
Choose a relevant form from the Form Builder to present to participants for better matching.
-
-
Call Duration:
-
Set the default duration for each call.
-
-
Call Extension Duration:
-
Define the time duration to extend calls if required.
-
-
Include Ice Breakers Toggle:
-
Turn this on to include custom questions that encourage interaction and ease conversations between participants.
-
-
Show Form Responses Toggle:
-
Turn this on to view participant responses to the questions included in the selected form.

-
-
-
UI Settings
-
Access UI Settings to customize the room's appearance, including:
-
Themes
-
Button Colors
-
Logos
-
Custom Text
-
-
Use these settings to create a personalized experience for participants.

-