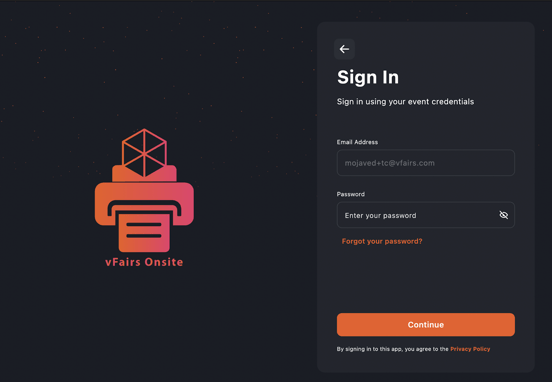
Logging Into the App
• Enter the email address assigned to you by your vFairs Project Manager.
• Password / OTP Verification
• Depending on event configuration, enter either:
• Your password, or
• A One-Time Password (OTP) sent to your email.
• Tap Continue to access the you event.
Home Screen Overview
Once logged in, you will land on the Home Screen. Here you will see:
-
Event branding, event name, and dates
-
Navigation tiles: Attendee Manager, Kiosk Screen, Session Check-In, App Settings
-
Printer status at the bottom
If the status shows “Printer is not connected”, you must connect a printer before printing badges.
Printer Connection
To connect a printer:
-
Tap Connect on the main or go to App Settings > Printer Settings / Connection.
-
Ensure the printer is powered on and connected to the same network as the device.
-
Tap Discover to search for available printers.
-
Select the printer to complete the connection.
Once connected, the home screen will display “Printer Connected” and printing will be enabled.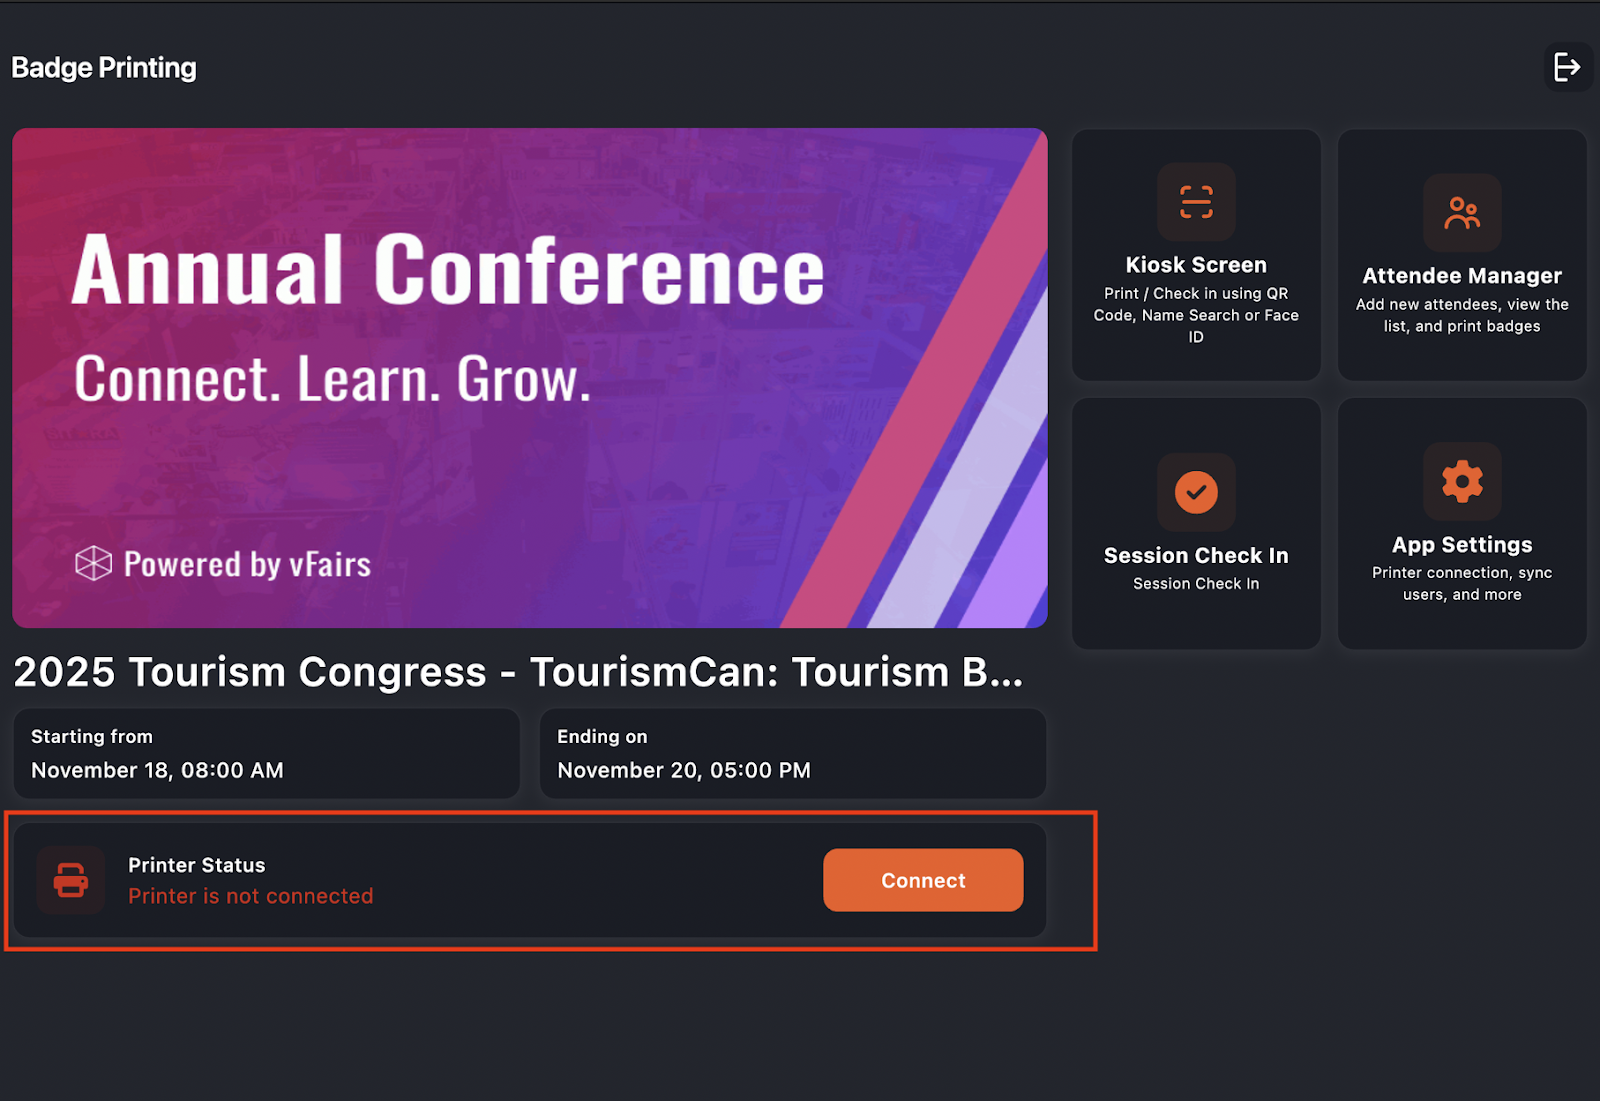
Attendee Manager
Accessing Attendee Manager
-
Tap Attendee Manager from the Home Menu.
Inside Attendee Manager, you can:
-
Search for attendees by name or email
-
Use filters to display specific user roles (Attendee, Speaker, Booth Admin, Sponsor, Admin, etc.)
-
View or update attendee details
-
Add walk-in registrations
-
Print badges
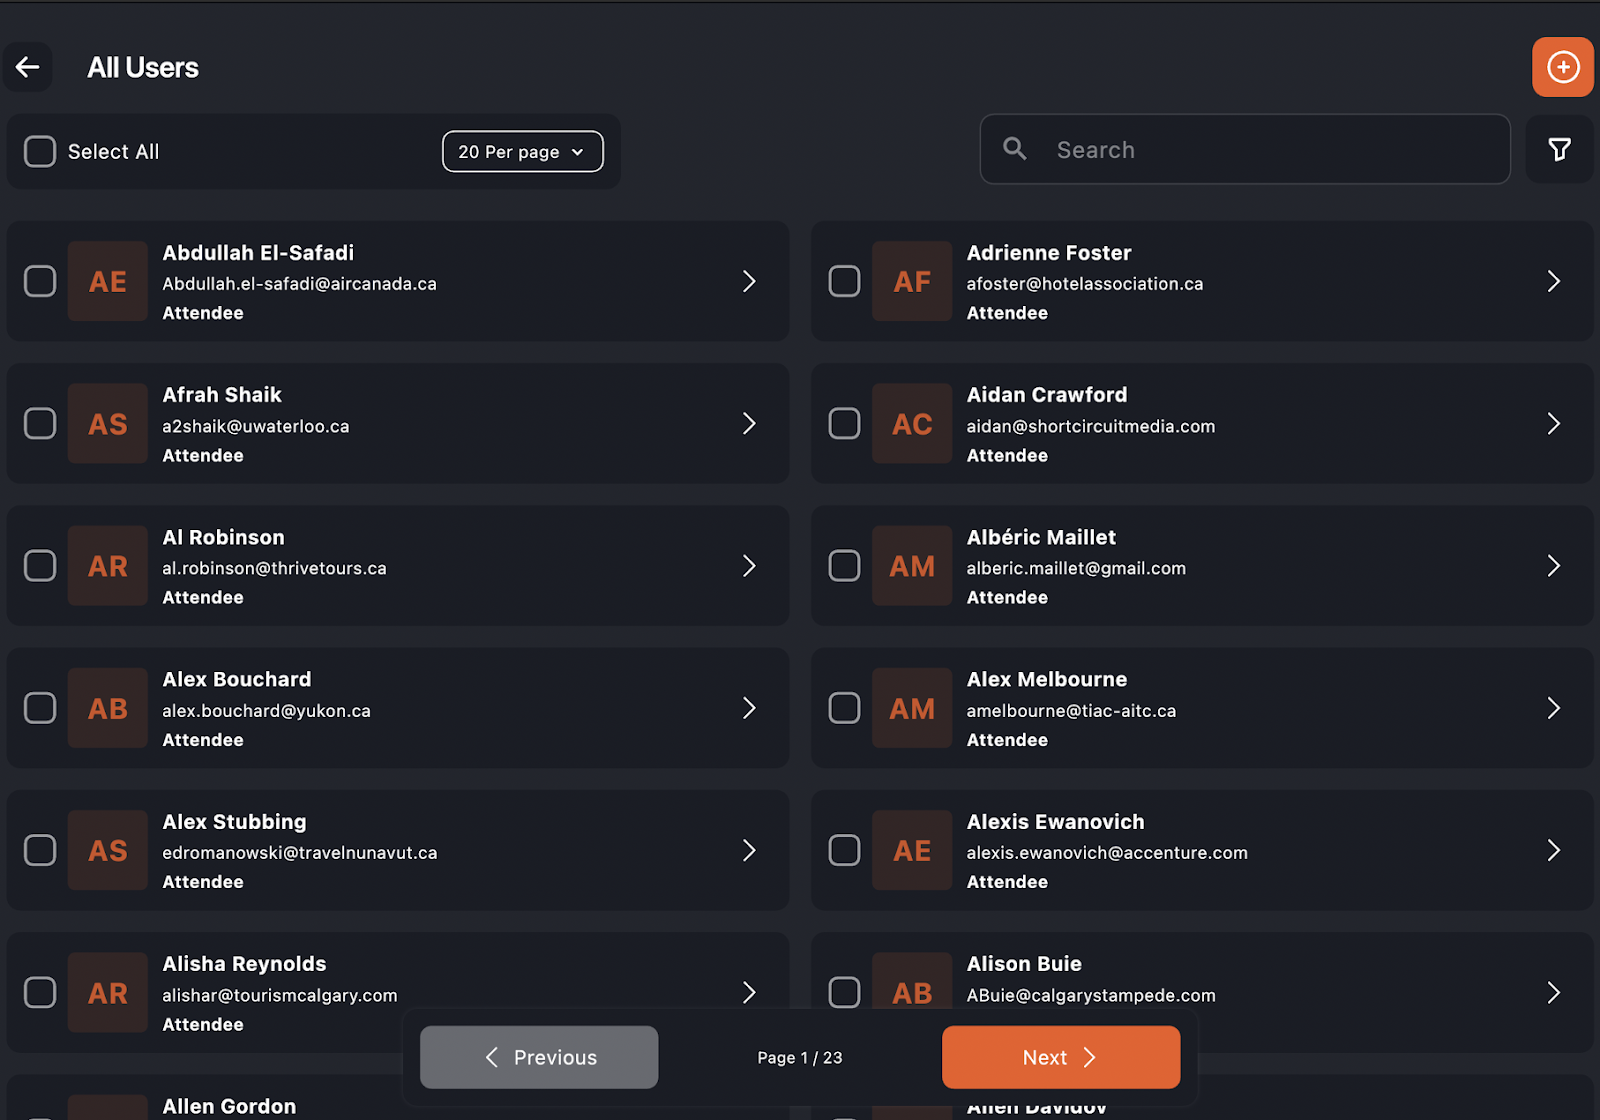
Searching for an Attendee
Use the search bar to quickly find attendees, especially during busy check-in times.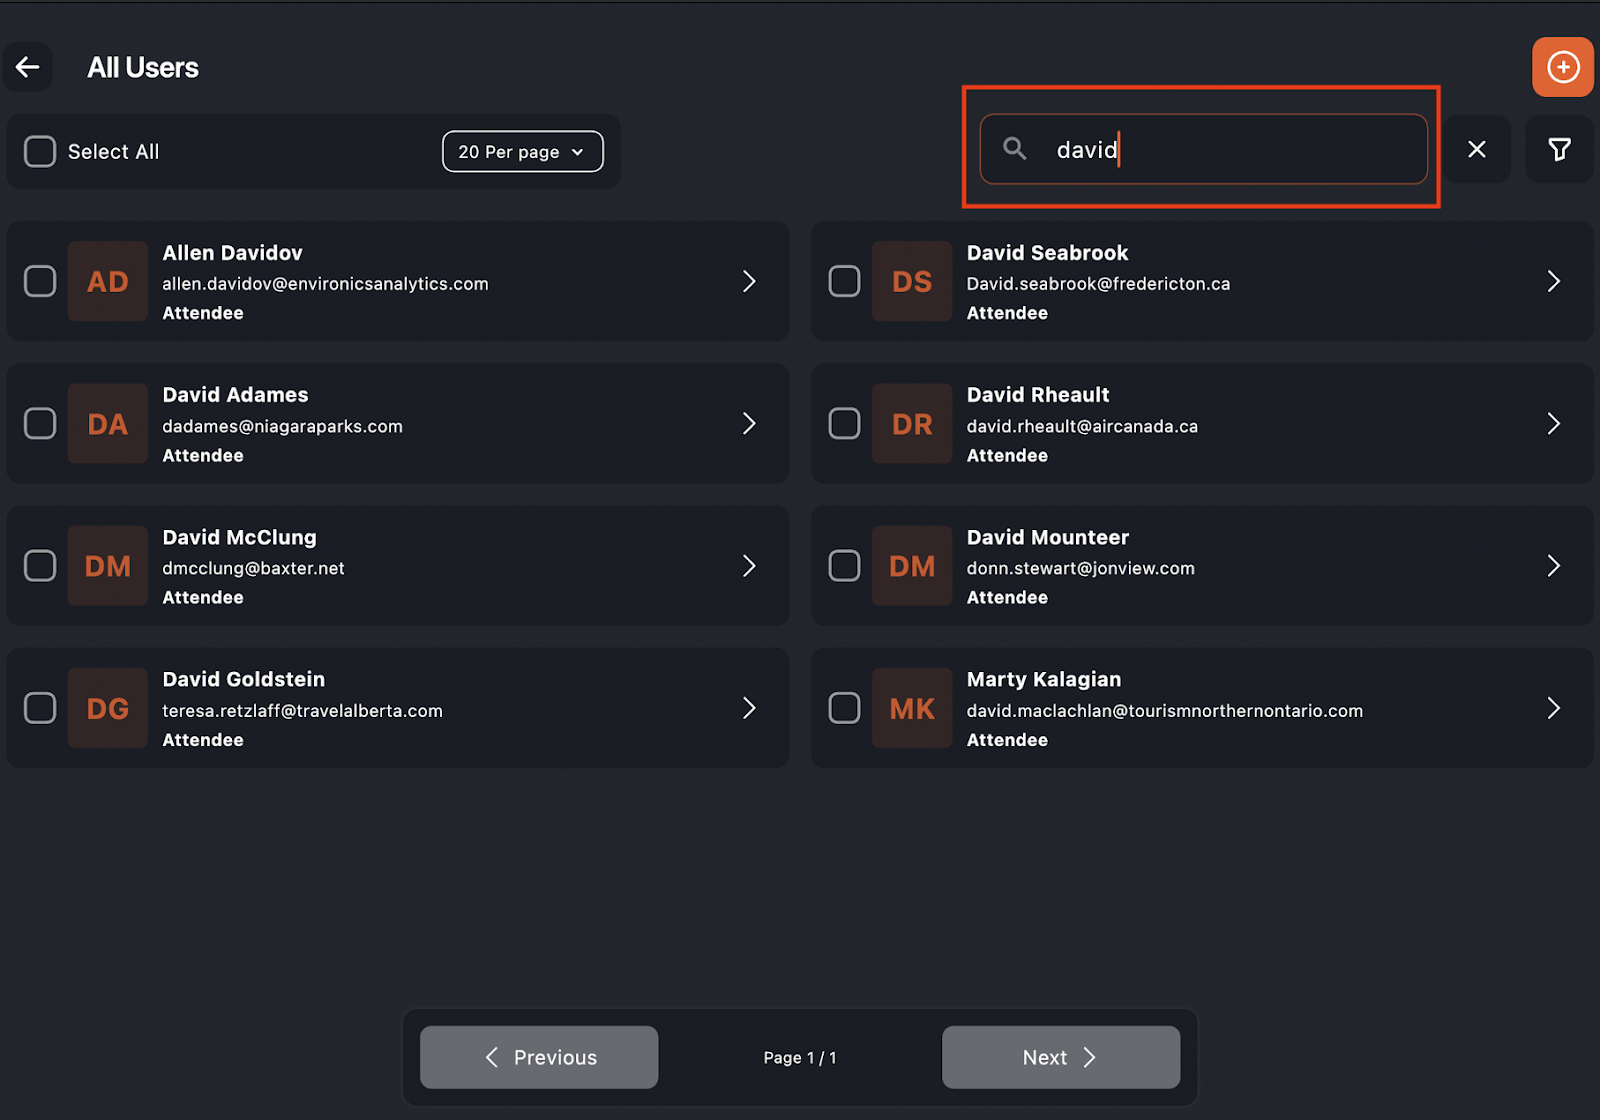
Filtering User Roles
Use the filter options to show only specific categories such as Attendees, Speakers, Booth Admins, or others. This is helpful for large lists or role-specific badge stations.
Adding a New Attendee
1. Tap the + button.
2. Select a User Type.
3. Complete the registration form.
4. Tap Register.
The attendee record will appear immediately and a badge can be printed right away.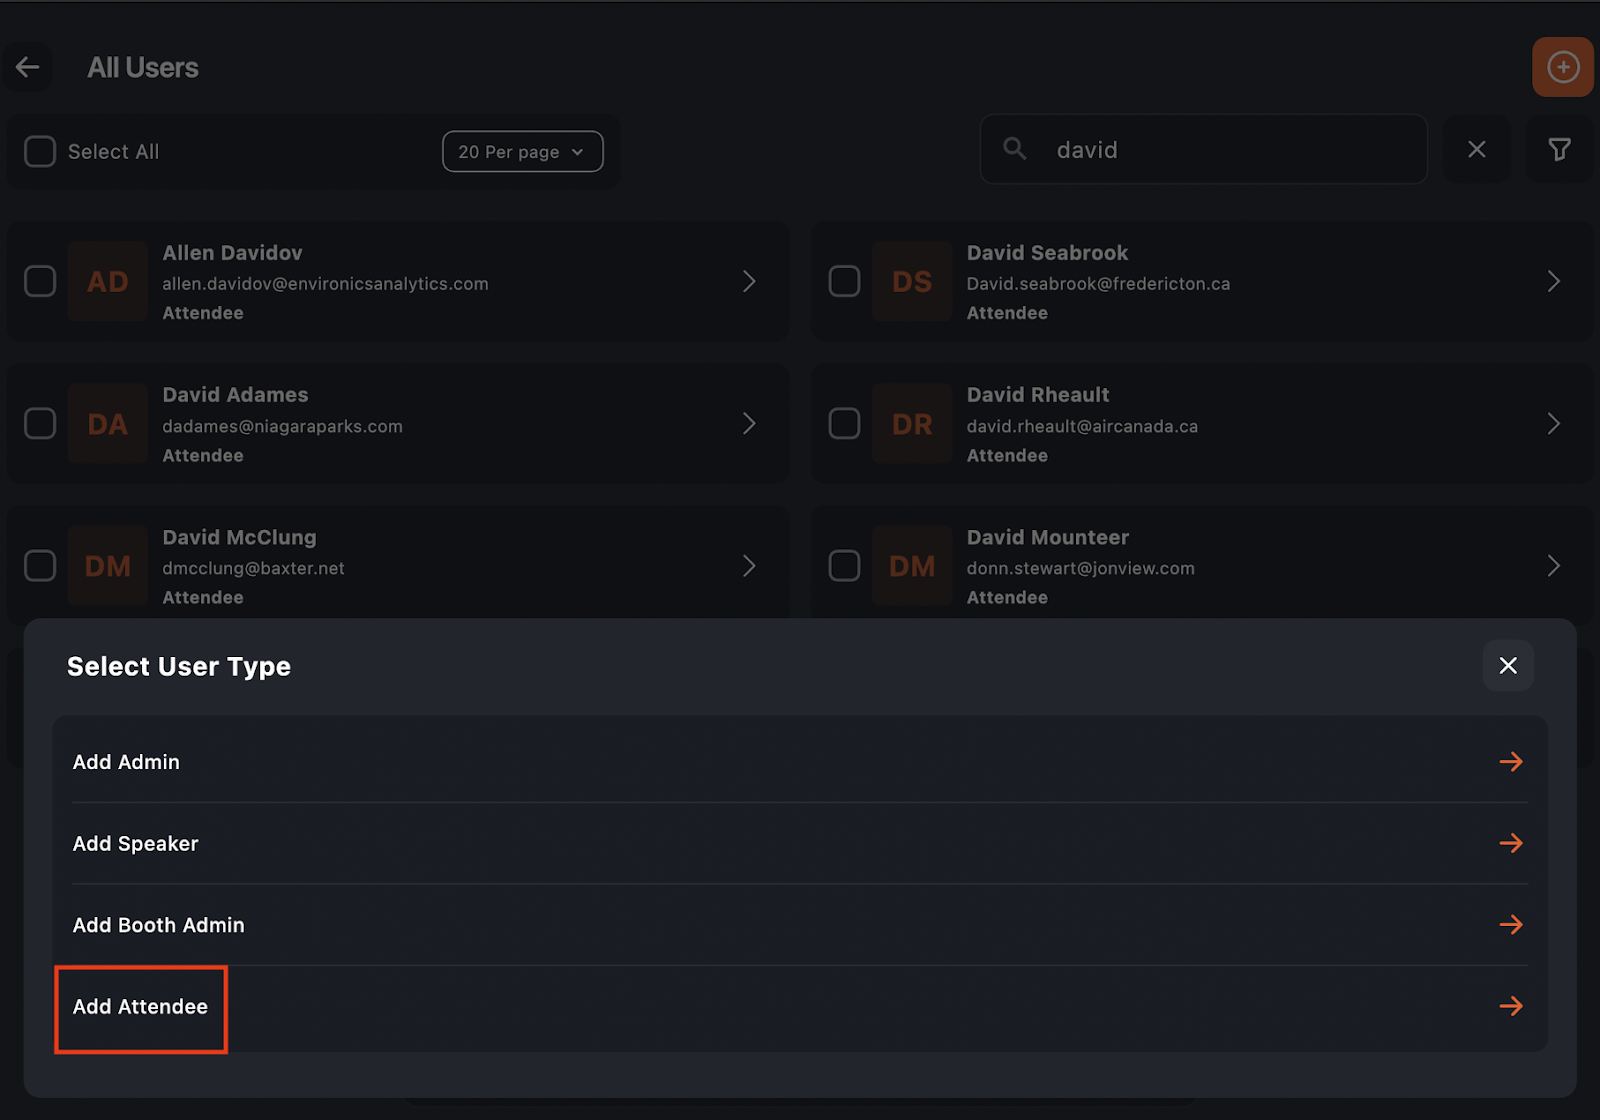
Printing a Badge
1. Tap on an attendee’s name.
2. Review details if needed.
3. Tap Print Badge.
A success or error message will confirm print status.
Printing from Kiosk Screen (Optional)
You may also use the Kiosk Screen for self-service or assisted scanning-based printing workflows if enabled for your event.
Session Check-In
Once badge printing and attendee setup is complete, you can manage session attendance.
Accessing Session Check-In
• Tap Session Check-In from the dashboard.
Session List
You will see session tiles showing session title, date and time, location if applicable, total check-ins, and a QR scan icon.
Scanning Attendees
1. Tap the QR icon next to the session.
2. Allow camera access when prompted.
3. Scan attendee badges. Check-in completes automatically.
Search Sessions
Use the search bar to filter large session lists.
App Settings
Access App Settings from the dashboard to configure:
• Sync Users: retrieves the latest attendee data from the backend
• Badge Printing Messages: customize success and error messages
• Printer Connection: discover and connect available printers
Use Sync Users whenever new registrations have been added.
You're Ready to Operate
The vFairs On-Site App is now prepared for:
• Badge printing
• Walk-in attendee registration
• Attendee lookup and management
• Session attendance tracking
For further support, contact your vFairs Project Manager or technical support team.