1. Log In and Access System Emails
- Log in to the Event Backend.
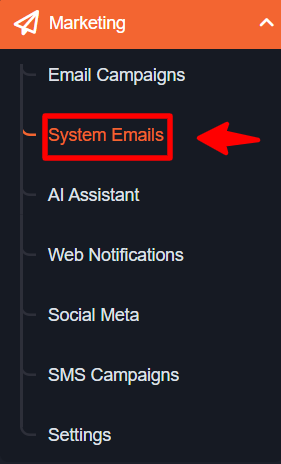
- Navigate to Marketing from the left-hand menu, then select System Emails.
2. Select the Signup Email to Edit
-
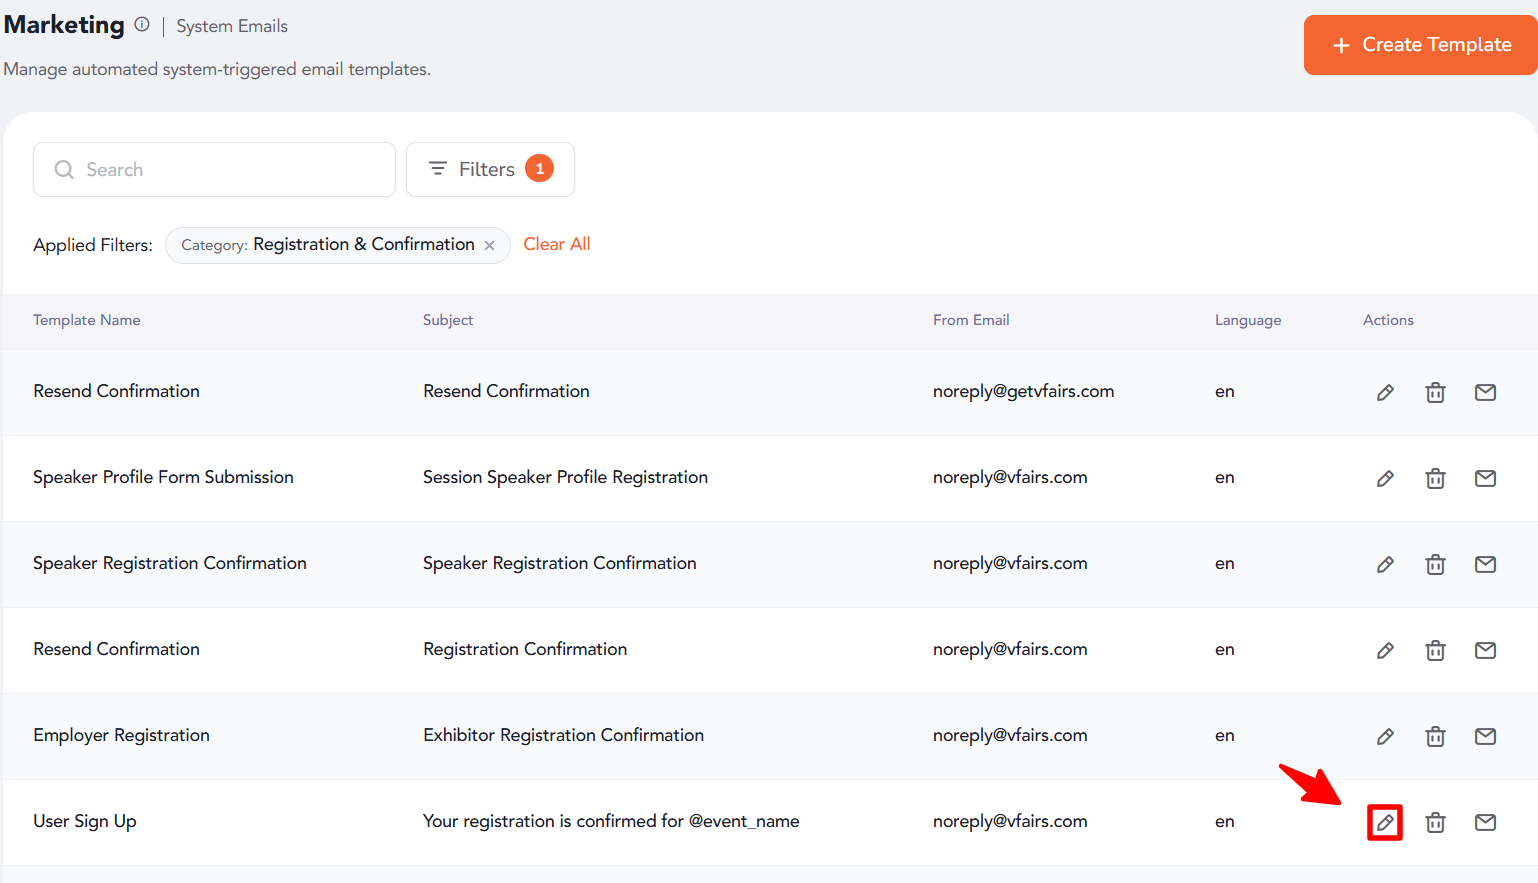
Locate the Signup Email from the System Emails list.
-
Click on the Edit button next to it to open its details.
3. Proceed to Edit
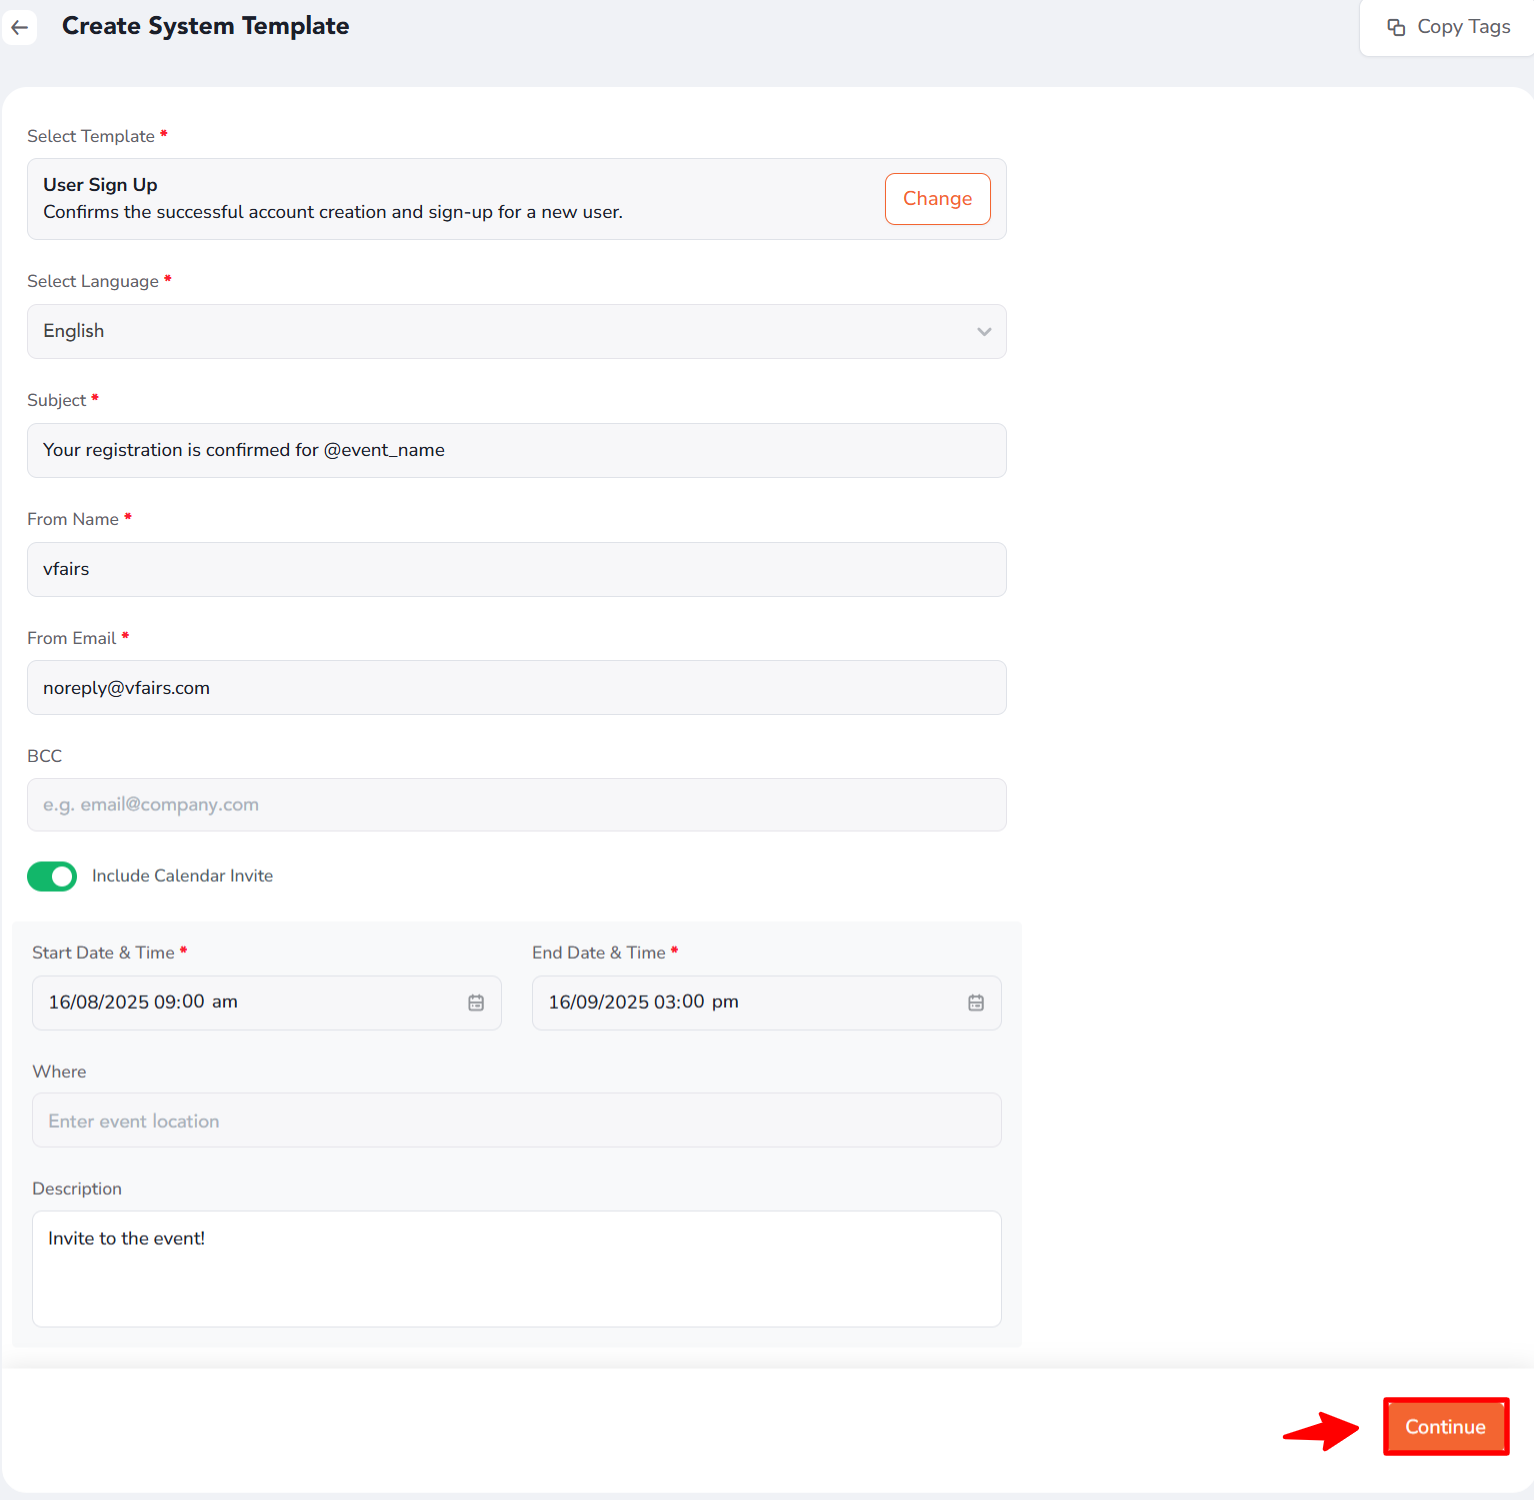
- Review the email details and click the Continue button to access the email editor.
4. Insert Registration Tags
- Click on the Copy Tags button in the editor.

- Open the Registration section from the tag list.

- You’ll see merge tags corresponding to the fields in your registration form.

- Click on the desired tag to copy it to the clipboard. Then, paste the tag into the email body where you want the attendee’s response to appear.
5. Save Your Changes
- Once you’ve inserted all required tags, click the Save button to apply your updates.

Outcome
The selected email will now dynamically populate attendee-specific registration data using the inserted tags. Each recipient will see their own details reflected in the email content.