1. Log In and Open Form Builder
- Log in to the Event Backend.
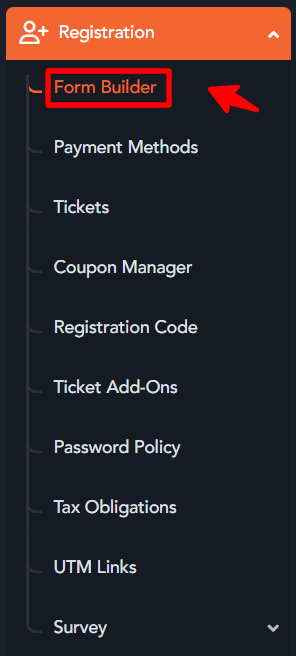
- Navigate to the Registration dropdown and click on Form Builder.
2. Access the Registration Form
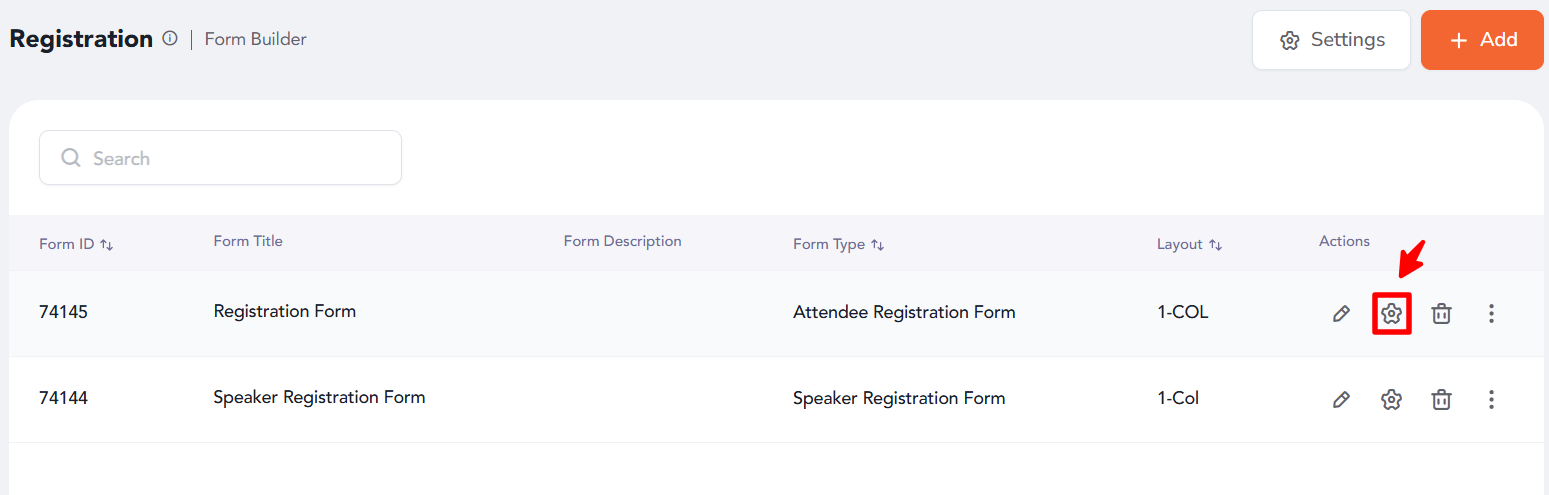
- In the Form Builder interface, locate the Registration Form section.
- Click the Edit Form Fields button to begin customizing the form.
3. Add the Nationality Field
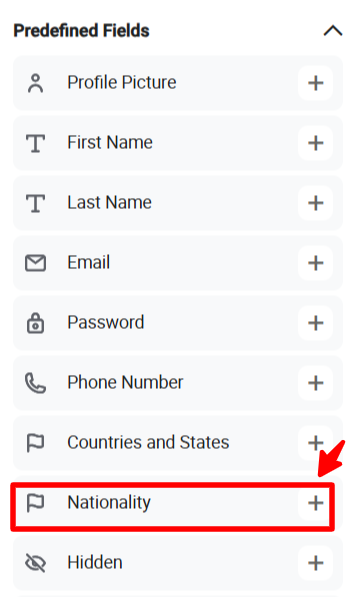
- In the Predefined Fields section, find and click on Nationality to add it to the form.
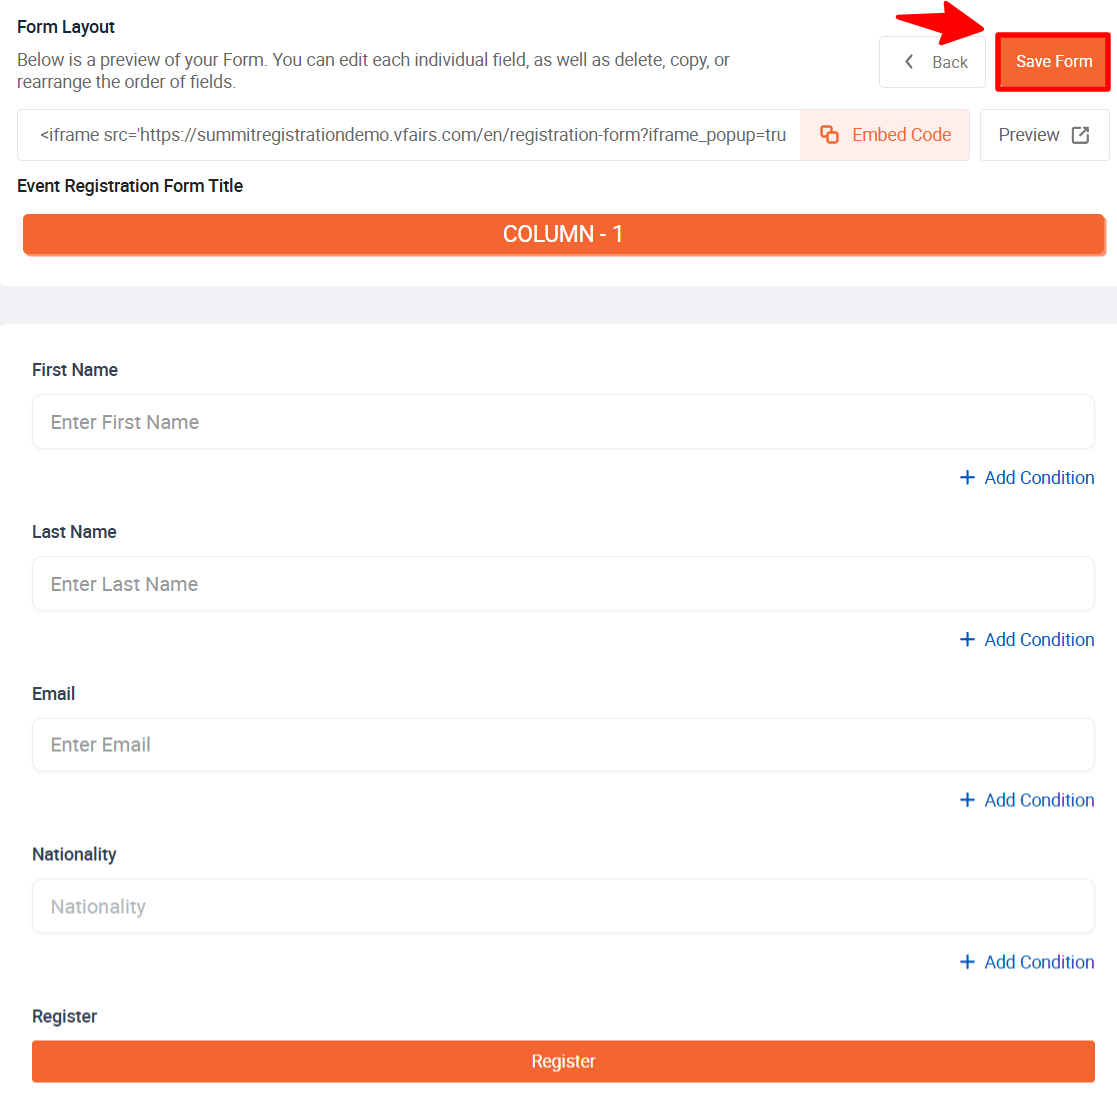
4. Position and Save
- Adjust the field’s position within the form and configure any necessary settings.
- Click the Save Form button to apply the changes.
Note:
To restrict which countries appear in the dropdown, click the Setup button next to the Nationality field.
In the General Settings tab, navigate to the Restrict Nationalities section.
Click Add and select specific countries to limit what is shown in the dropdown.
Once a nationality is added, you can include more by clicking the Add More button.
Make sure to click the Save button to confirm and apply the updates to this specific field.
If no country is selected, all countries will appear by default on the frontend dropdown.
5. Preview the Form
- To see how the form appears to users, click the Preview button.
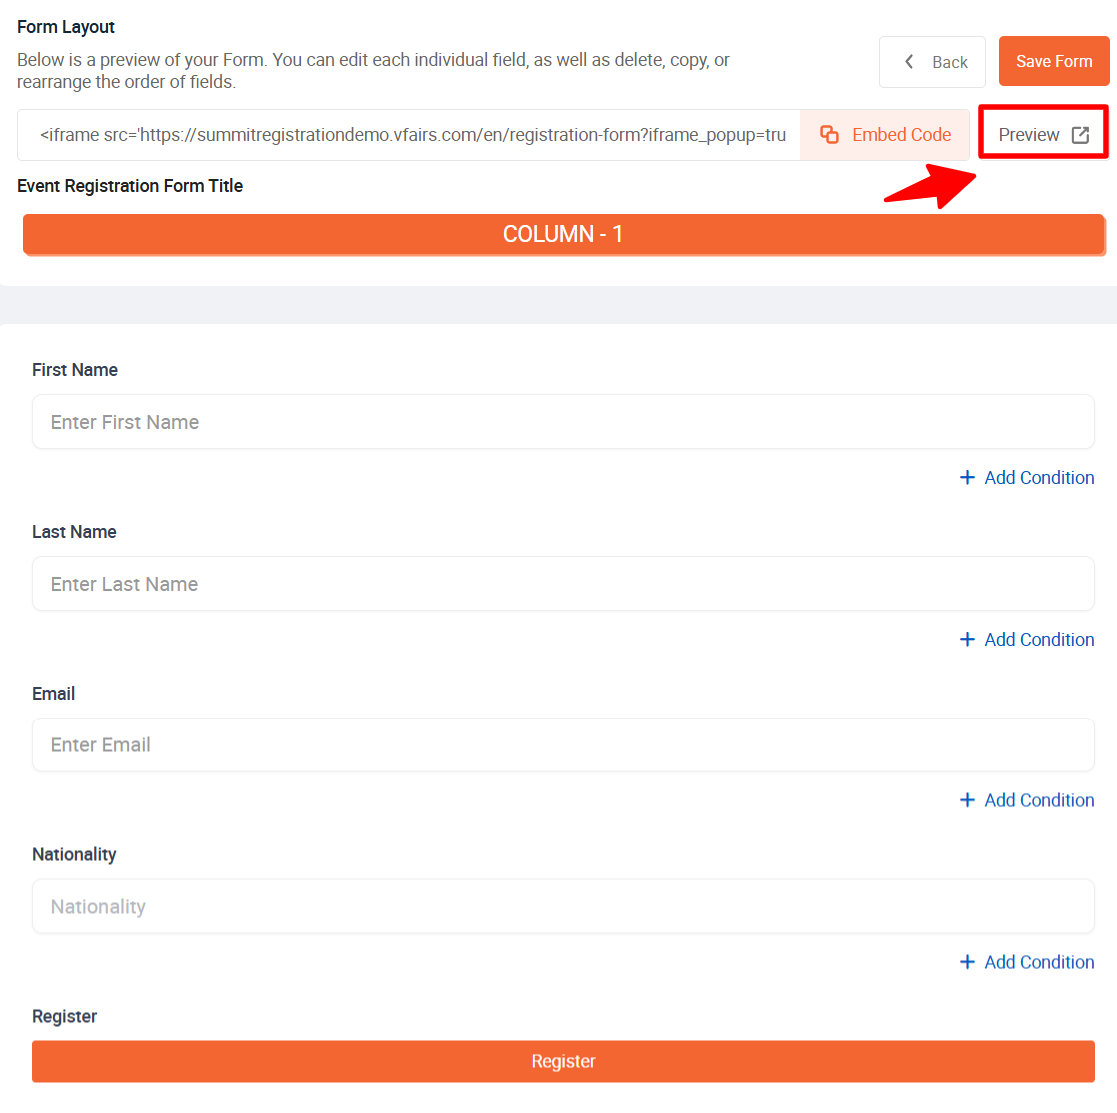
Note: Ensure the form is saved before previewing so that recent changes are reflected accurately.
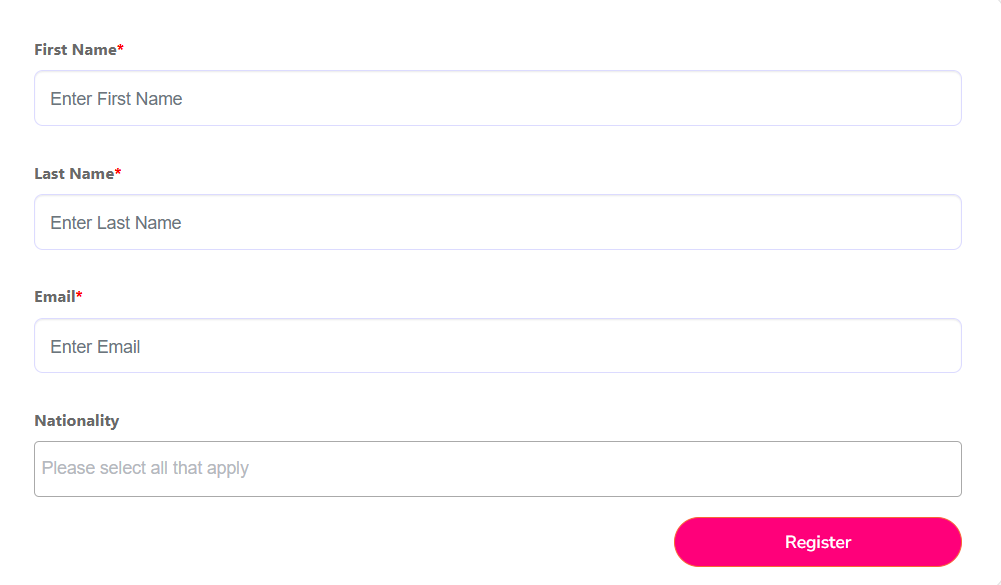
Outcome
The Nationality field is now present in the registration form and will be visible to attendees during the registration process.