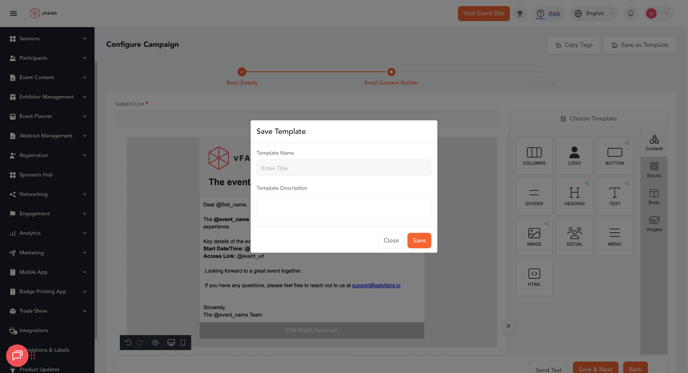
Learn how to save custom designs, and manage updates using the Templates modal and Save options.
Step 1: Choose a Template
When creating or editing a campaign, click Choose Template.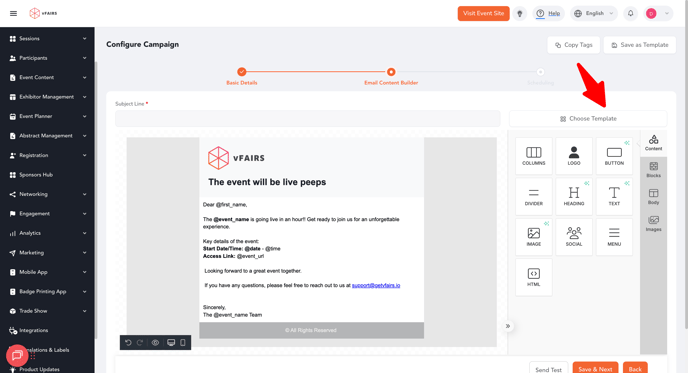
-
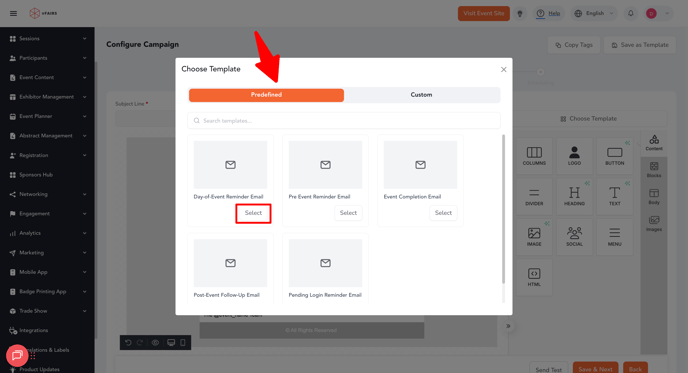
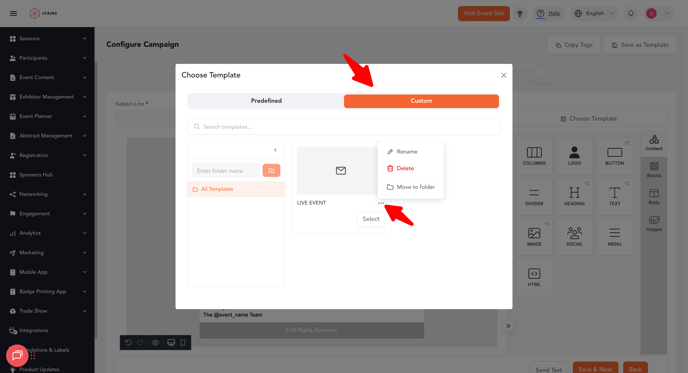
The Templates modal opens with two tabs:
-
Predefined – A grid of ready-made templates. Each card shows a thumbnail, name, and description. Action: Select.
-
Custom – A grid of your saved templates. Each card shows a thumbnail, name, and description. Actions: Select or open the 3-dot menu to Rename, Delete, or Move to Folder.
-
-
Once applied, the modal closes and your builder updates.
Step 2: Save a Template
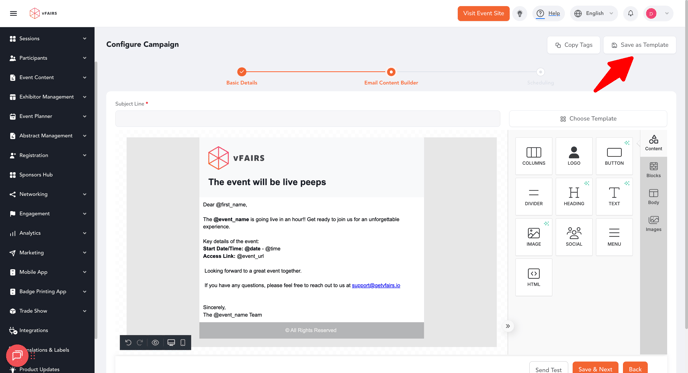
Click Save as Template in the builder toolbar to save your current design.
-
A popup appears requiring:
-
Template Name
-
Template Description
-
-
On saving:
-
The template is created under Custom → All Templates.
-
Step 3: See Your Saved Template Instantly
-
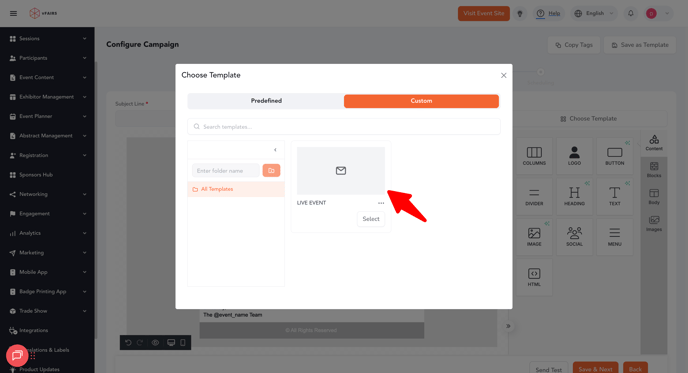
Newly saved templates appear instantly at the top of the Custom tab.
-
If the Custom tab was empty, the new template replaces the empty state.
Step 4: Manage Multiple Templates per Campaign
You can now save and manage multiple templates within the same campaign.
-
Each time you click Save as Template, you can create a new template (requires Title + Description).
-
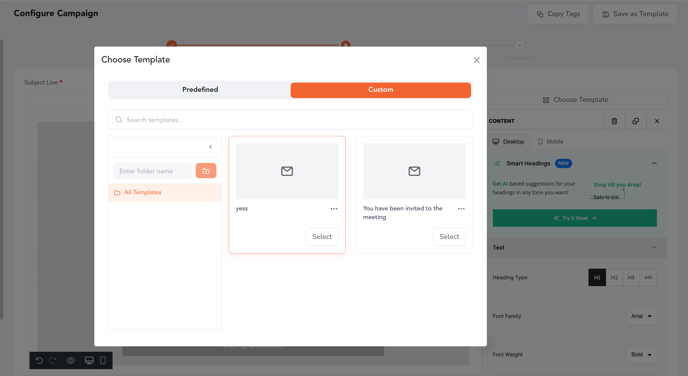
Campaigns maintain a Template Library containing all templates saved under them.
-
Each entry in the library displays:
-
Template Title
-
Template Description
-
Step 5: Edit an Existing Custom Template
You can now edit existing custom templates directly inside the Email Builder — without creating duplicates.
How It Works
-
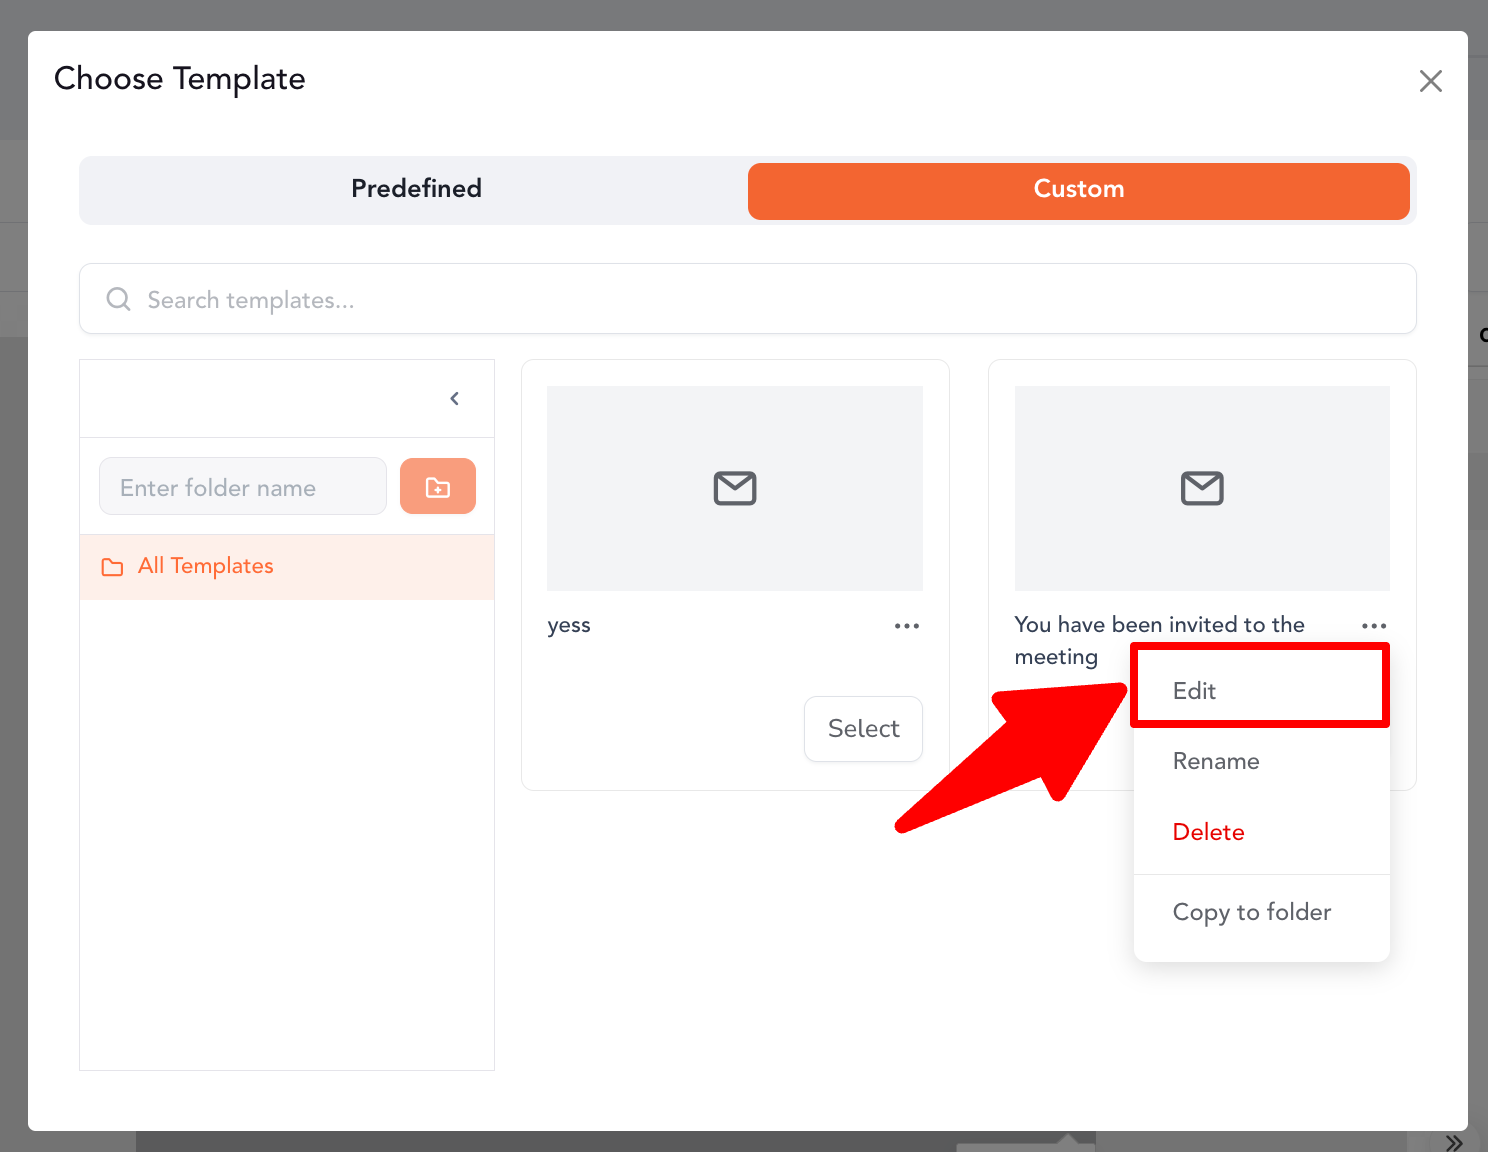
Open the Choose Template modal → Custom Tab
-
Find the template you want to update and click Edit
-
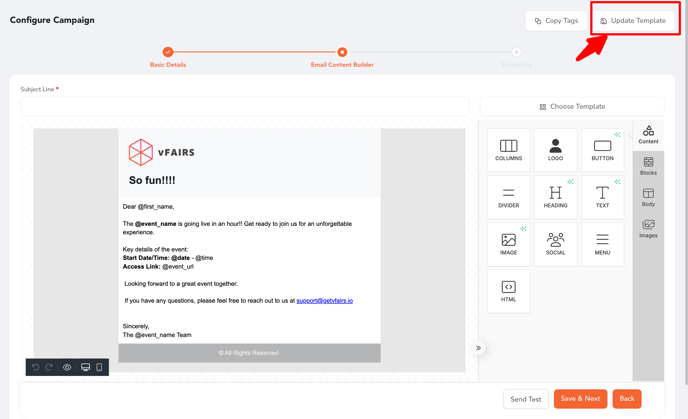
The selected template loads into the Email Builder with all its current layout, text, images, and styles
Once the template loads:
-
A new button, Update This Template, is displayed
The Templates flow now supports multiple custom templates per campaign, making it easier to experiment, reuse, and manage designs flexibly while keeping consistency across your event’s communications.

